
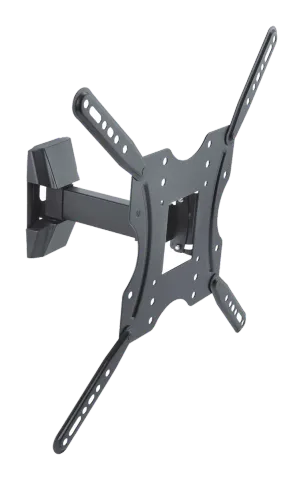
Full Motion LED, LCD TV Wall Mount
INSTALLATION MANUAL
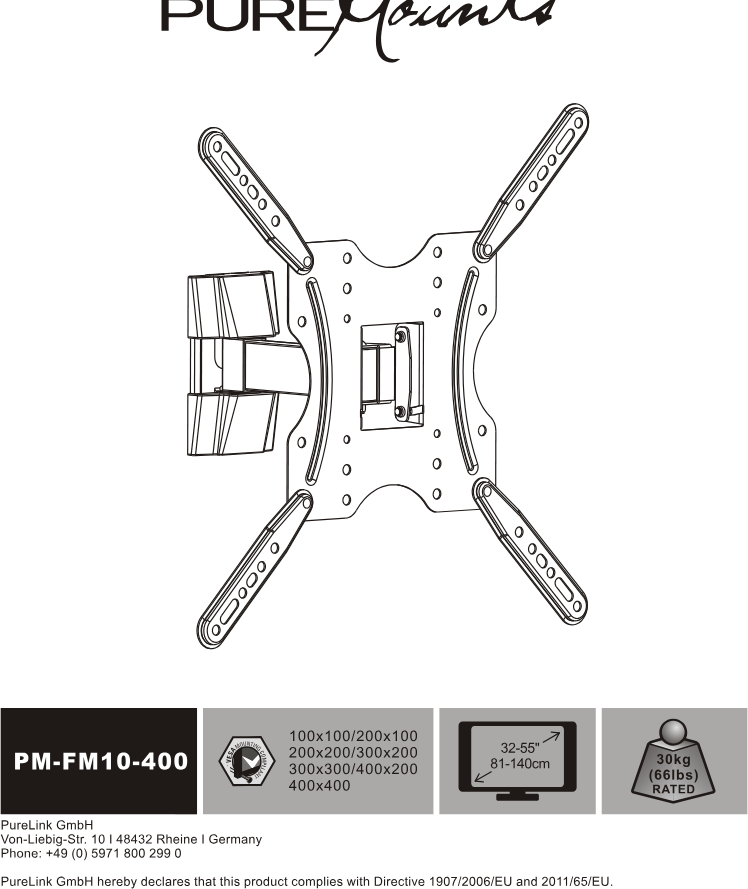
Model: PM-FM10-400
VESA: 100x100 / 200x100 / 200x200 / 300x200 / 300x300 / 400x200 / 400x400
Screen size: 32-55" (81-140cm)
Max load: 30kg (66lbs)
PureLink GmbH
Von-Liebig-Str. 10 | 48432 Rheine | Germany
Phone: +49 (0) 5971 800 299 0
PureLink GmbH hereby declares that this product complies with Directive 1907/2006/EU and 2011/65/EU.
Caution: Read the entire instruction manual before you start installation and assembly. If you have any questions regarding any of the instructions or warnings, please contact your local distributor for assistance.
Caution: Use with products heavier than the rated weights indicated may result in instability causing possible injury.
- This product is designed for installation by professional installers only.
- Use proper tools and safety equipment during installation. Failure to do so may cause personal injury or property damage.
- This product must be installed onto a wooden stud or solid concrete wall by a professional.
- The wall structure must be capable of supporting at least five times the combined weight of the equipment and all attached hardware and components.
- This product is not designed for use in steel stud walls. DO NOT USE ON STEEL STUD WALLS.
- The manufacturer does not warrant against damage caused by improper installation, incorrect assembly, or inappropriate use.
- The product is intended for indoor use only. Keep this product away from children.
Note: Install hardware as instructed in this manual. Do not, for any reason, use parts not provided by the manufacturer.
Note: Periodically check your installation for signs of fatigue or failure. If any parts are missing or faulty, telephone your local distributor for assistance.
Tip: Check that the bracket is secure and able to support the weight of its load at least every three months.
Step 1
Remove cover from the wall mount plate.
Step 2
Mark and drill holes in the wall according to the wall type. Insert anchors W-B (for solid walls) or W-A (for drywall).
Fasten the wall mount with screws and washers (W-C for solid wall, W-A for drywall).
Step 3
Attach the extension arms (B) to the mounting plate using the provided bolts and nuts.
Step 4
Check the VESA hole spacing on the TV (up to 400mm x 400mm).
Step 5
Reattach cover (C) to the wall plate.
Step 6
Ensure correct orientation and type of TV – suitable for flat screens.
Select appropriate screws and spacers (M-A to M-F, M-D, M-E, M-F) according to TV thread depth and mounting plate configuration. Use screwdriver to fasten.
Step 7
With assistance, hook and secure the TV to the wall mount. Tighten securing screws.
Step 8
Adjust the rotation and tilt as needed: 180° swivel, +3° to -10° tilt.
Parts List (shown visually above steps)
| Part | Quantity | Description |
|---|---|---|
| A | x1 | Wall Plate |
| B | x4 | Extension Arms |
| C | x2 | Cover |
| M6x30 M-A | x4 | |
| M8x30 M-B | x4 | |
| M8x50 M-C | x4 | |
| D8 M-D | x4 | |
| M-E | x8 | |
| M-F | x8 | |
| W-A | x3 | |
| W-B | x3 | |
| W-C | x3 |
Legal & Compliance
Product identification
Model: PM-FM10-400 – manual version 1.0
Warranty and liability
The manufacturer grants the full statutory warranty on all new devices. As the manufacturer has no influence on installation, the warranty only applies to the product itself. If you detect a fault or damage, please contact your dealer and provide your sales slip or invoice as proof of purchase.
The manufacturer is not liable for damage to persons or property caused by improper installation, operation or maintenance not described in this manual. Do not alter or modify the product or its accessories. Any use other than described in this manual is not permitted and voids warranty and guarantee.
Trademarks and disclaimer
Product model and logo are trademarks. All other company and product names mentioned are trademarks of their respective owners. All rights reserved. No part of this publication may be copied or reproduced without prior written permission. We reserve the right to make changes to the device, packaging or manual and accept no liability for misprints.
EU conformity
PureLink GmbH hereby declares that this product complies with Directive 1907/2006/EU and 2011/65/EU.
| Directive / Regulation |
|---|
| 1907/2006/EU |
| 2011/65/EU |
The full text of the EU Declaration of Conformity is available at: www.purelink.de
Packaging
Dispose of packaging separately by material (paper/cardboard, plastics) via the local collection systems. Keep packaging material away from children – risk of suffocation. Packaging register LUCID: DE5958616449295.