
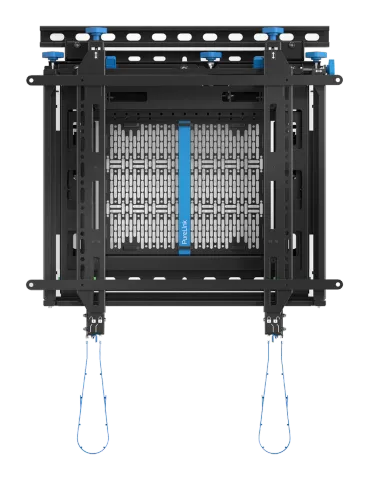
Installation safety instructions
This mount is intended for use with flat screens that do not exceed the maximum weight indicated of 40Kgs (88lbs.). Exceeding this weight limit will result in instability, causing possible injury.
Do not attempt to install this product until all instructions and warnings have been read and properly understood. Please keep these instructions for future reference.
Please check carefully to make sure there are no missing or defective parts. Defective parts must never be used. PureLink GmbH, its distributors and dealers are not liable or responsible for damage or injury caused by improper installation, improper use or failure to observe these safety instructions. In such cases, all guarantees will expire.
ES
PuraLink GmbH recomienda que un instalador de audio y video profesional u otra persona debidamente cualificada instalen este producto. PureLink GmbH, sus distribuidores y concesionarios no se hacen cargo ni se responsabilizan de ningún daño o lesión provocados por una instalación inapropiada. Este producto se debe montar en una estructura adecuada y se debe utilizar soportando solamente hasta el peso máximo indicado.
FR
PureLink GmbH recommande de confier l’installation de ce produit à un installateur AV professionnel ou à une autre personne dûment qualifiée. PureLink GmbH, ses distributeurs et ses revendeurs ne sauraient être tenus responsables de tout dégât ou de toute blessure résultant d’une installation incorrecte. Ce produit doit être monté sur un support approprié et utilisé dans la limite du poids maximum indiqué.
DE
PureLink GmbH empfiehlt, dass dieses Produkt durch einen qualifizierten AV-Techniker oder eine andere Person mit geeigneter Qualifikation installiert wird. PureLink GmbH, ihre Distributoren und Händler können nicht für durch fehlerhafte Montage verursachte Beschädigung oder Verletzung haftbar bzw. verantwortlich gemacht werden. Dieses Produkt muss auf einen geeigneten Untergrund montiert werden und darf nur bis zum angegebenen Höchstgewicht verwendet werden.
IT
PureLink GmbH consiglia di affidare l’installazione di questo prodotto a un installatore specializzato o ad altra persona adeguatamente qualificata. PureLink GmbH i suoi distributori e rivenditori non accettano alcuna responsabilità nei riguardi di eventuali danni o infortuni causati da un’errata installazione. Questo prodotto deve essere fissato a una struttura idonea e utilizzato unicamente sino al peso massimo indicato.
NL
PureLink GmbH adviseert om dit product te laten installeren door een professionele AV-installateur of andere hiervoor gekwalificeerde persoon. PureLink GmbH haar distributeurs en dealers zijn niet aansprakelijk of verantwoordelijk voor schade of letsel die is veroorzaakt door onoordeelkundige installatie. Dit product moet worden gemonteerd aan een geschikte constructie, waarbij het aangegeven maximum gewicht niet mag worden overschreden.
PT
A PureLink GmbH recomenda que a instalação deste produto seja efectuada por um instalador de AV profissional ou outra pessoa devidamente habilitada. A PureLink GmbH e os seus distribuidores e concessionários não são responsáveis por danos ou lesões causados por uma instalação incorrecta. Este produto tem de ser montado numa estrutura adequada e utilizado somente até ao peso máximo indicado.
PL
Firma PureLink GmbH zaleca, aby ten produkt był instalowany przez profesjonalnych instalatorów AV lub inny odpowiednio przeszkolony personel. Firma PureLink GmbH, jej dystrybutorzy i dealerzy nie ponoszą odpowiedzialności za uszkodzenia lub obrażenia ciała powstałe w wyniku nieprawidłowej instalacji. Niniejszy produkt musi być zamontowany na odpowiedniej powierzchni, a podczas użytkowania nie wolno przekraczać podanego maksymalnego obciążenia.
CS
Společnost PureLink GmbH doporučuje provést instalaci tohoto produktu instalátora AV či jinak způsobilé osoby. Společnost PureLink GmbH, její distributoři a prodejci nenesou prostřednictvím odborného odpovědnost za škody nebo zranění způsobená nevhodnou instalací. Tento výrobek je nutno umístit do vhodné konstrukce a používat jen po uvedenou maximální výšku.
RU
Warranty period : 2 Years
This PureLink product, delivered new, in the original carton to the original consumer purchaser, is warranted by PureLink against manufacturing defects in materials and workmanship for the warranty period above. This warranty begins on the original date of purchase. To receive warranty service, the purchaser must contact PureLink for problem determination and service procedures. Warranty service can only be performed by a PureLink authorized service centre. The original dated bill of sale must be presented upon request as proof of purchase to PureLink authorized service centre.
PureLink GmbH
PureLink GmbH
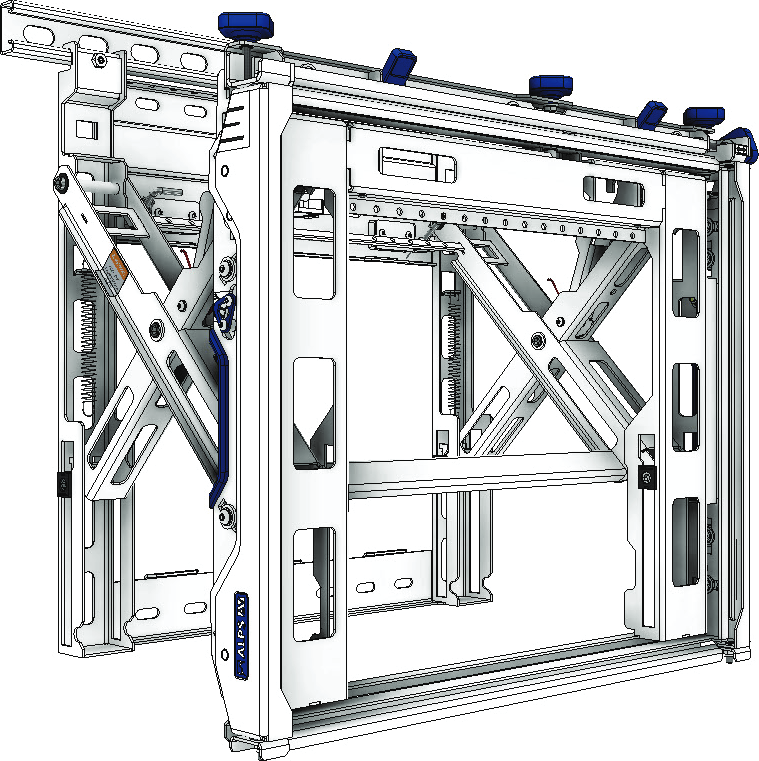
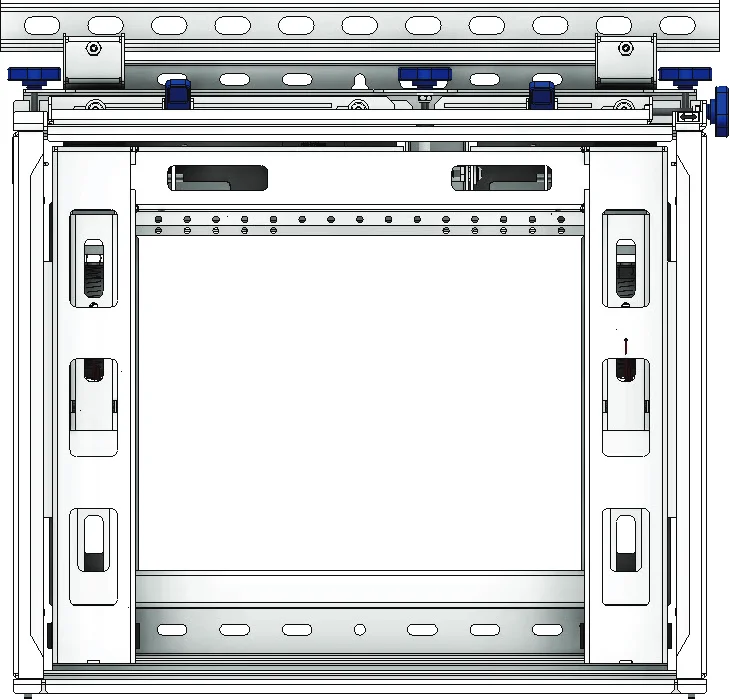
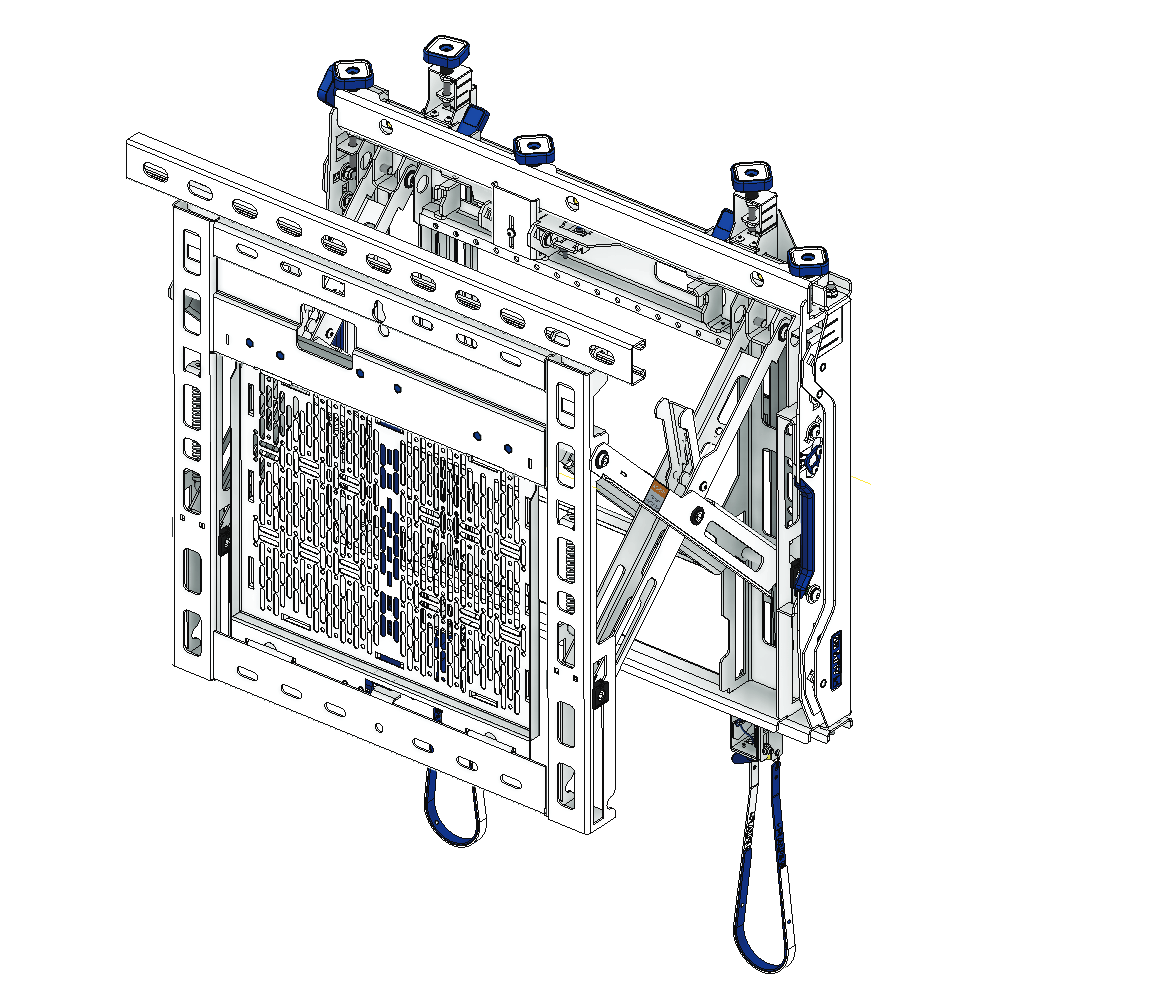
Push the mount open
- Unlock Equipment Rack
- Pull out Equipment Rack
- Lift up to take out Equipment Rack
Note: The purpose of Equipment Rack is to mount electrical device(s)
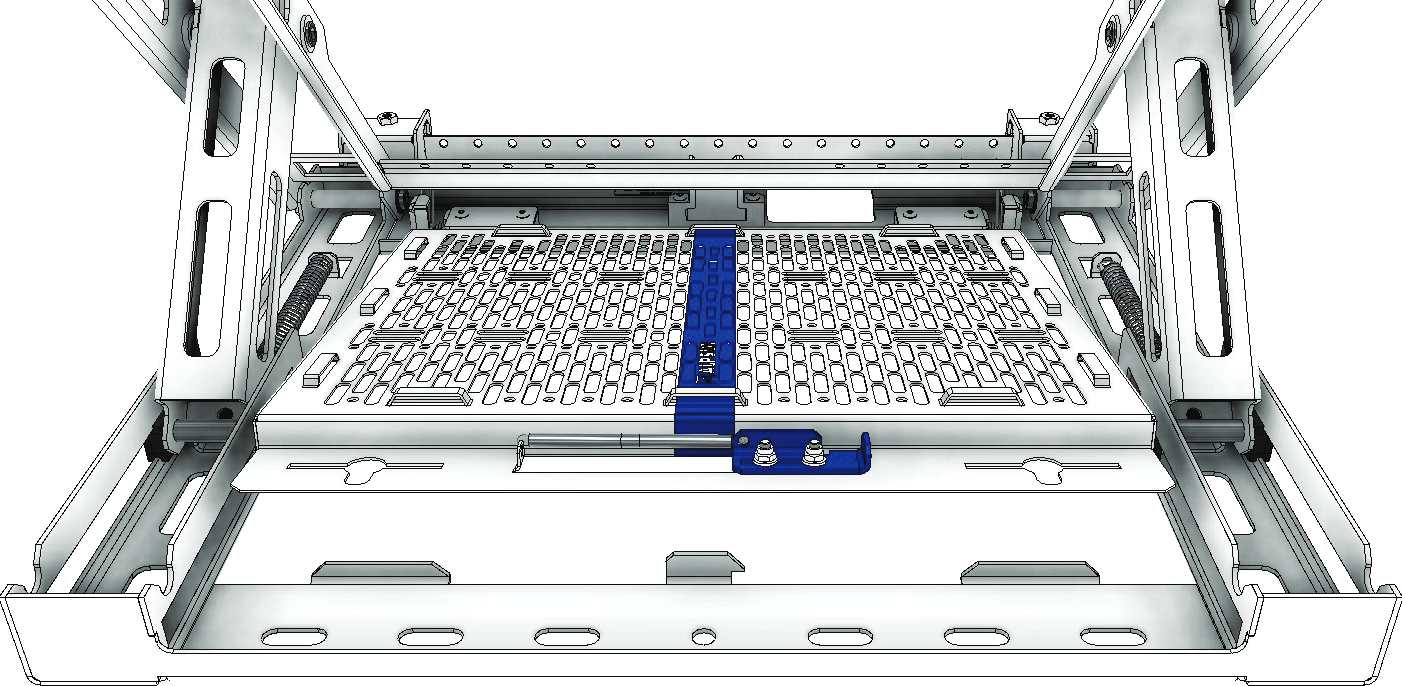
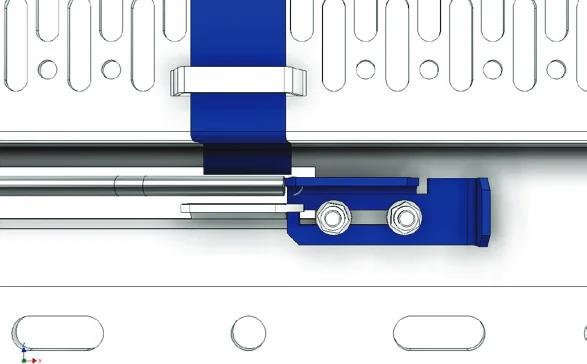
The mount closed The mount opened
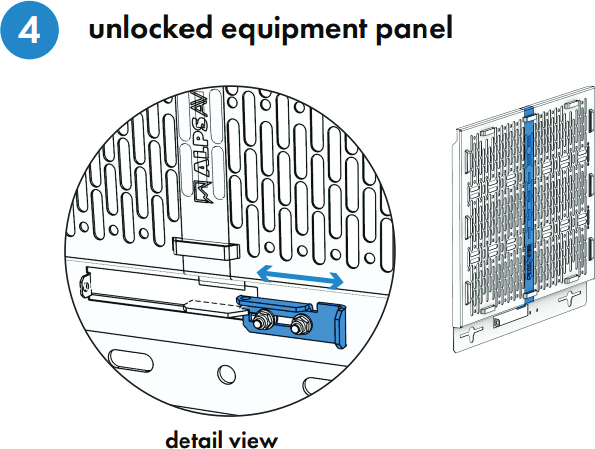
Unlock the Equipment Rack by pulling to the right side
Push to open
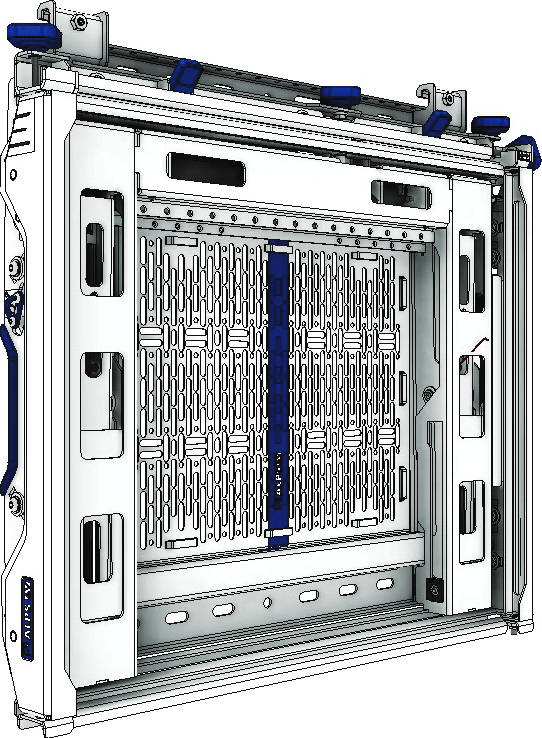
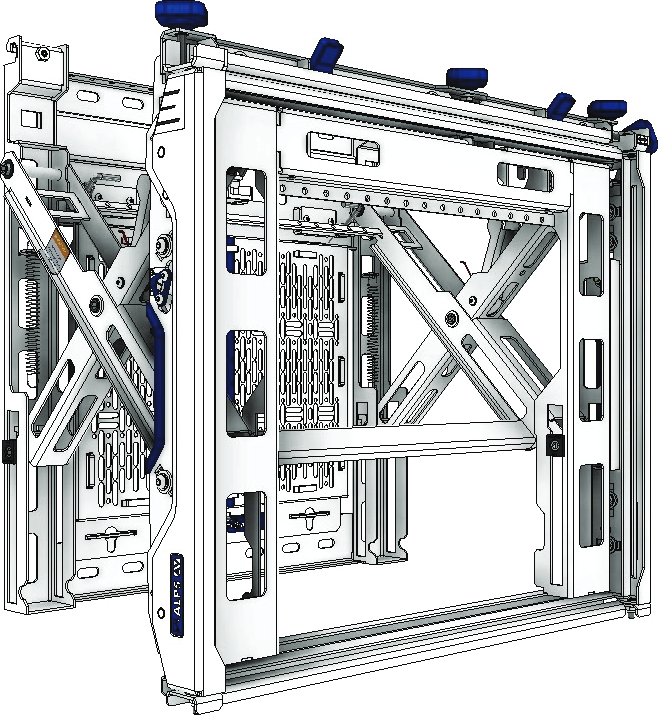
Pull out Equipment Rack
Unlock Equipment Rack
Step 2 How to assemble Equipment Rack.
- Hang the equipment rack into 2 slots
- Press to lock the Equipment Rack
- Lift up to remove the Equipment Rack
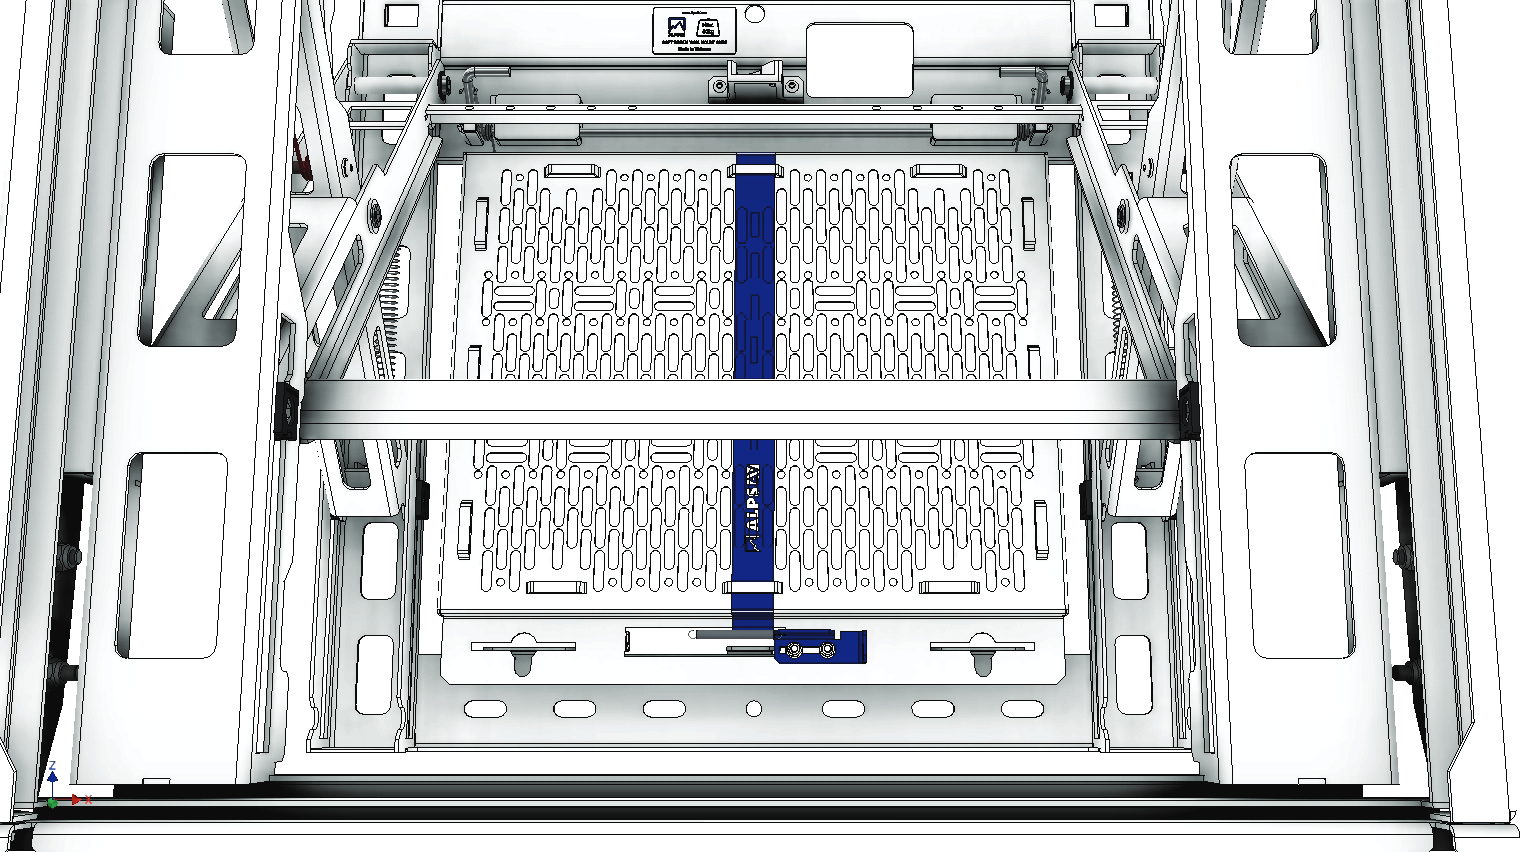
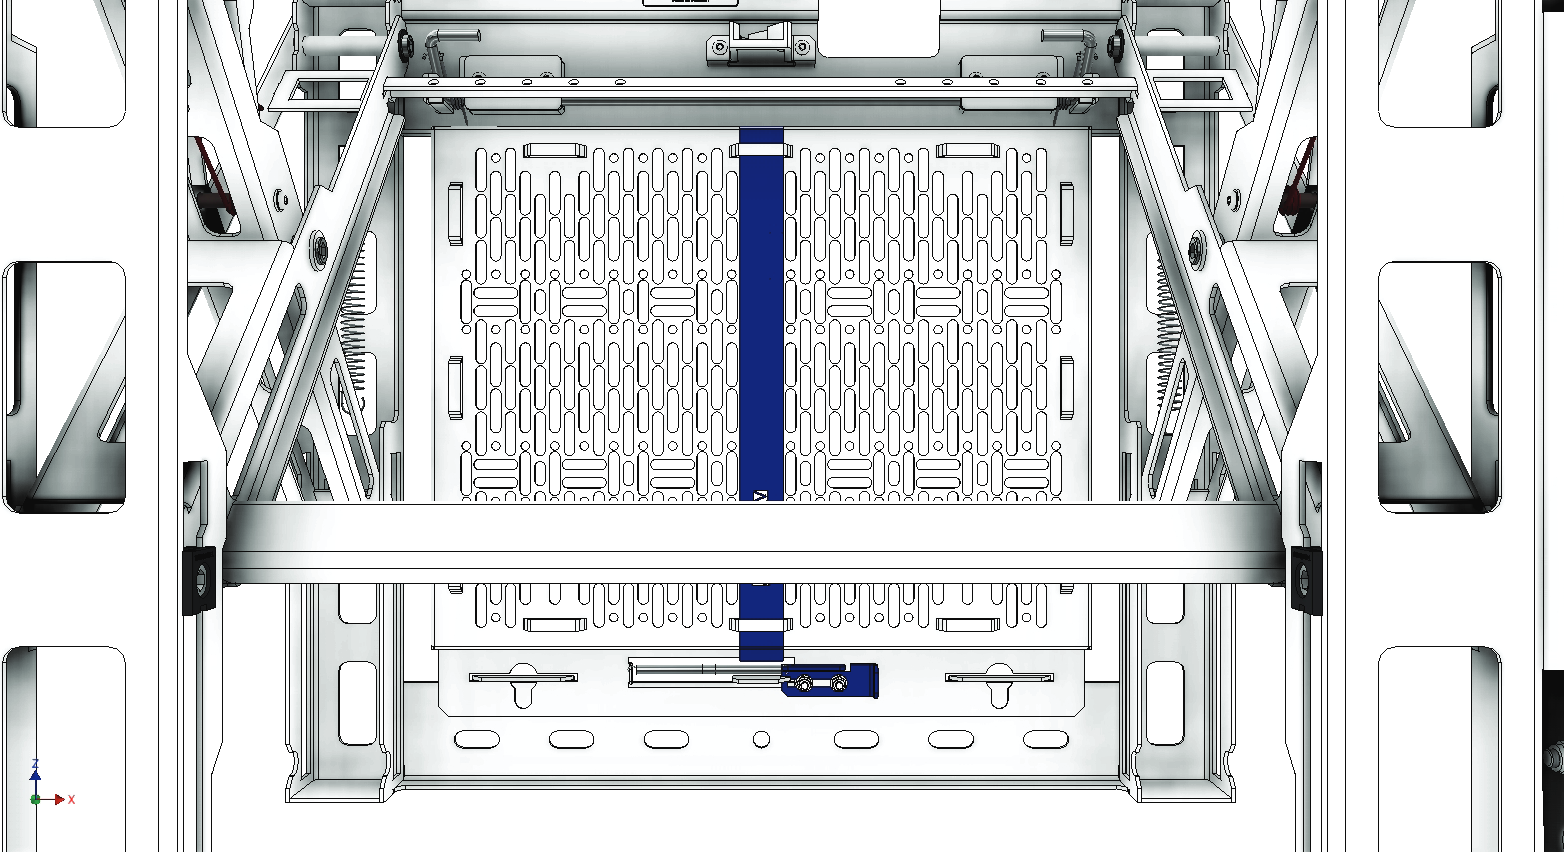
Pull out Equipment Rack
Step 3 If the electrical socket is located in the center of the mount, the equipment rack can not be used.
Note: Ensure that the electrical socket is always in a safe area (32 cm x 23 cm).The total height of the electrical socket and the power plug must be lower than 76 mm.Use an Electric Wall Scanner to locate the electrical wire if you want to drill a hole in the wall.
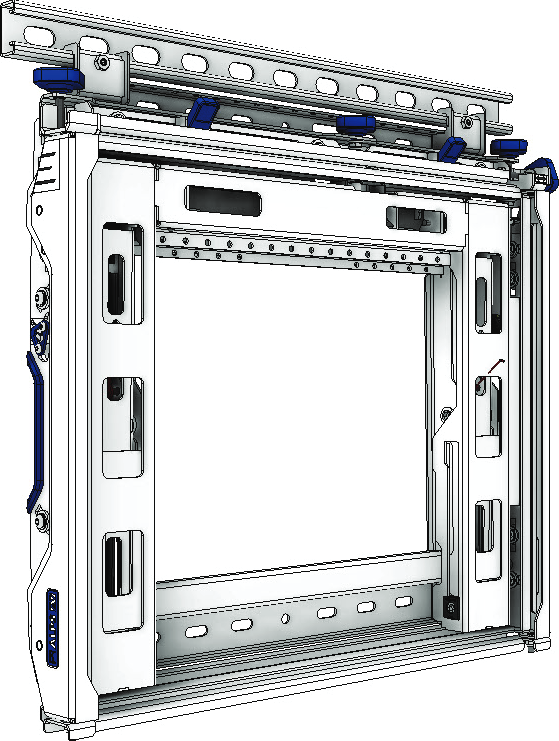
Electrical Socket 32 cm 23 cm Safety area Total height of Electric Socket must be lower than 76 mm

Electrical Socket
Step 4 If the electrical socket is located outside the mount area, the equipment rack can be used.
Note: Ensure that the electrical socket is always in the outside mount area (60 cm x 65 cm).The total height of the electrical socket and the power plug must be lower than 76 mm.The total height of electric devices must be a maximum of 60 mm and should be located in the center of the equipment rack.Use an Electric Wall Scanner to locate the electrical wire if you want to drill a hole in the wall.
60 cm
65 cm Electrical Socket Devices
INSTALLATION INSTRUCTIONS / Step 1 Remove and check all parts.
Check if depth and lateral adjustment knobs are centered in adjustment range.
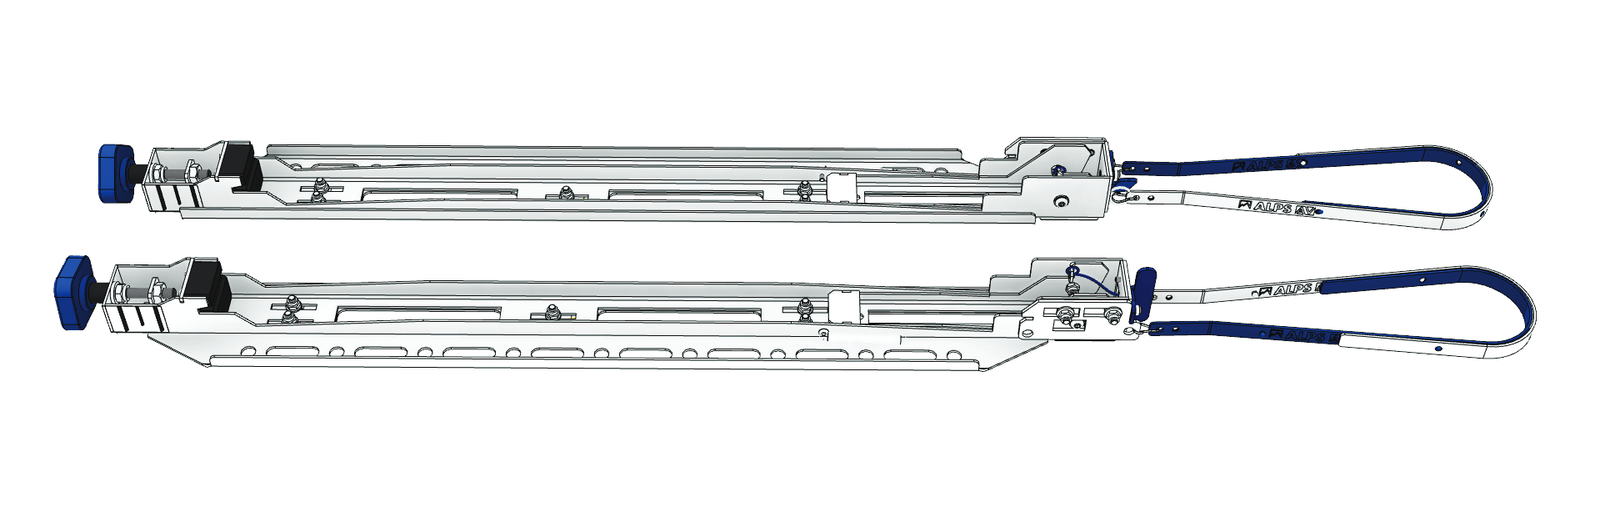
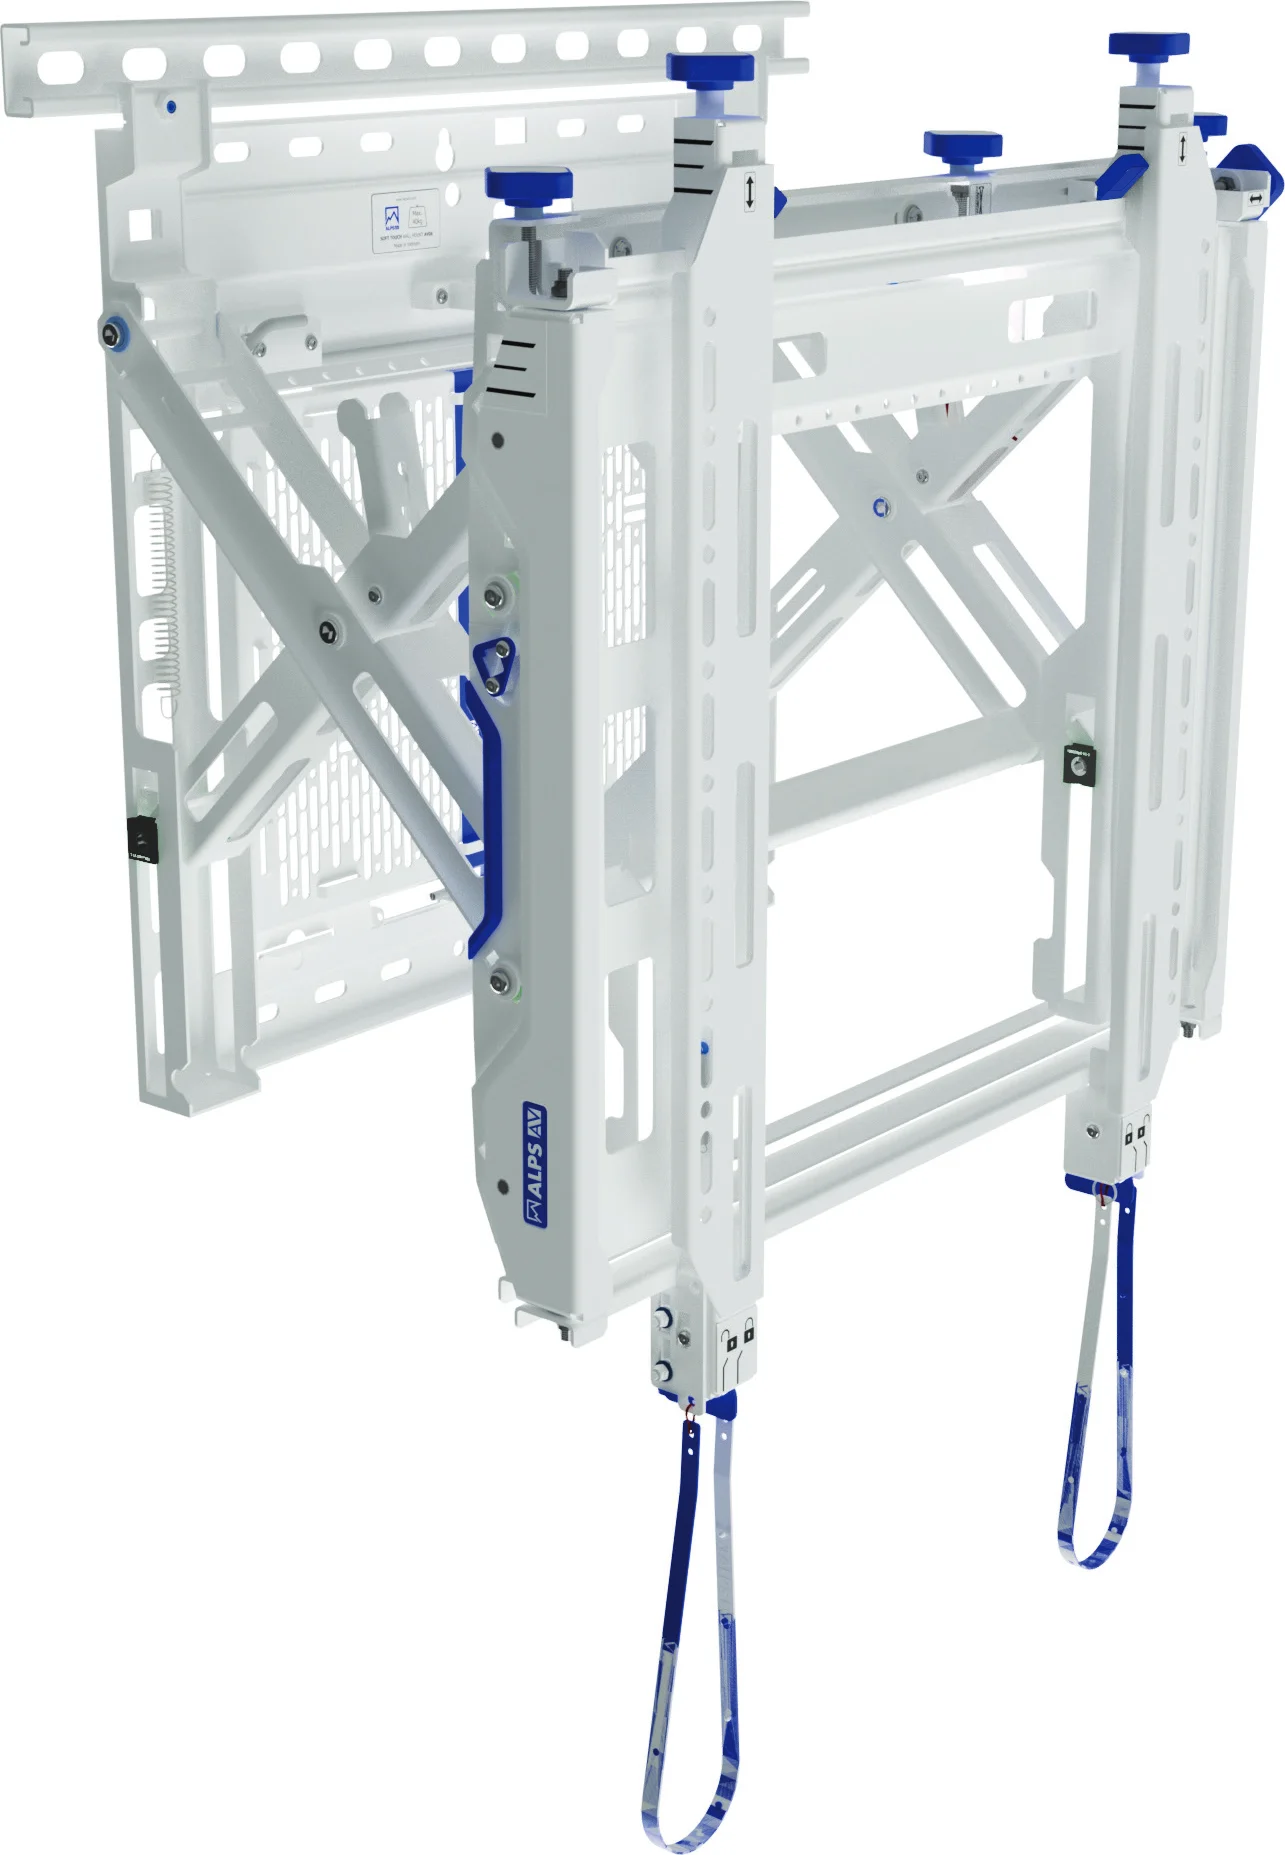
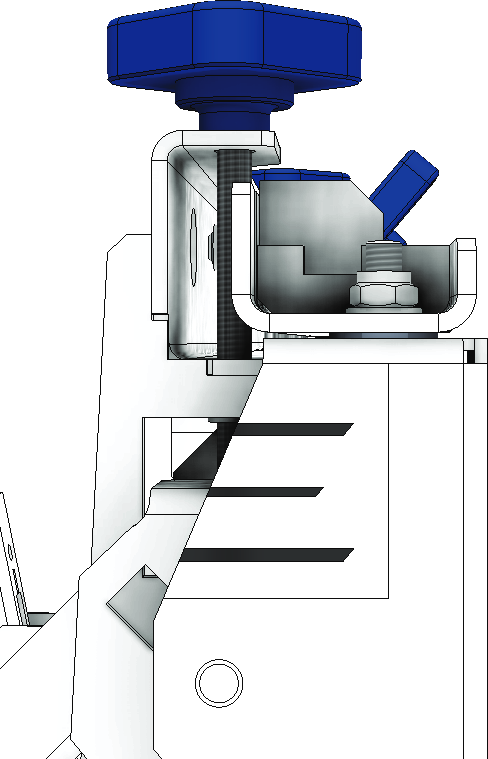
Interface Arms VESA Extension Arms
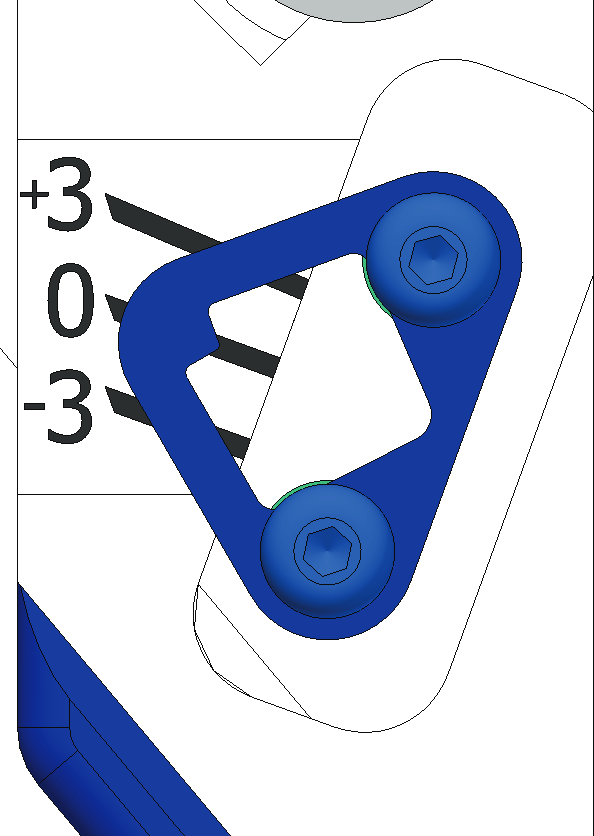
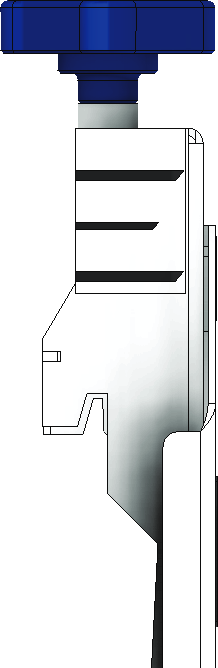
Height adjustment Tilt adjustment Depth adjustment
Mount
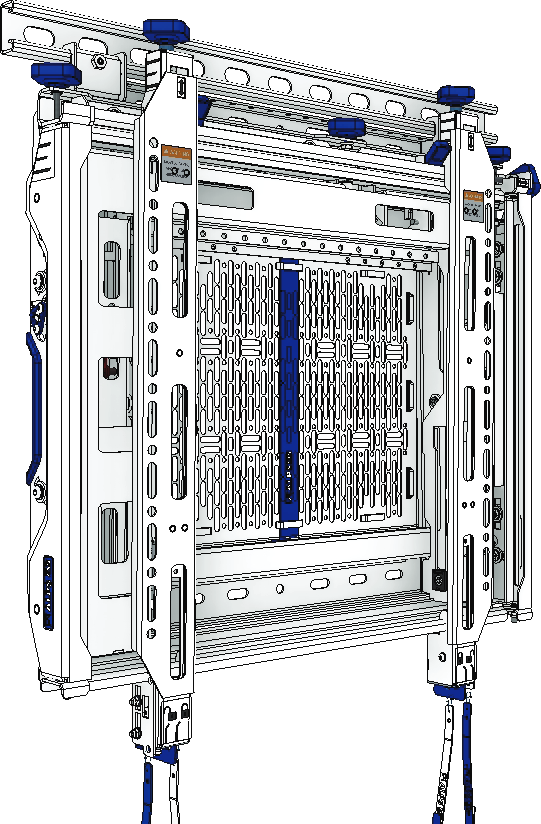
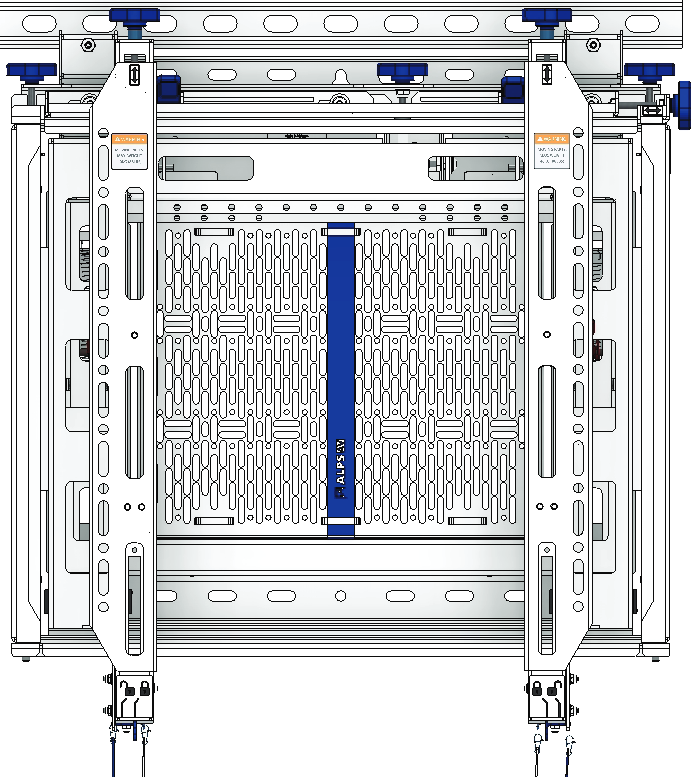
SCREEN / BACK / Step 2.1 Attach the interface arms to the flat screen (The interface arms fit from VESA 200 x 100mm through 400 x 400mm)
Importance: Use accesories in the assembly kit
- Use suitable position of VESA holes on the screen
- Use suitable length of screws and washers
- Use spacers if needed
Screws (4x)
Washers (4x)
Interface arms (2x)
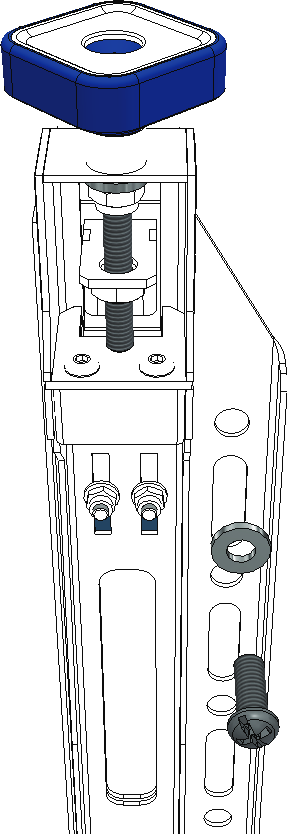
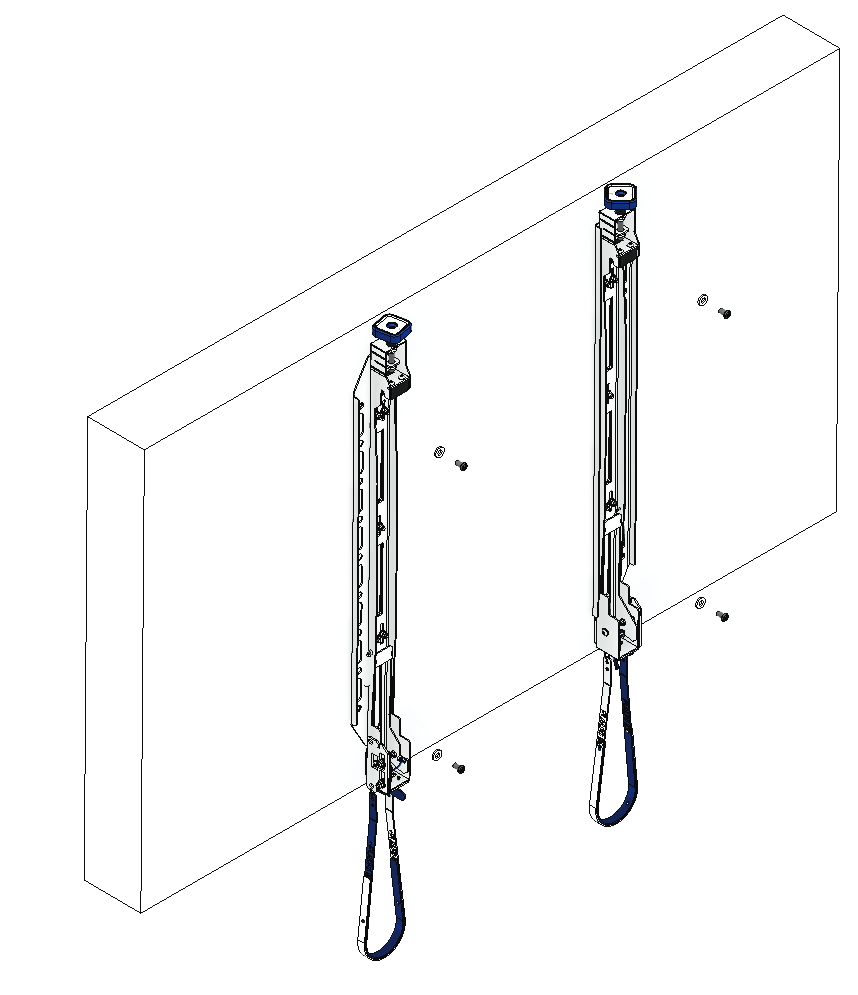
Screw Drive
For VESA 600x400 Landscape / Step 2.2
Screws M6x10 (4x)
Washer M6 (4x)
VESA extension arms (2x)
Interface arms (2x)
Mounting hole on the sceen
VESA Lanscape 600x400 (Use M6x10 and washer M6 to assemble interface arms with VESA extension bar)
Importance: Use accesories in the assembly kit
- Use suitable position of VESA holes on the screen
- Use suitable length of screws and washers
- Use spacers if needed
Screw Drive
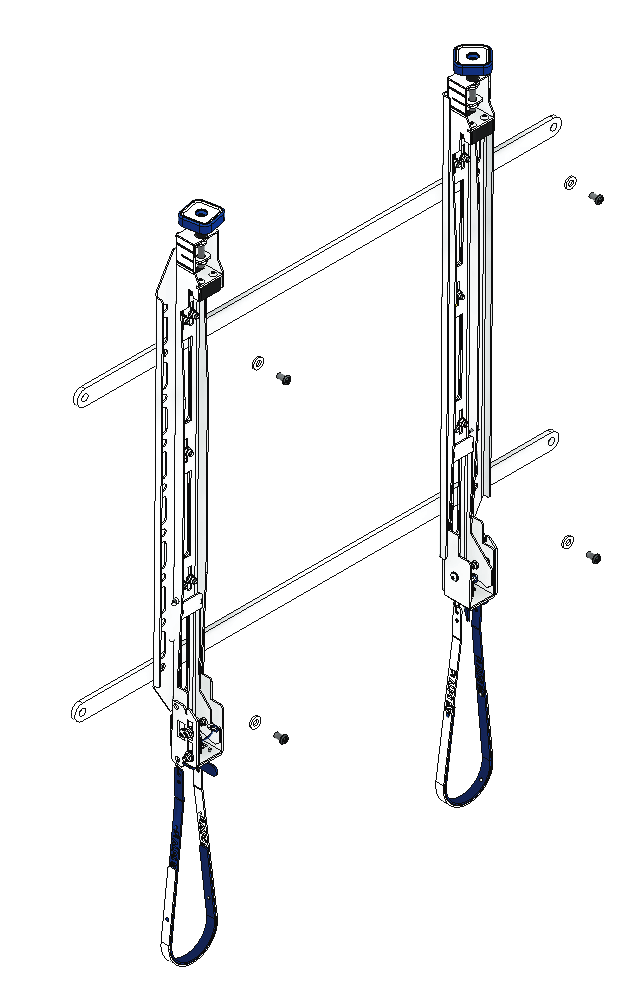
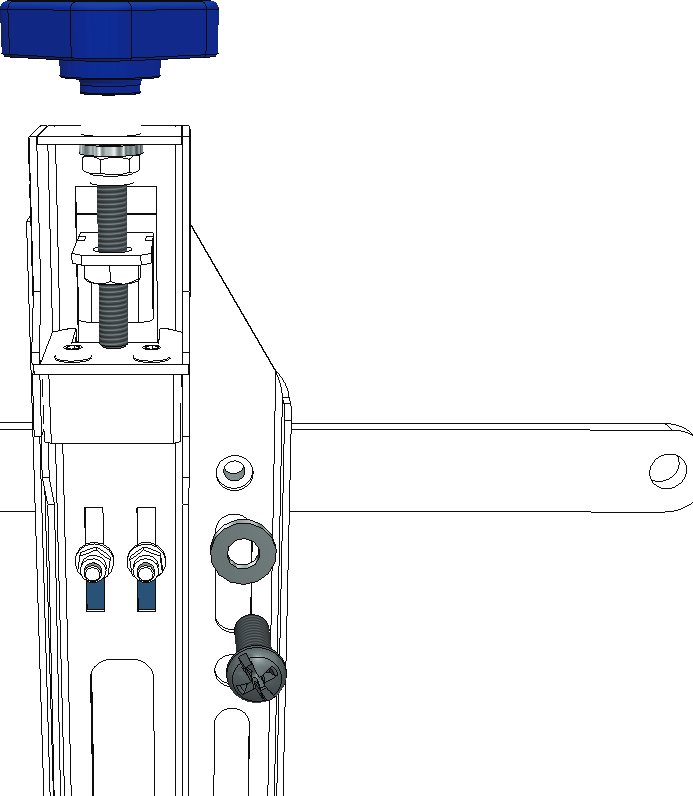
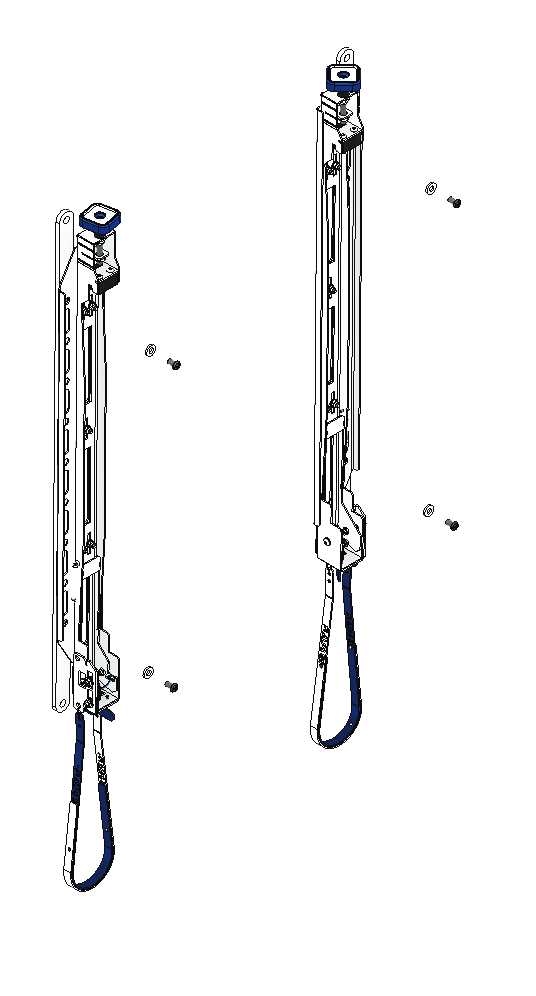
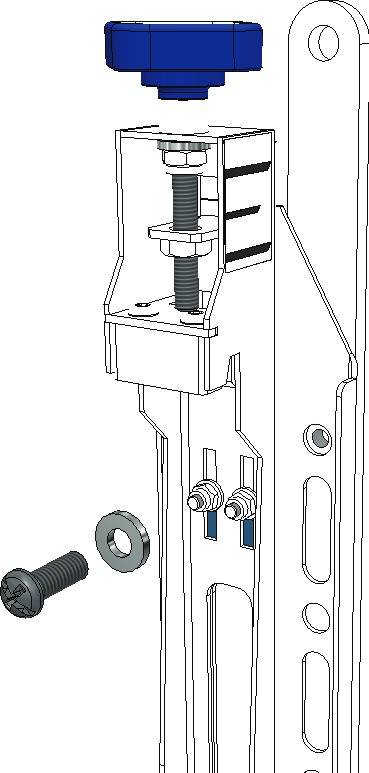
For VESA 400x600 Portrait / Step 2.3 VESA Portrait 400x600 (Use M6x10 and washer M6 to assemble interface arms with VESA extension bar)
Importance: Use accesories in the assembly kit
- Use suitable position of VESA holes on the screen
- Use suitable length of screws and washers
- Use spacers if needed
Screws M6x10 (4x)
Washer M6 (4x)
VESA extension arms (2x)Interface arms (2x)
Mounting hole on the sceen
Screw Drive
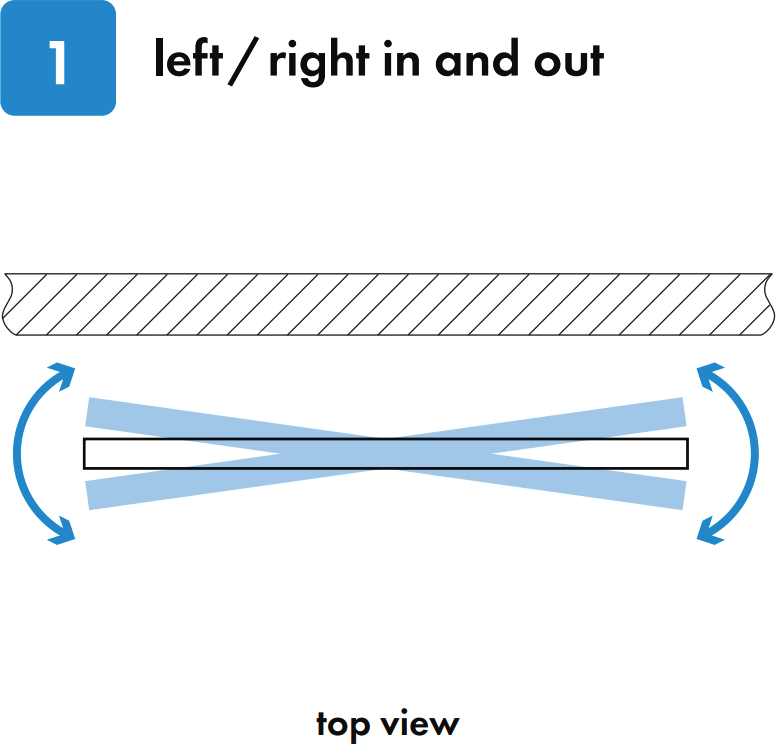
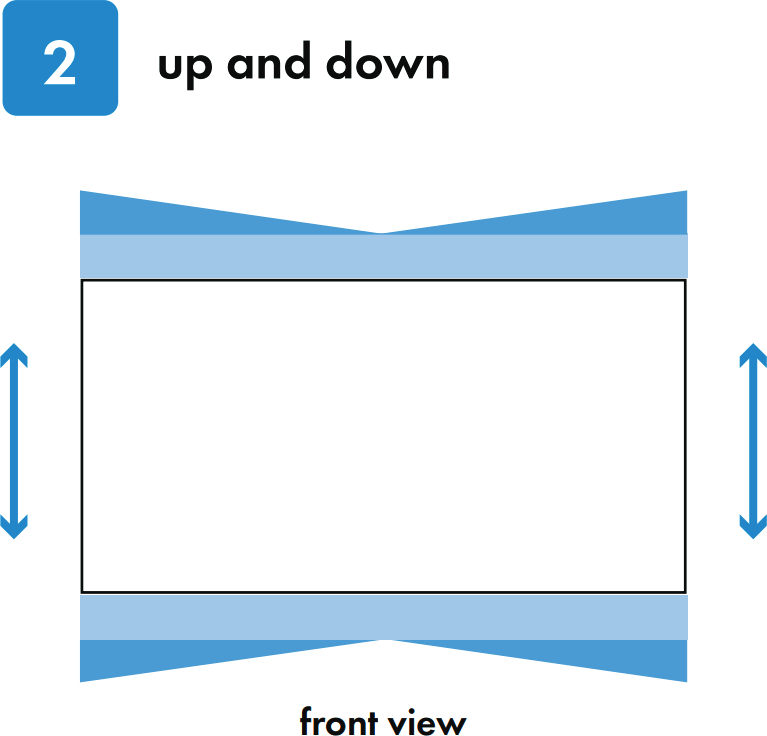
Left / Right in and out Up and down
Top view Front view
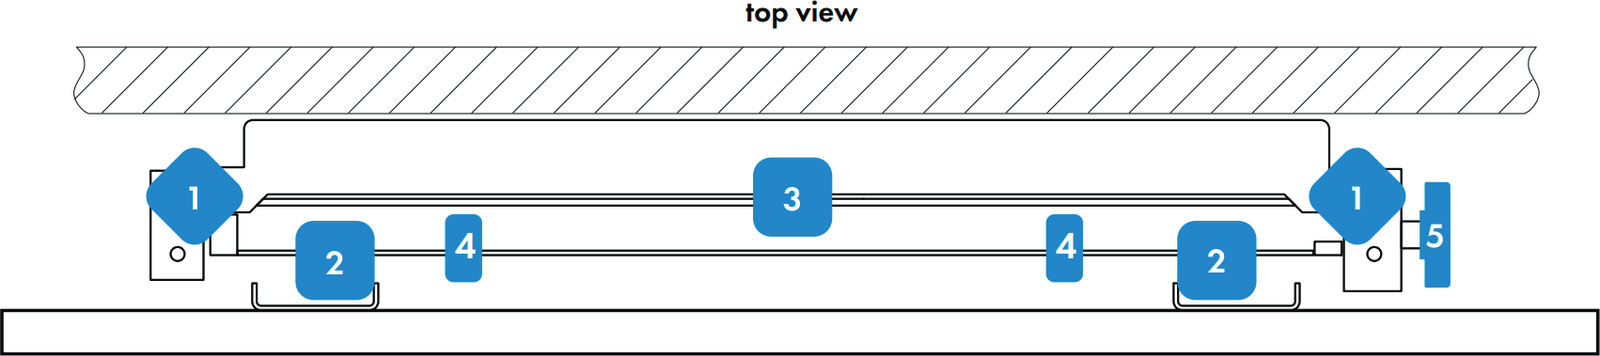

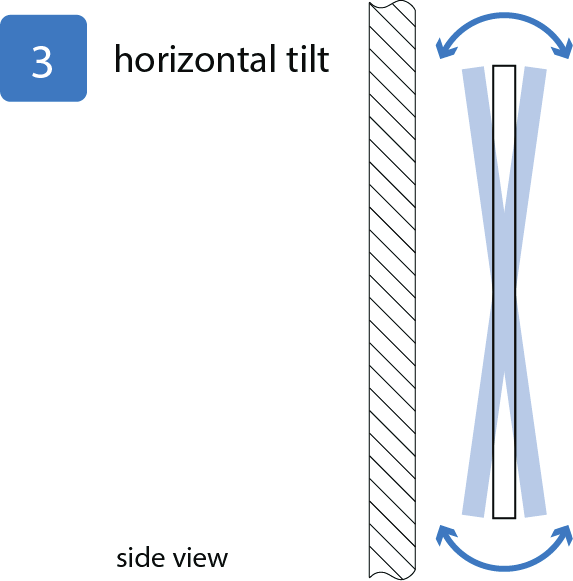
Horizontal tilt
Side view
Left and Right (rough)
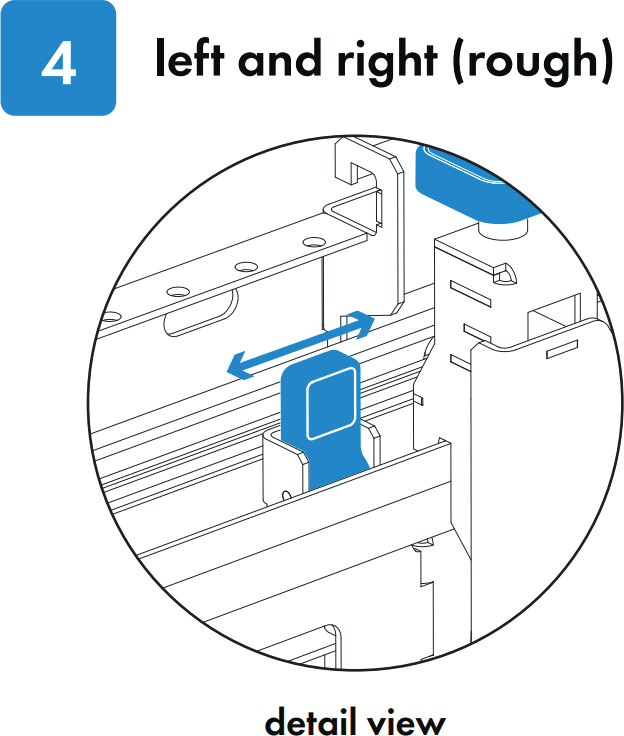


Detail view
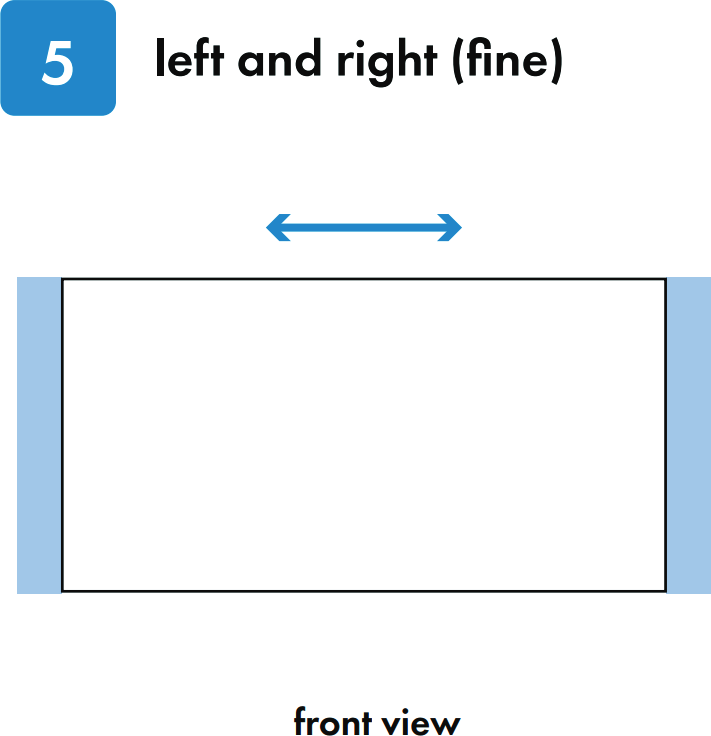
Left and Right (fine)
Front view
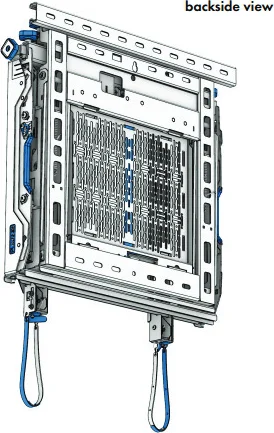
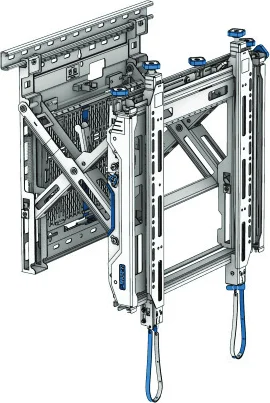
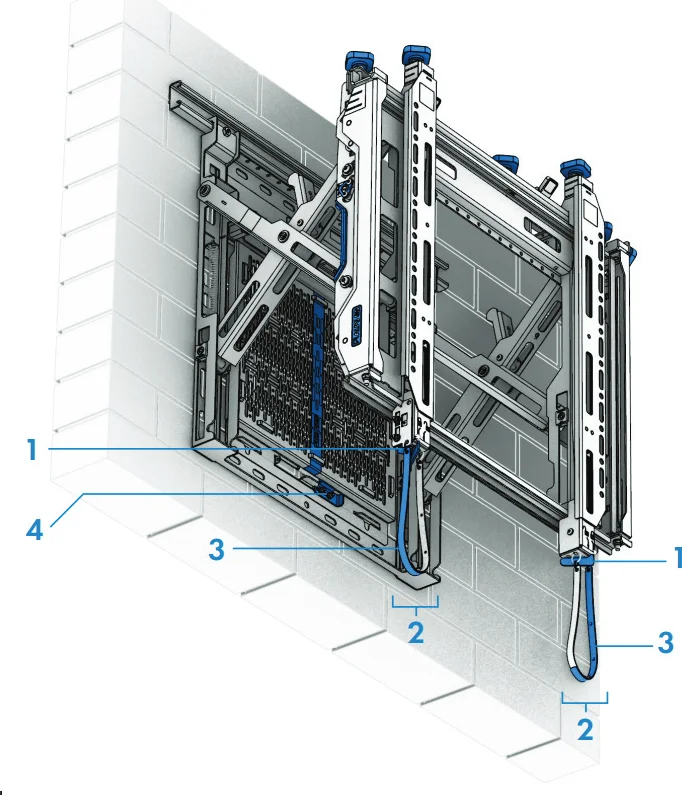
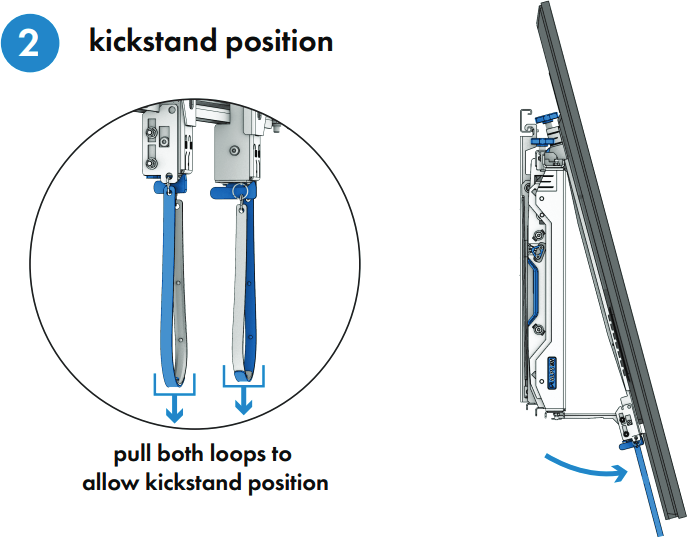
Kickstand position
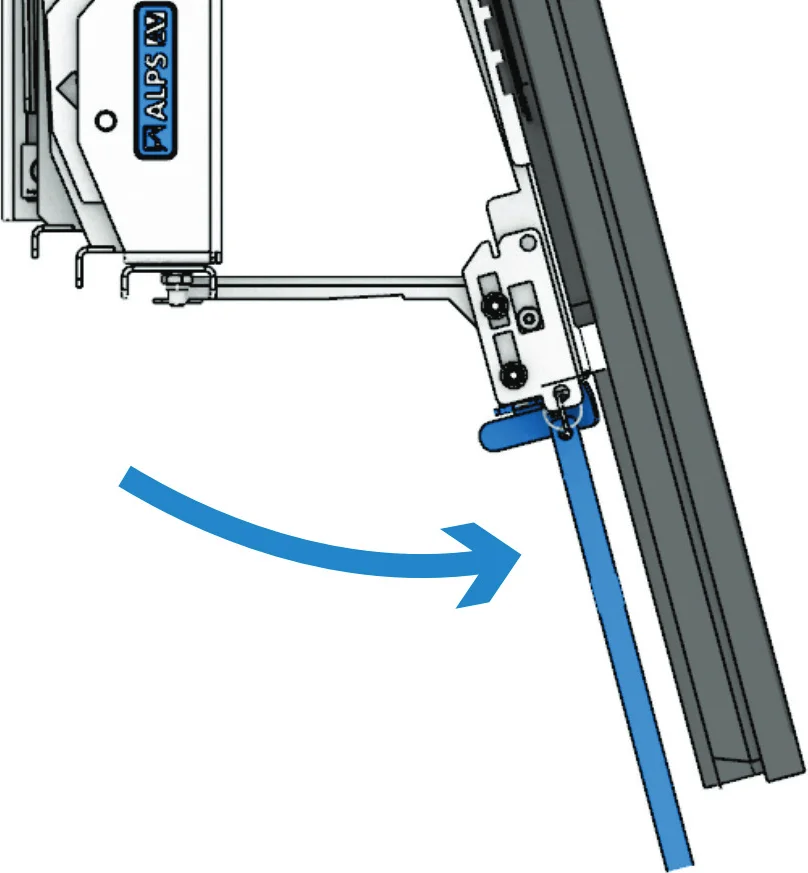
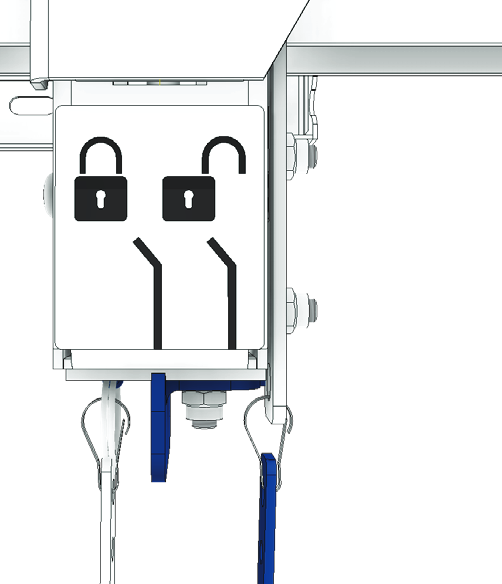
Unlock Pull both loops to allow kickstand position
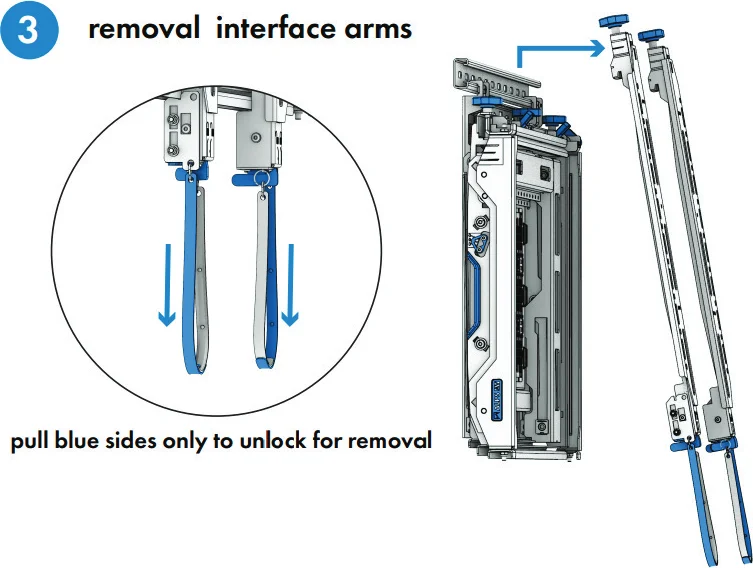
Interface arms removal
Unlock equipment panel
Pull blue sides only to unlock for removal
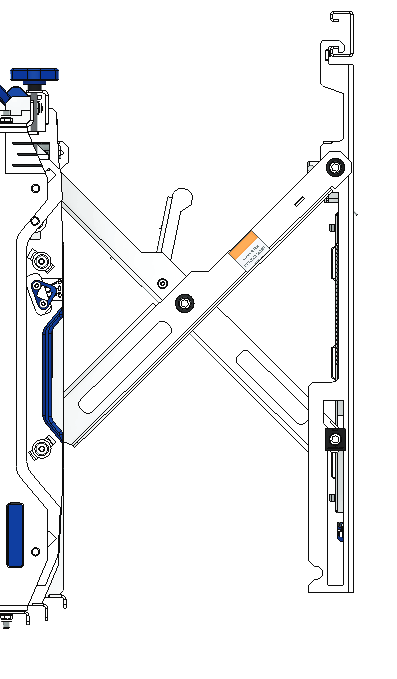
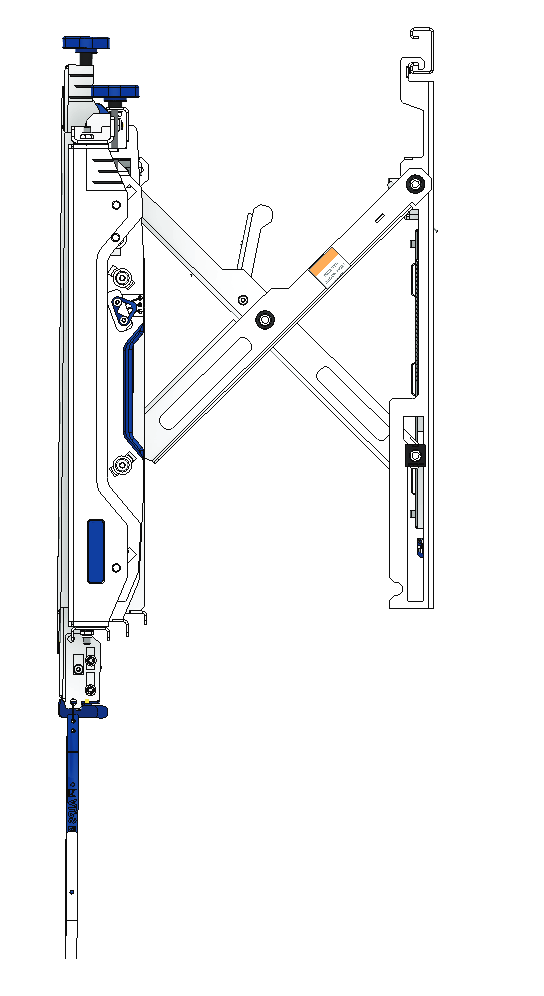
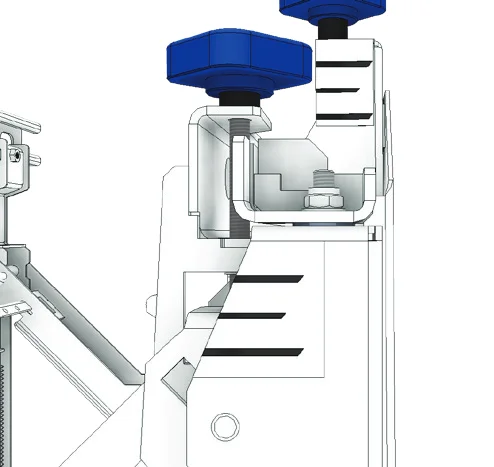
Kickstand detail view
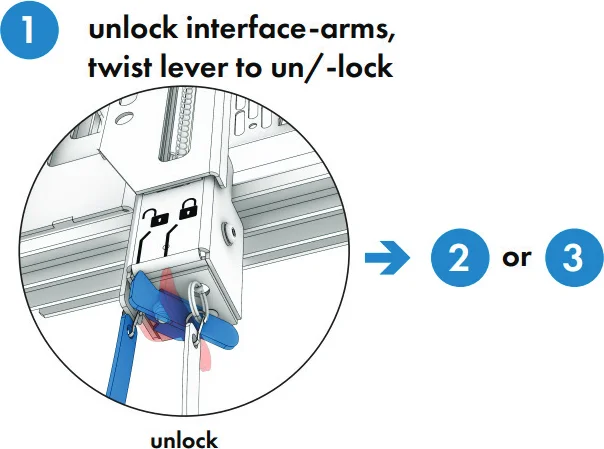
Unlock interface-arms
twist lever to un/-lock
SINGLE SCREEN INSTALLATION
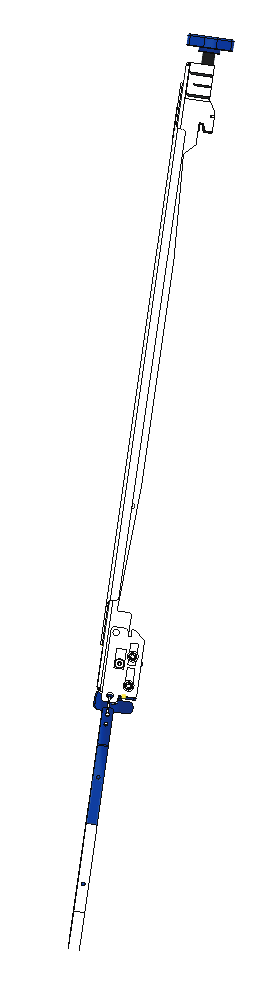
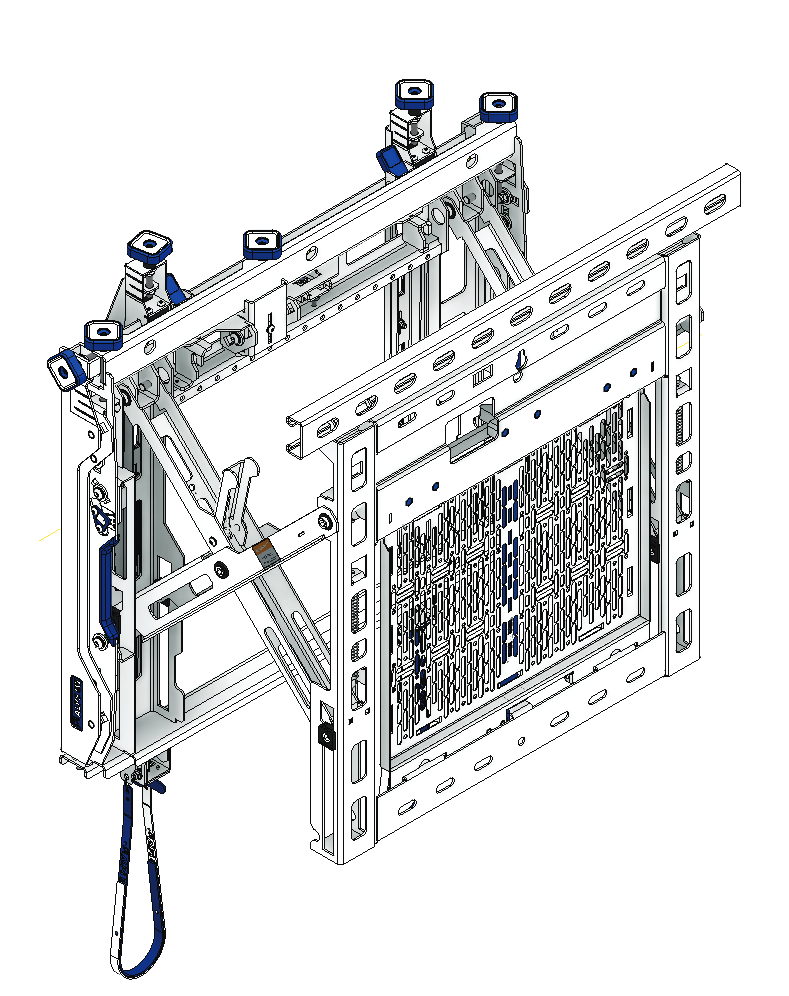
Step 3 Extend Mount from wall.
Hook the arms onto the frame from a slight angle. Afterwards, flatten the screen onto the mount base until it clicks into position.
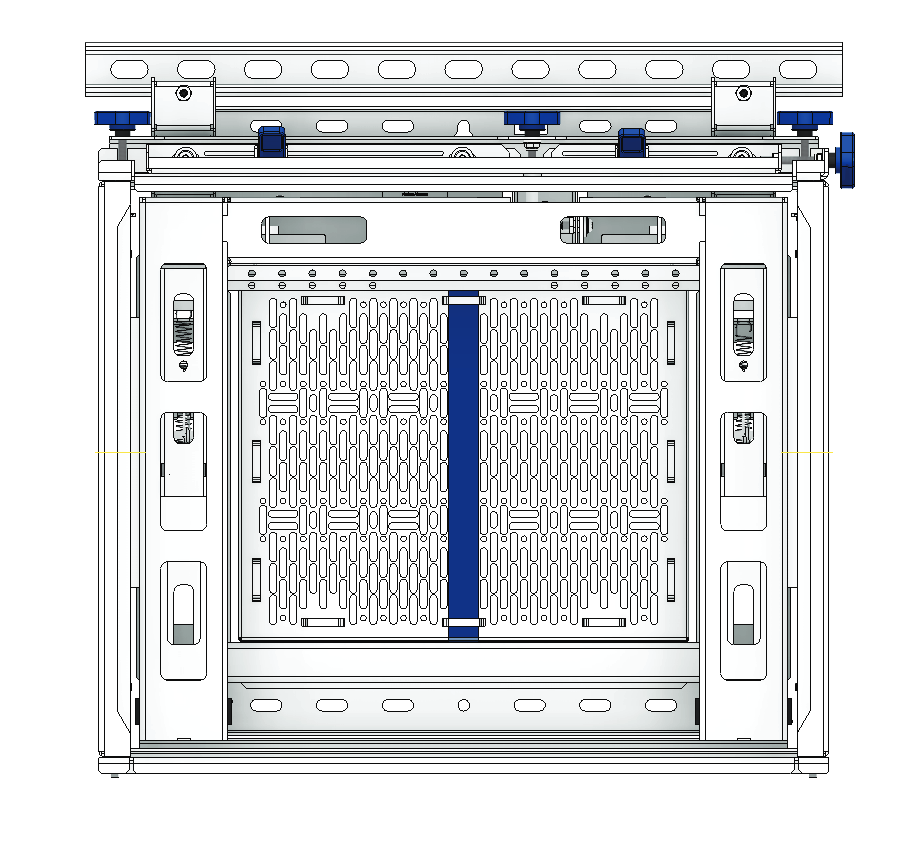
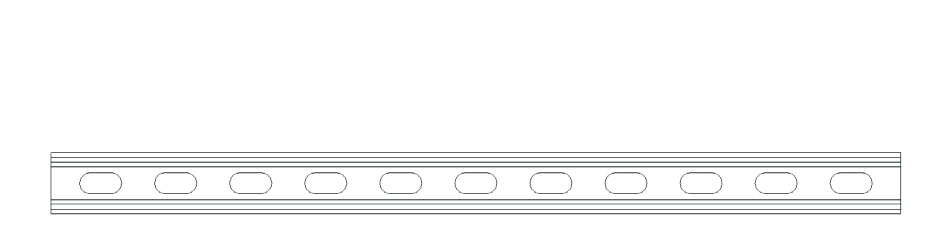
Use minimum 2 wall bolts (3 recommended) at Top and 2 wall bolts bottom of mount. Heavier screen should have 3 bolts on the top
Fasten to wall
2xM6 thread insert
Step 1 Mark to drill holes and mount the C-Channel. / Step 2 Tighten all bolts.
Please remember to tighten two M6 thread inserts from assembly screw kit after adjusting position.
Level
Note: • Must use Electric Wall Scanner to locate the position of electric wires before drilling into the wall.
Step 4
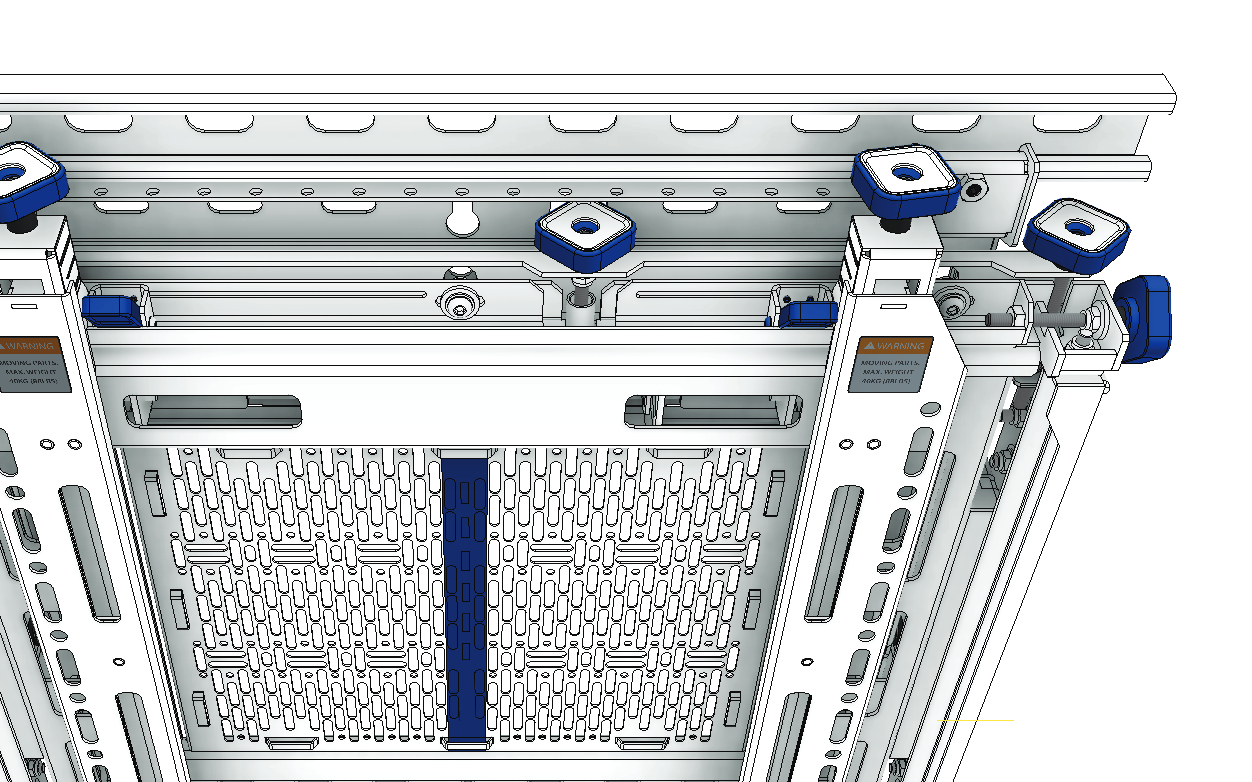
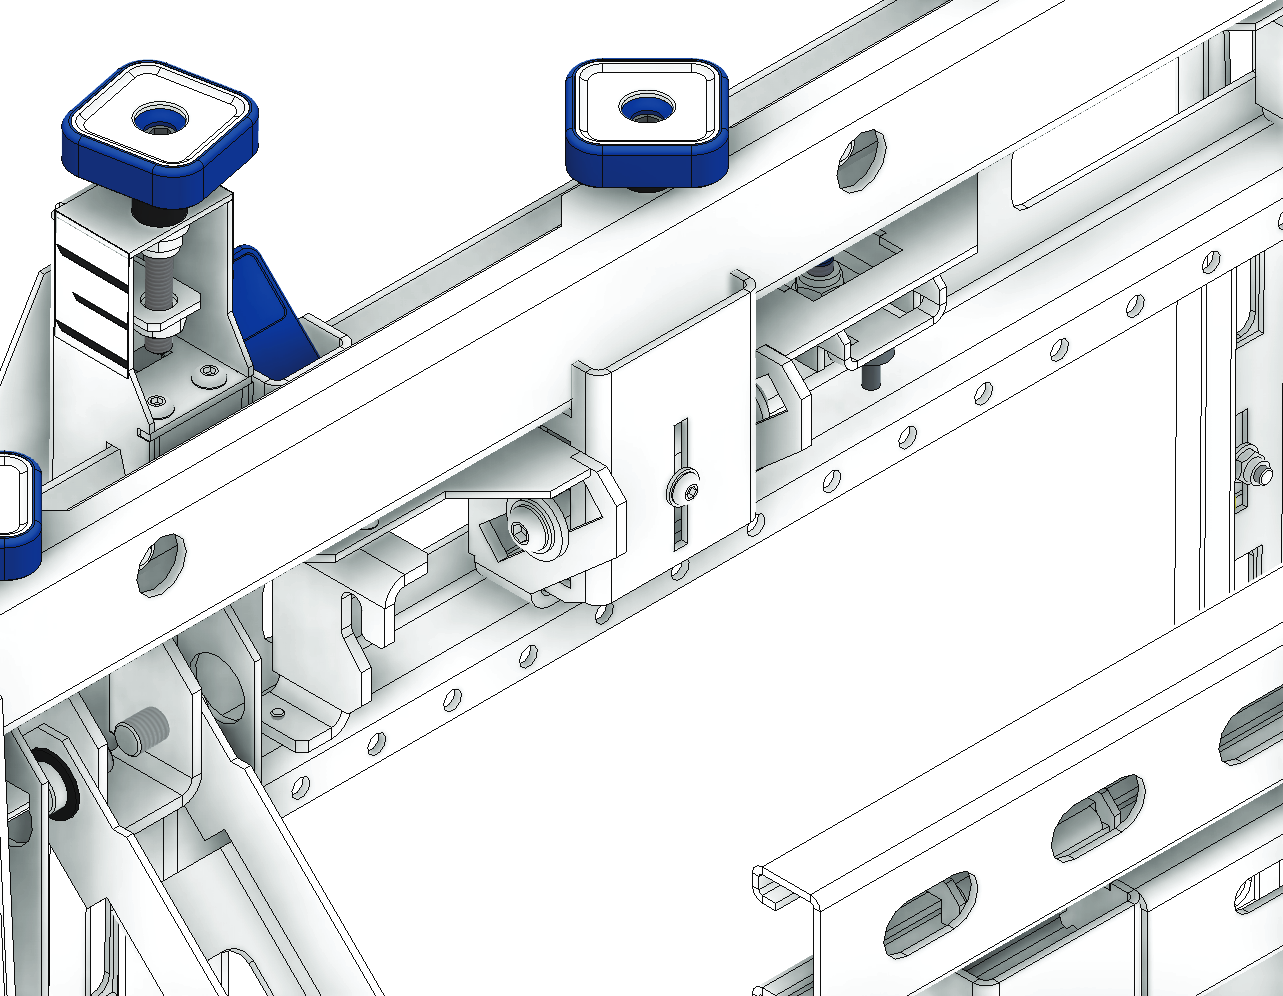
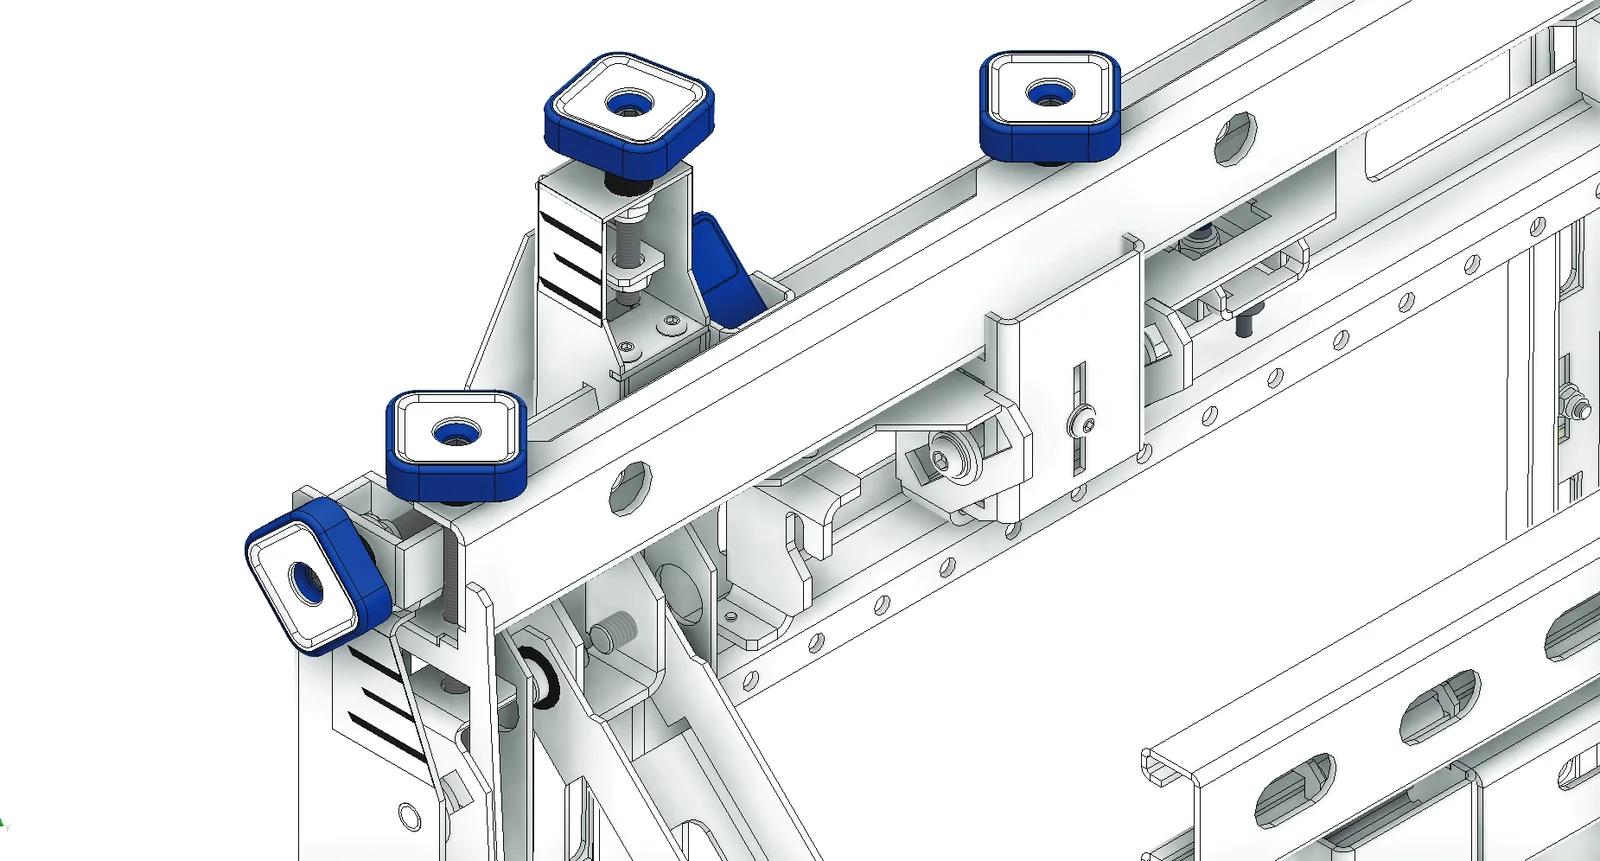
Step 5 Use level to make any needed adjustments to screen.
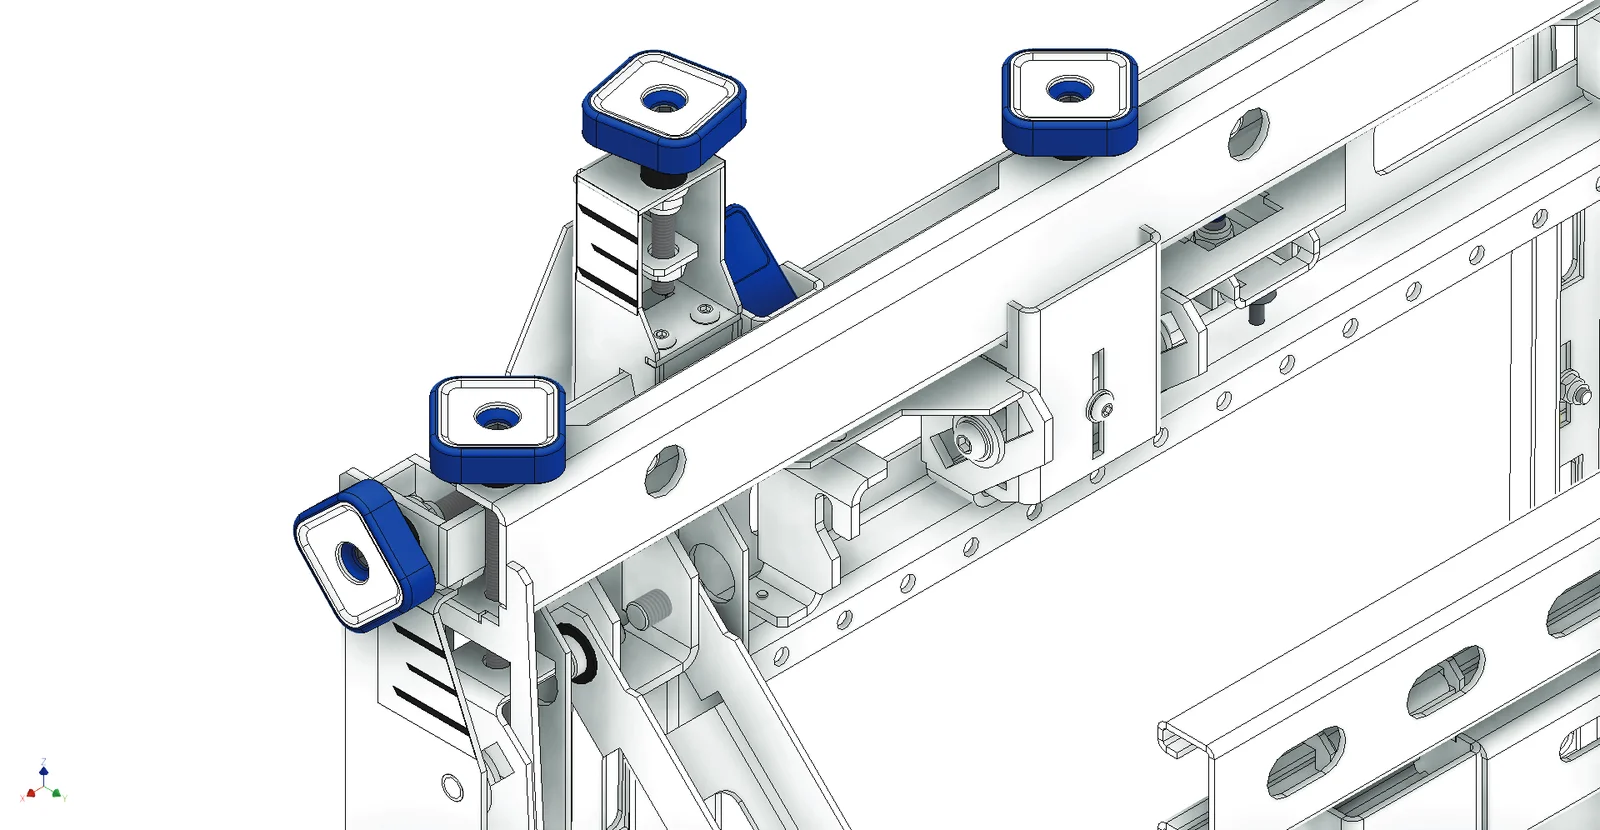
Use lock E to secure screen.
Note: Once secured, lock E must be unlocked and removed before screen is taken out.
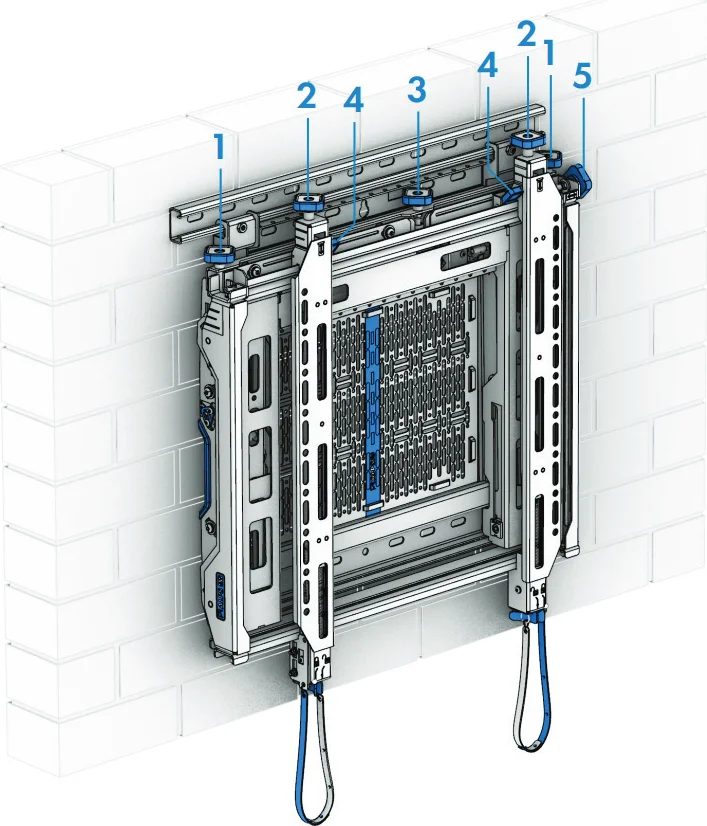
A
Height adjustment
E
Lateral micro adjustment
C
Tilt adjustment
D
Lateral macro adjustment
B
Depth adjustment
E
Lock/ Unlock interface arm
Screen adjustment.
- Unlock lateral Smart-Lock.
- Slide screen into position.
- Slide Smart-Lock to interface arm.
- Lock Smart-Lock.
- After Smart-Lock is in position. the lateral micro adjustment can be used.
Lateral Smart-Lock
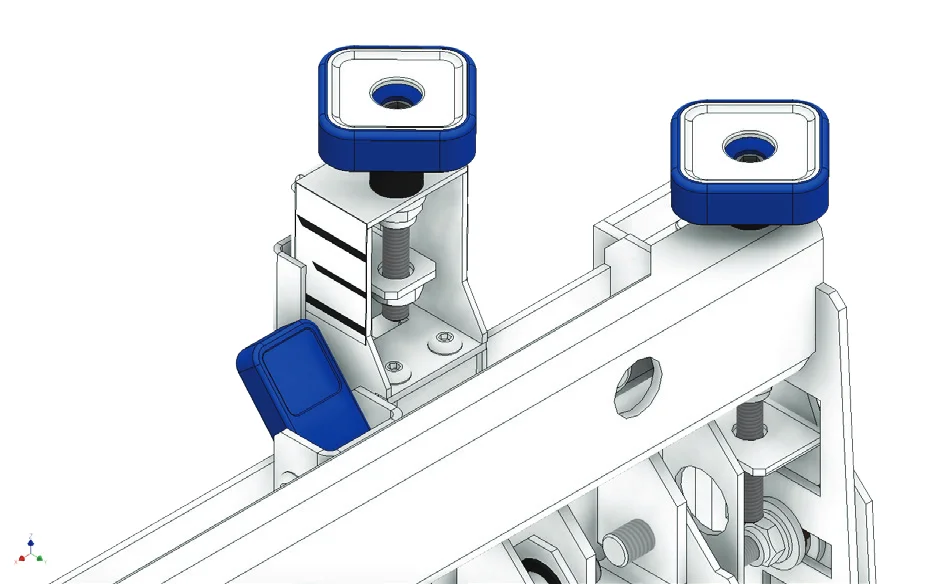
Step 6 Screen adjustment
A
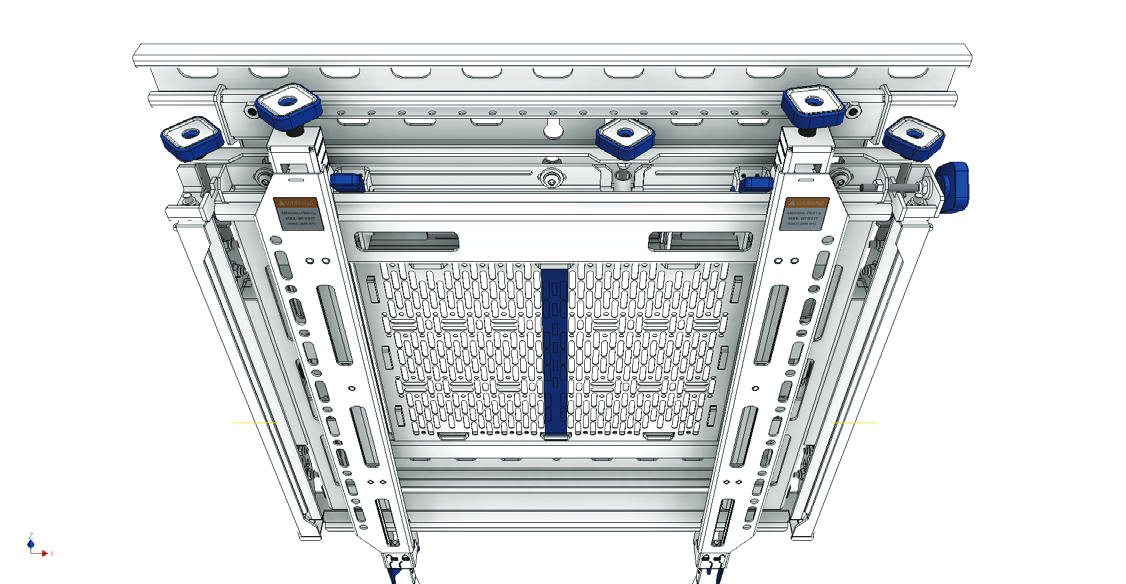
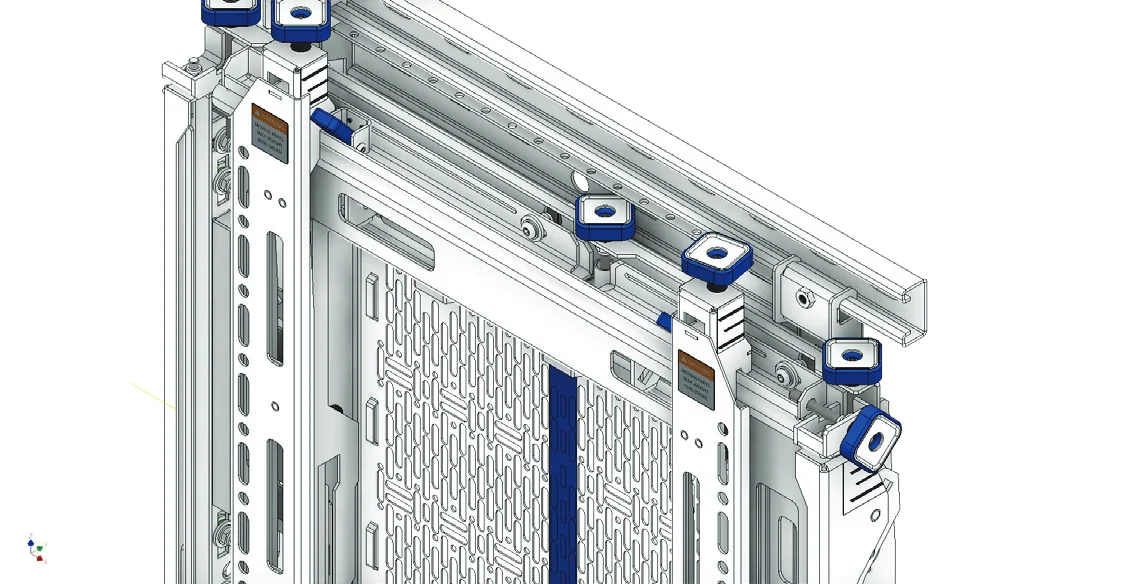
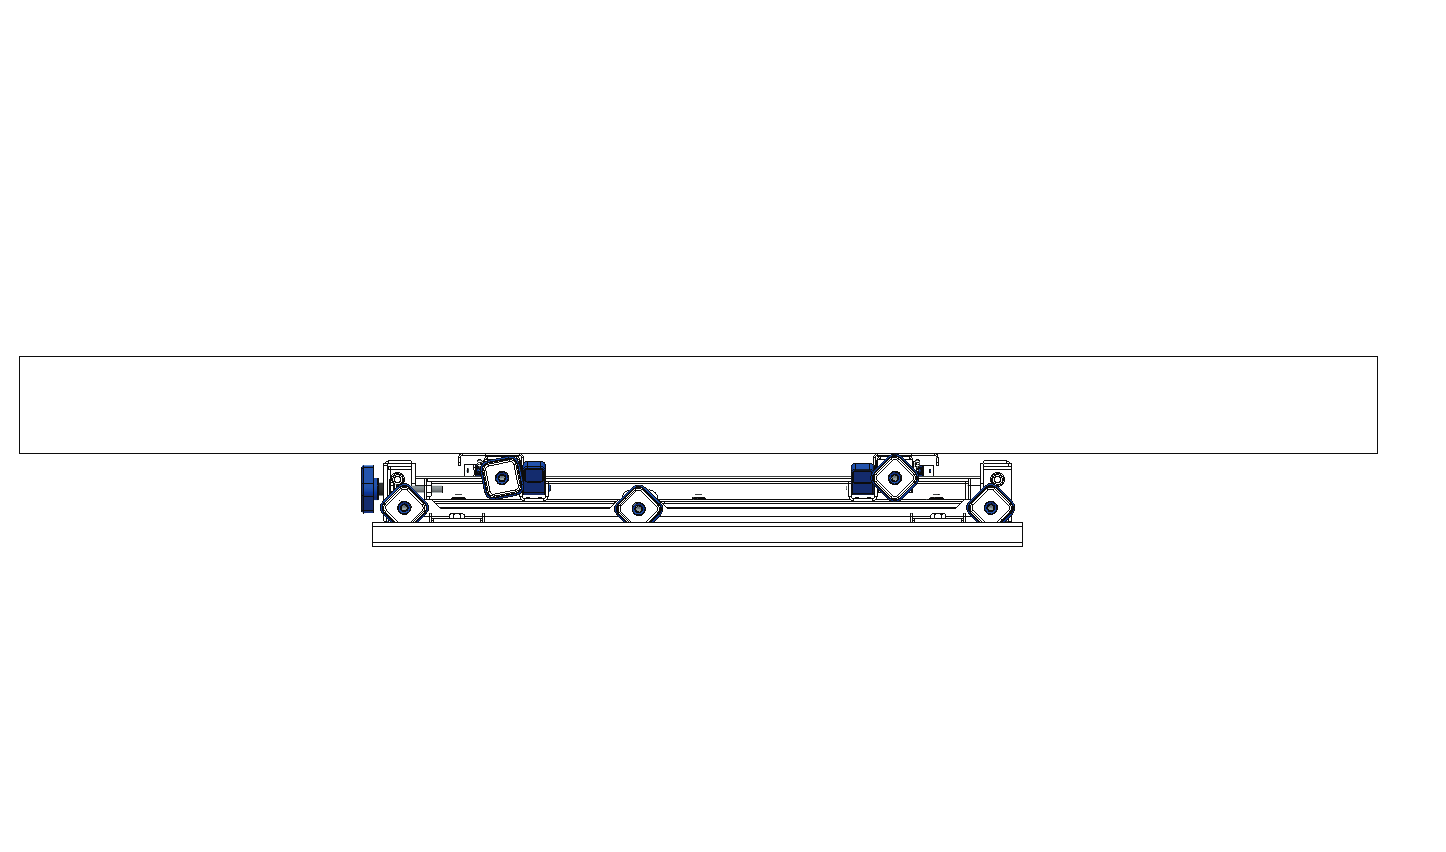
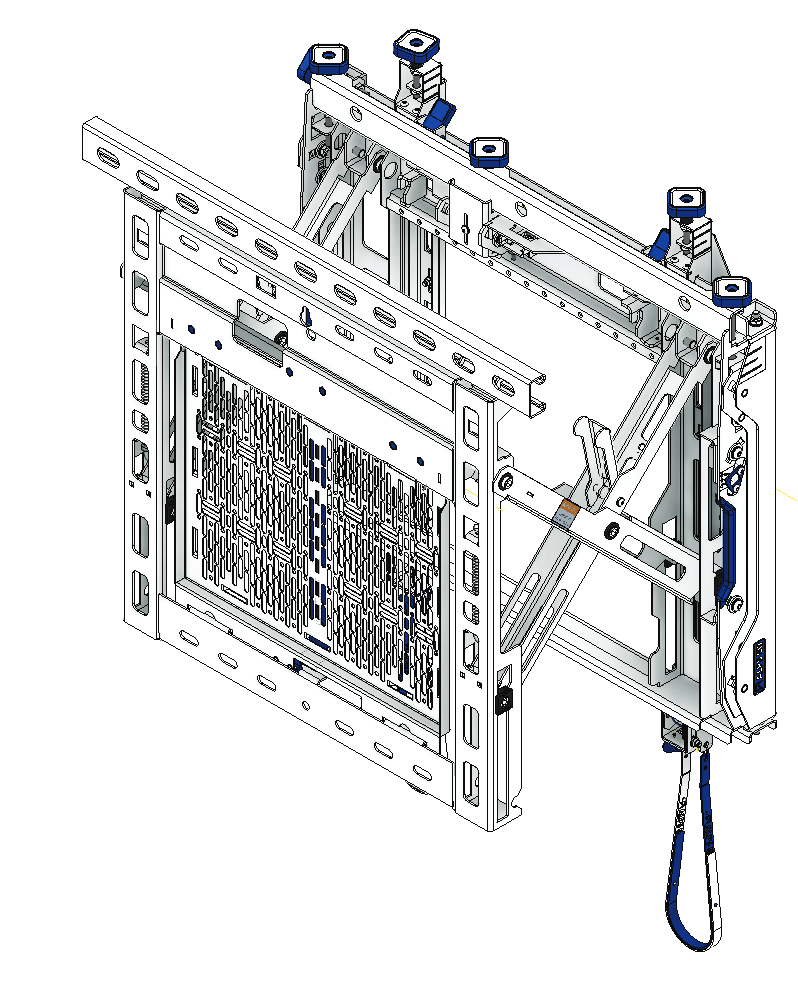
C
Lateral macro adjustment
D
Lateral micro adjustment
A
Height Adjustment
B
Depth adjustment
B
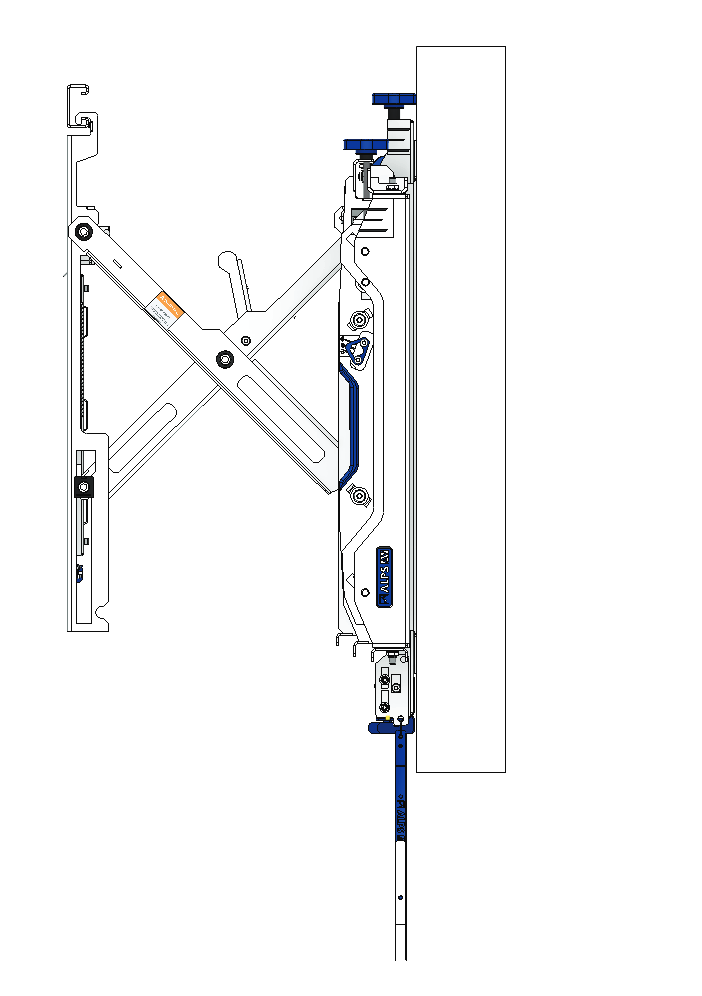
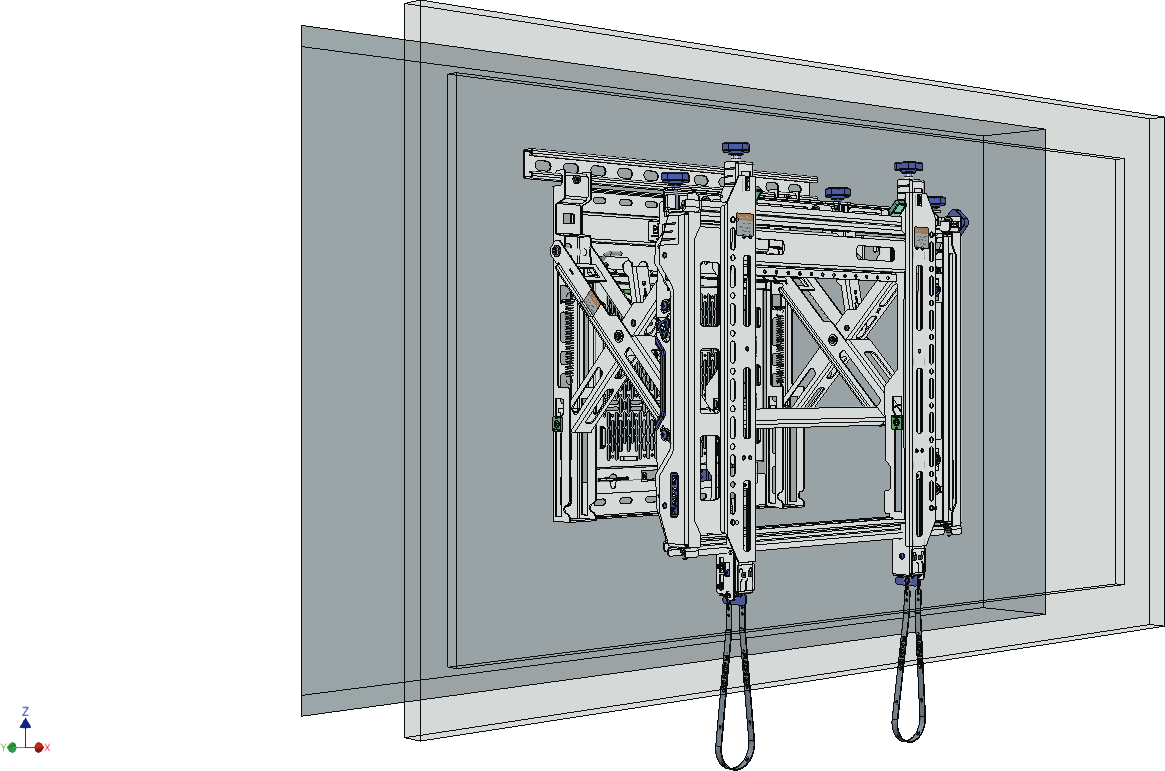
RECESS FLAT SCREEN INSTALLATION
Step 1
The hole on the wall (LxHxD)
L = Ls + X mm
H = Hs + Y mm
D = Ds + 92 mm
X, Y: Gap each corner
The mount
The screen (Ls x Hs x Ds)
Ls = Length
Hs = Height
Ds = Depth
The dimension of rectangular holes on the wall need to be created based on the screen’s dimensions.
Note: Some screen manufacturers do not put the VESA holes at the center of the screen backside. Therefore, you should locate the position of back wall plate and mark the drill holes with the following instruction.
Top of screen
Bottom of screen
Ls
Hs
Ds
100
H1
H3
H2
Y
X
Wall Hole
D
H
L
Center of wall hole
VESA hole of screen
Mount space
Make a rectangular hole on the wall using the dimensions of the chosen screen by following the instructions below.
Please ensure minimum gaps between the screen and four edges of the recessed box is 2mm and that corners and four angles are 90 degrees.
Note: Must use Electric Wall Scanner to locate the position of electric wires before drilling into the wall.
Step 2 Locate C-Channel using tape ruler and bubble level. / Important: The VESA holes position of a monitor is pre-defined by the manufacturer.
Note: • Must use Electric Wall Scanner to locate the position of electric wires before drilling into the wall.
2.1 If H1=H3, the position of the mount will be in the middle of the recessed box.
- Locate the center of the recessed box.
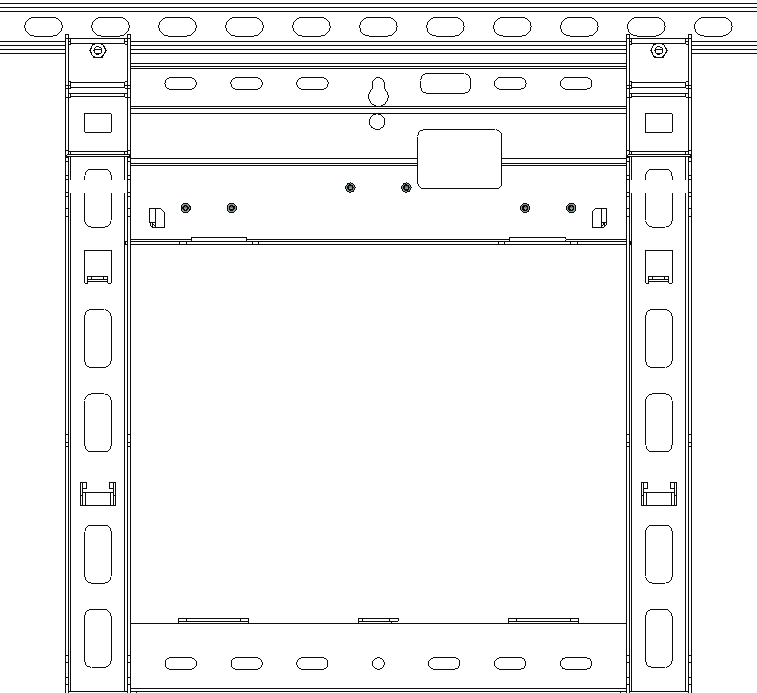
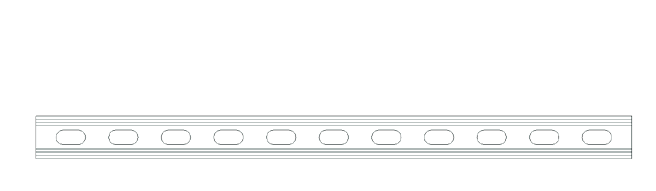
- Locate the C-Channel following the below image with L1 = 276mm.
- The position of the hanging hole on the bracket is 43mm lower than the center position of C-channel
Level
Top
Bottom
L
H
L1
Center of wall hole
2.2 If H1<H3, the center of mount will be higher than the center of the recessed box.
- Locate the new center of the mount compared to the center of the recessed box by having H3 minus H1 following the image below .
- Locate the C-Channel following the below image with L1 = 276mm.
- The position of the hanging hole on the bracket is 43mm lower than the center position of C-channel.
LevelTop
Bottom
L
H
L1
Center of wall hole
Center point of mount
H3-H1
H3
43 mm
Key hole on the mount
43 mm
Key hole on the mountH1
2.3 If H1>H3, the center of the mount will be lower than the center of the recessed box.
- Locate the new center of the mount compared to the center of the recessed box by having H3 minus H1 following the image below.
- Locate the C-Channel following the below image with L1 = 276mm.
- The position of the hanging hole on the bracket is 43mm lower than the center position of C-channel.
- Must use Electric Wall Scanner to locate the position of electric wires before drilling into the wall.
| Level | Top | Bottom | L | H | L1 | Center of wall hole | Center point of mount | H1-H3 |
|---|
Step 3 Fix the C-Channel onto the wall.
Use minimum 2 wall bolts (3 recommended) at Top and 2 wall bolts bottom of mount. Heavier screen should have 3 bolts on the top
Fasten to wall
2xM6 thread insert
- Locate holes on the wall.
- Use the measurement in the image below to ensure the mount is at the center of the recessed box.
- Must use Electric Wall Scanner to locate the position of electric wires before drilling into the wall.
- 50.25 mm
- 43 mm
- Key hole on the mount
Step 4 Extend Mount from wall and hang the screen.
- Install the interface arms according to VESA standard. Push on the mount so it extends forward in preparation for hanging the screen.
- Hook the arms onto the frame from a slight angle. Afterwards, flatten the screen onto the mount base until it clicks into position.
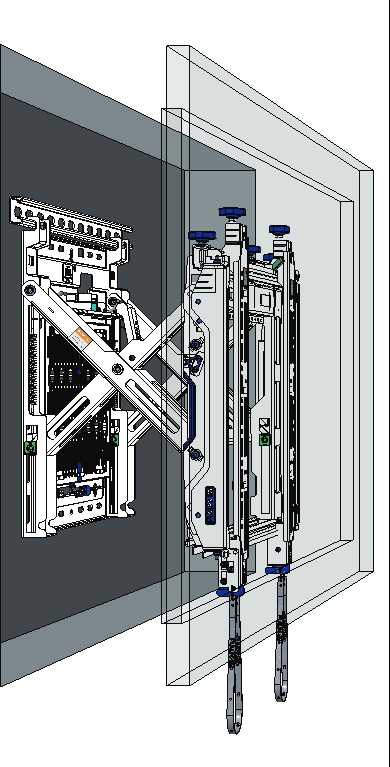
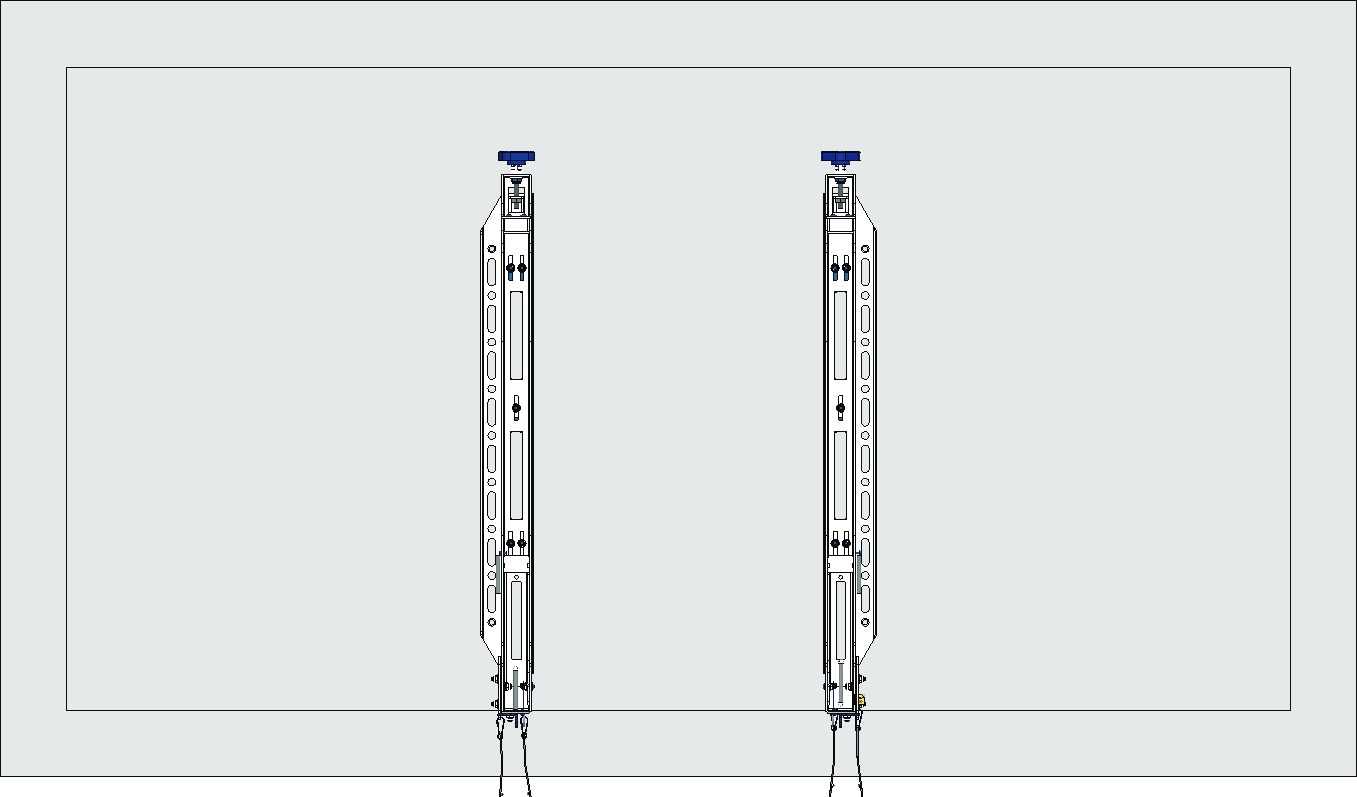
Step 5 Cable management.
- All electrical wires need to be connected before moving onto adjustment.
Step 6 Align the screen.
- Slowly close the mount to check 4 corners.
- Use all handwheels to make sure the gaps between screen and the recessed box are identical
- Arrange the plastic loops before closing the mount.
Step 7 Close the mount and do the final check on every corner
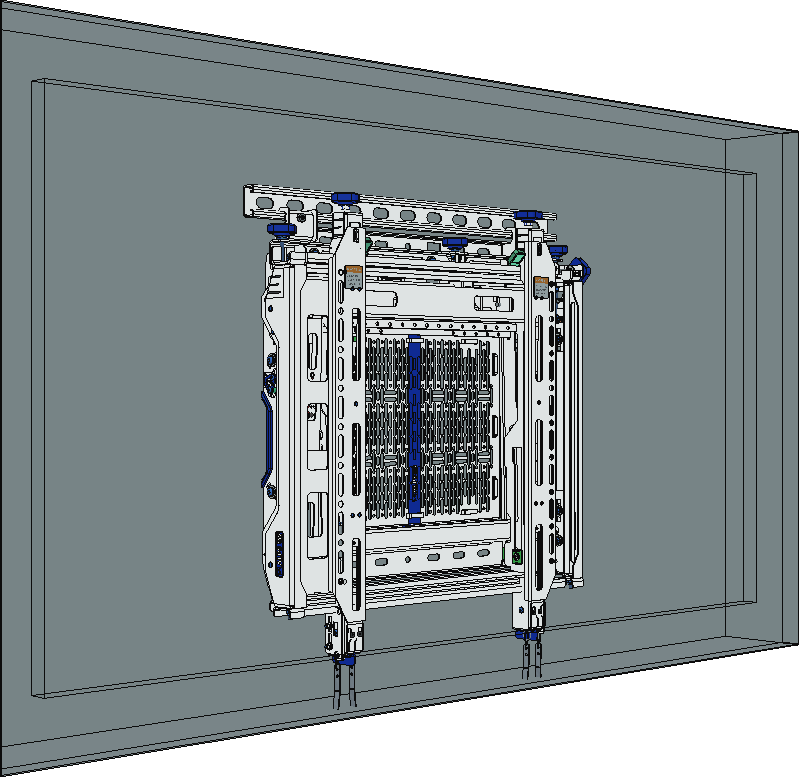
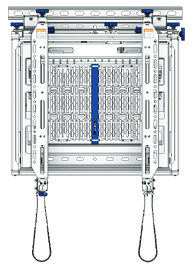
Align the two common borders before mounting the next screen. Always start from the bottom corner of the video wall configuration. Height of screen determines center-to-center distance for next vertical mount location. Width of screen determines the center-to-center distance for next horizontal mount location. Build horizontally first then next row until all rows have been completed.
- I II
- III IV
General recommendations
Check the wall structure to which you are mounting the product. Use a level to ensure the wall is flat and take note of any areas of concern. Use washers, shims, or spacers between the wall and the mount to create a flat surface for mounting. A flat mount will make adjustments much easier and faster when aligning screens.
Note: The AlpsAV Soft-Touch Mount is ONLY suitable for installation perpendicular or slightly angled to the floor in portrait or landscape orientation. It is NOT suitable for overhead mounting.
We recommend that the video wall installation starts from a corner. For example here, start at the left bottom and then add the screens row by row, align them as you build. Also, make sure depth and lateral micro adjustments are centered before installation, making alignment quicker and easier.
MULTI- SCREEN INSTALLATION
Note: Walls built from different materials require different bolts for best performance and safety. Please select suitable fixings or consult an expert for guidance.
Align the one common border before mounting the next screen
- Width of screen + a gap
- Height of screen + a gap
- Height of screen + a gap
Disclaimer of Liability
PureLink GmbH will not be held liable, nor provide any warranty for damage resulting from improper installation, assembly and use of the product, or failure to observe the operating instructions and/or safety instructions.
Self help guide / Motor Starts then stops
Controller not remaining in correct location - if the Controller is on the edge of the light beam, as the controller moves forward and backward with the moving mount, it can move out of the beam and stop. Move the controller left and right to check the beam location. Also note, the beam moves forwards and backwards with the mount, so move controller as the screen moves.
OR: Impact Detection is triggering. Impact detection exists but is variable depending on several factors including screen weight and size, where the impact occurs and if there is vibration. The motor will stop and when you place the controller back into the beam it will have reversed direction.
When first started and if not run for some time the motor might automatically calibrate its location. This is normal and once it has gone through a full cycle it will resume normal operation.
Motor moves slowly
Check there is POWER. It is common to switch off or unplug power once set-up is finished, so check power is on. Check controller is in beam and move out of beam and back into beam.
Motor does not start / Handwheels are hard to turn
Are handwheels at base of screen arms loosened? If you are reaching the end of the range this will also occur. Make adjustments elsewhere to free up additional adjustment range.
Contact Us
PureLink GmbH
Von-Liebig-Str. 10 | 48432 Rheine
Germany
www.purelink.de | info@purelink.de
PureLink UK LTD.
Carpenter Court | 1 Maple Road | Bramhall
Stockport | Cheshire SK7 2DH
United Kingdom
Issues Solutions / PRODUCT DIMENSIONS / FRONT VIEW LANDSCAPE ADAPTER
VESA 600mm X 400mm
FRONT VIEW PORTRAIT ADAPTER
VESA 400mm X 600mm
FRONT VIEW / SIDE VIEW OPENED / SIDE VIEW CLOSED
| 584,3 mm | 625,7 mm |
|---|---|
| 92 (+/- 10 mm) | 340 (+/- 10 mm) |
| 600 mm | 400 mm |
| 400 mm | 600 mm |
| 23” | 3.6” |
| 13.4” | 23.6” |
| 15.7” | 15.7” |
| 23.6” |
Legal & Compliance
Product identification
Models: VL-WM-ST400, VL-WM-ST400W – manual version 1.0
Disposal of electrical and electronic equipment
WEEE reg. no.: DE 93847290
The crossed-out wheelie bin symbol on the product, packaging or in this manual means that electrical and electronic equipment must not be disposed of with household waste at the end of its life. Hand in old devices free of charge at a public collection point or return them to a distributor obliged to take them back. Remove batteries and lamps that can be removed without destroying the device before handing it in, and delete any personal data stored on the device. Details are regulated by national law. By returning old devices you help protect the environment.
Packaging
Dispose of packaging separately by material (paper/cardboard, plastics) via the local collection systems. Keep packaging material away from children – risk of suffocation. Packaging register LUCID: DE5958616449295.