
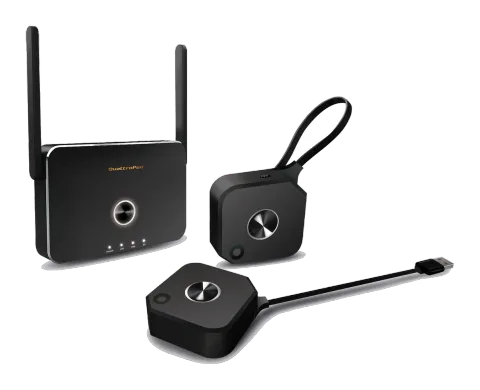
Under connection
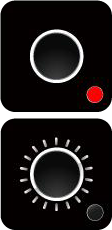
LED Status list
Activate Host without source input
Activate Guest without source input
Activate Host & in projecting
Host received request of projection
Guest standby without projecting
Host standby without projecting
Guest send request of projection and wait for allow
Pairing/TX OTA
Activate Guest & in projecting
Pairing done
TX OTA Complete
TX OTA Fail
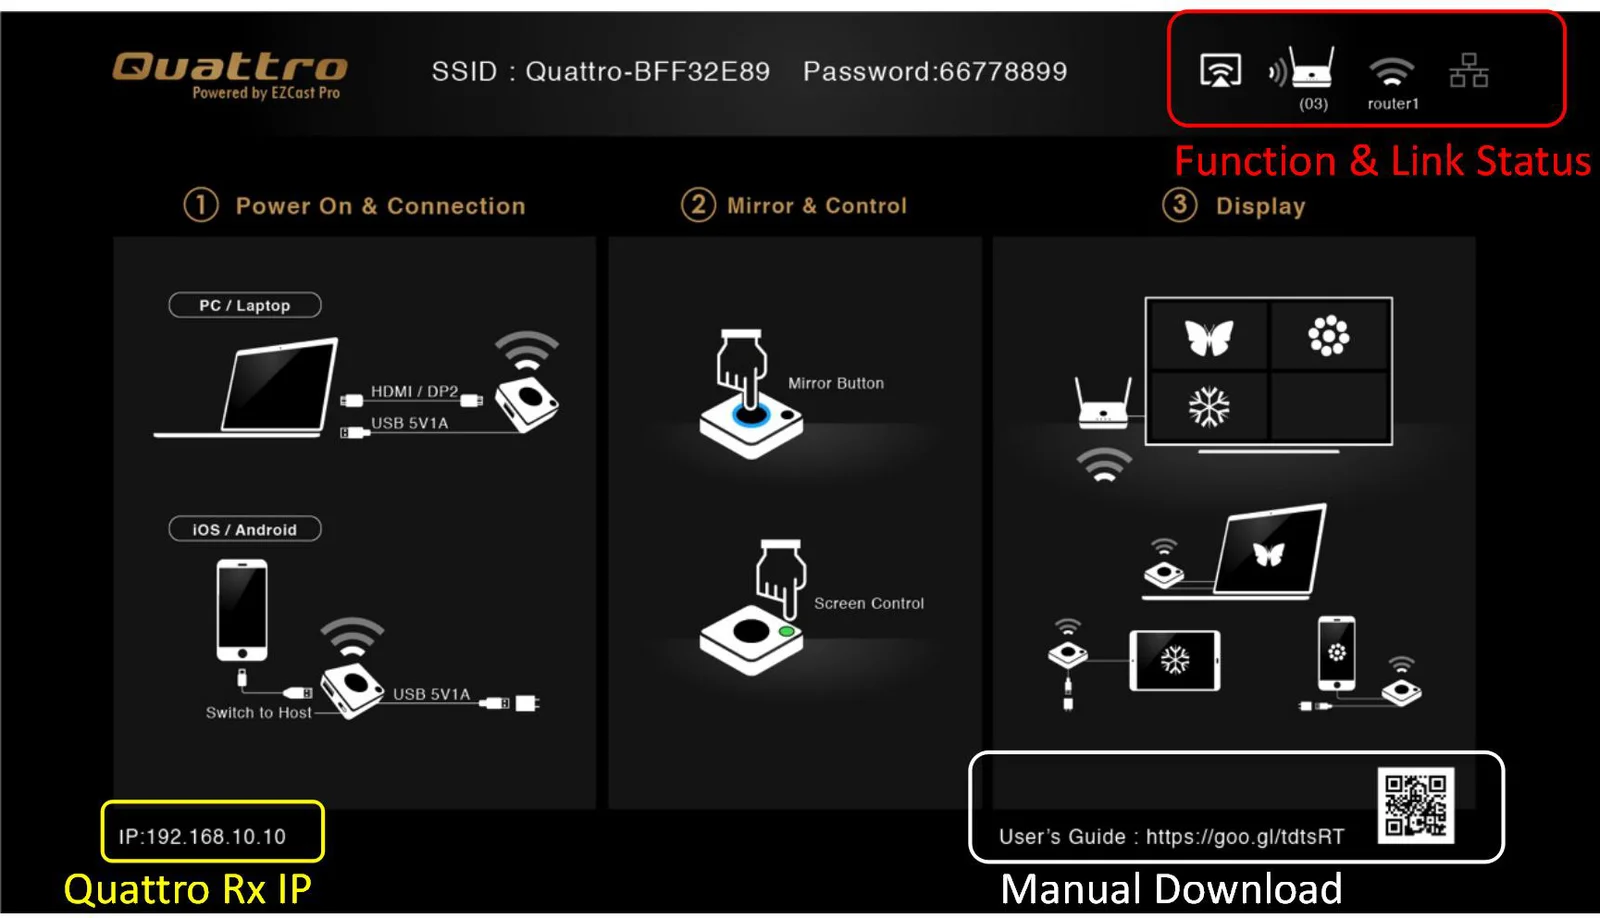
When Quattro RX is successfully turned on, below screen will be shown on display-
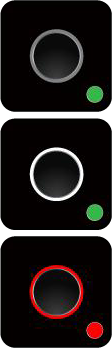
Fail to connection
(blinking over 1minutes)
Function & Link Status-
* Outbound link can select only one of Wi-Fi and RJ45 wire line (LAN).
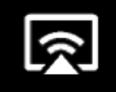
Airplay activated after web setting. (Default is off)
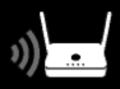
Quattro RX has been powered on, however, there is neither Quattro TX nor device linked.
Shift in 3, which means “under pairing” or “building the connection”.
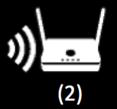
Complete pairing or connection, the number showed total Quattro TX or Device linked.
RJ45 wire line disconnected.
Shift in 3, which means “building the connection”.
RJ45 wire line connected and IP acquired
IP conflict or other network error.

Outbound Wi-Fi disconnected.

Shift in 3, outbound Wi-Fi is connecting.
Outbound Wi-Fi connected with the router name shown underline.
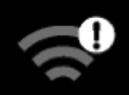
Wi-Fi connection Fail, Invalid password or other Errors
Web Setting
Quattro RX IP- when Devices (either laptops or mobile phones) connect with Quattro RX with SSID & Password directly, applying the IP in web browser can enter Admin setting page for more advance setting.
- Preparation- To access the setting page, you have to choose either way to connect the devices.
- Direct link- you can apply notebook or mobile phone to search Quattro RX by wifi and key in relative SSID and Password. Turn on web browser and enter “192.168.168.1” in the address bar.
- Through Wifi AP or Routers- if your Quattro RX has been connected to a certain networking device, you can apply notebook or mobile phone to connect the same device. Turn on web browser and enter the address show in mainpage in the Quattro Rx IP shown below.
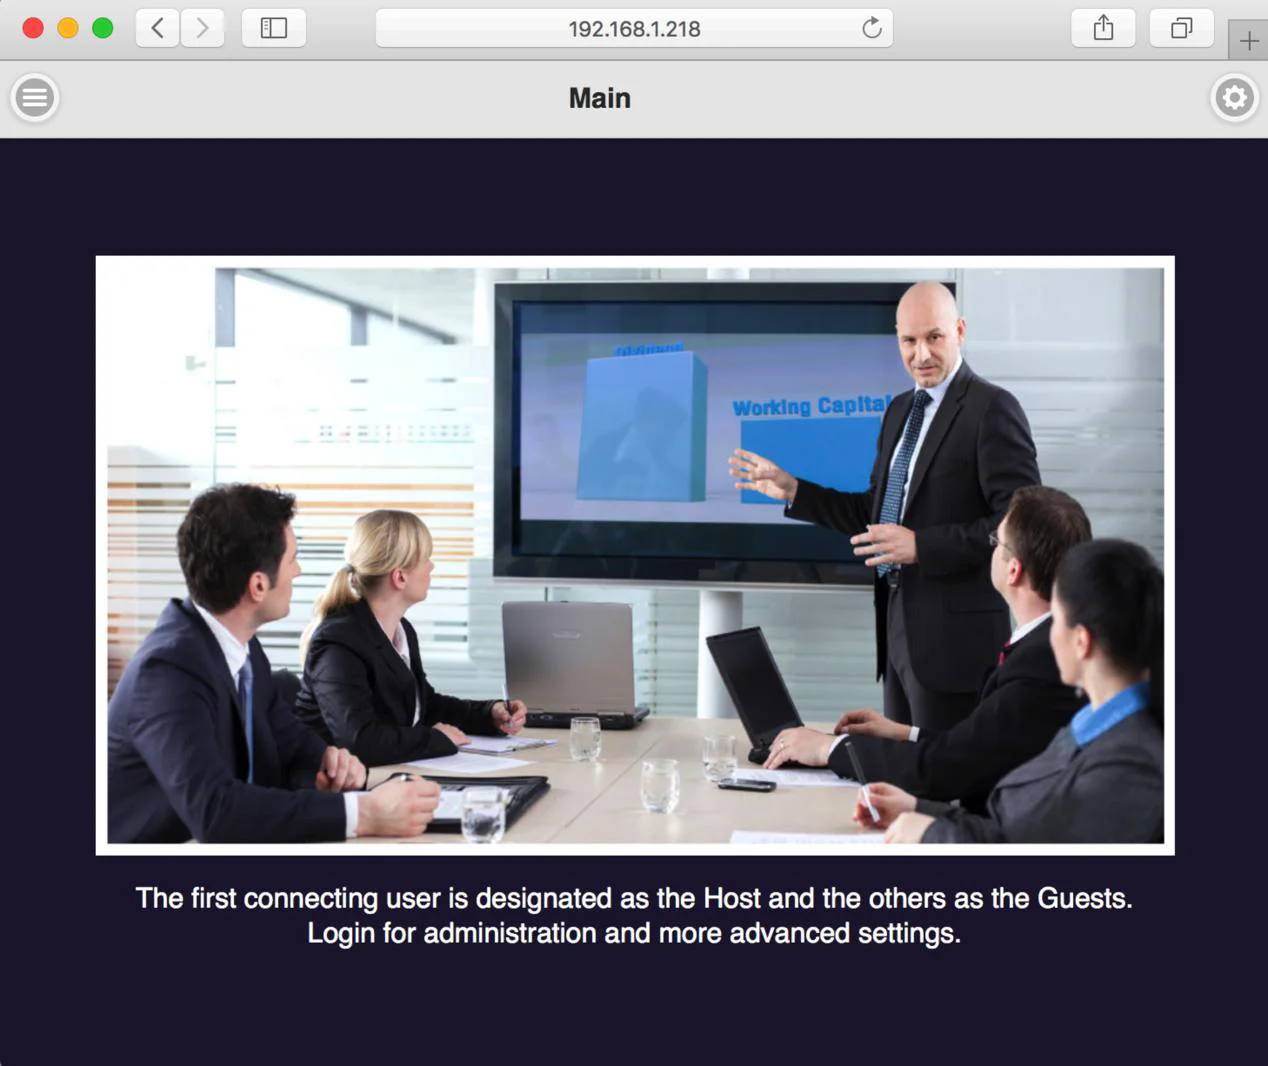
Once done, the page will show as below-

- to indicate menu icon.
- to indicate log-in icon.
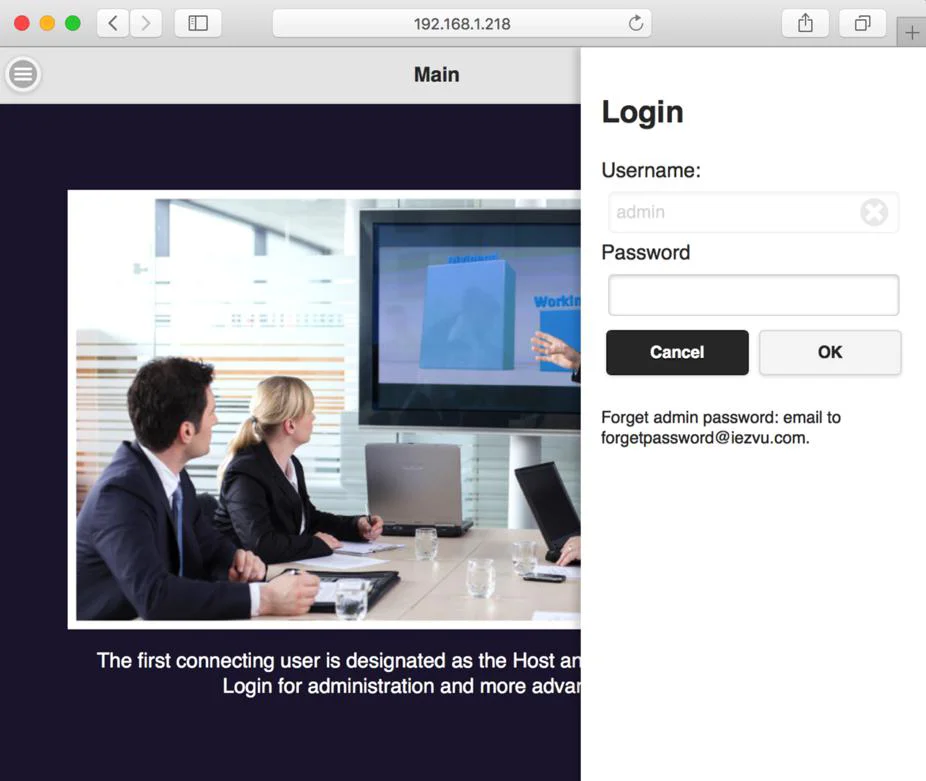
- Log in- Press the on the right up corner to log in.
Device Management-
3. Start to set up
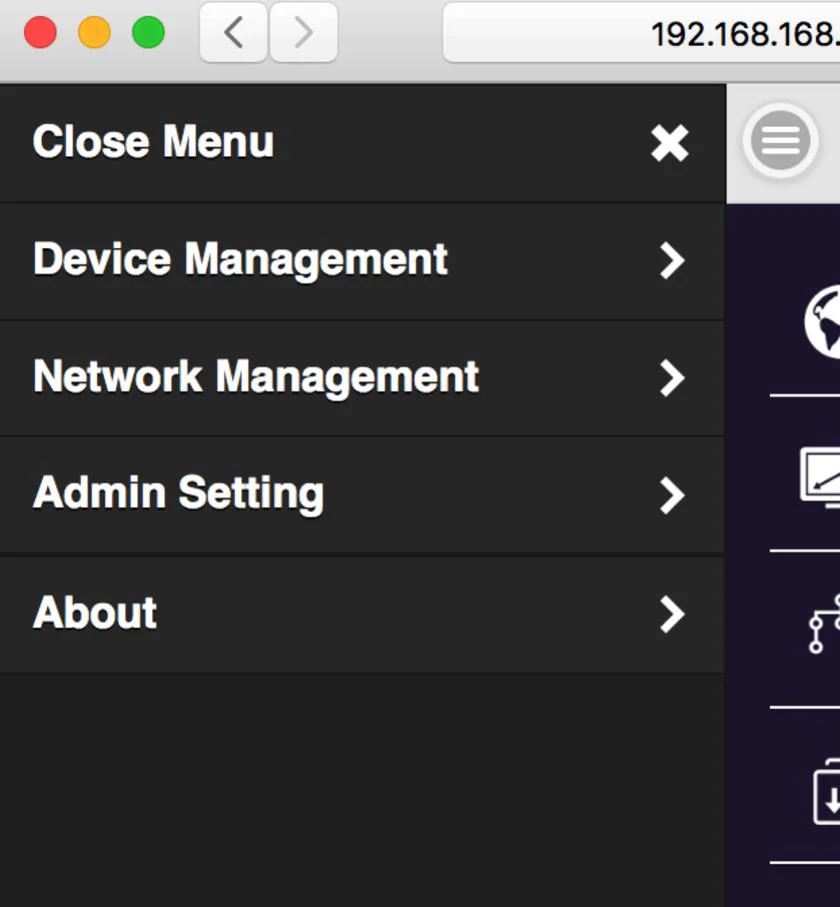
3.1 Click the menu button on the left up corner and there are drawer show 3 setting functions. They are Device Management, Network Management, and Admin Setting, and About which indicates device version, IP addresses and wifi frequency..etc.
- Device Management- This section helps to manage user interface language, output resolutions, Max connection and QuattroPod Receiver & Transmitter pairing file download.
Device Management
Language English
Resolution 1920x1080_60P
Max Connections 20
PairFileDownload Press Download
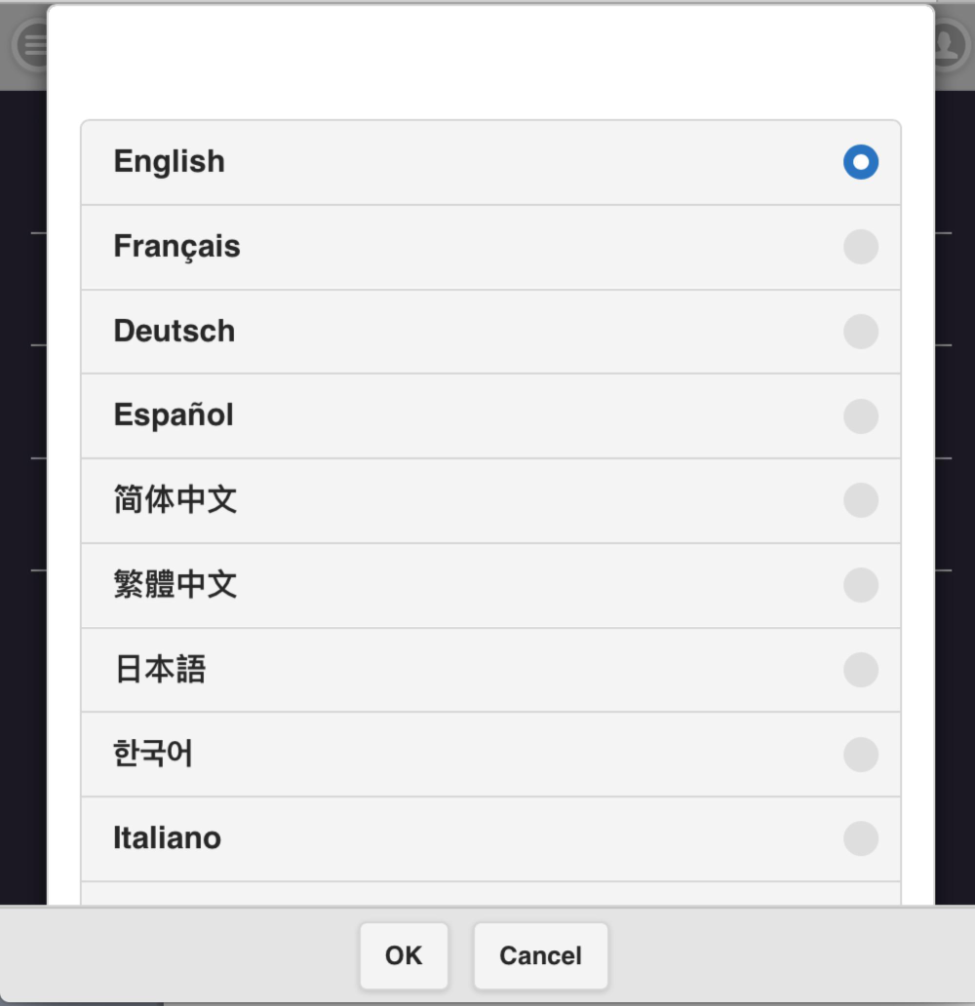
Language-
click it and choose the language you prefer to show in the webpage.
English
Français
Deutsch
Español
简体中文
繁體中文
日本語
한국어
Italiano
OK Cancel
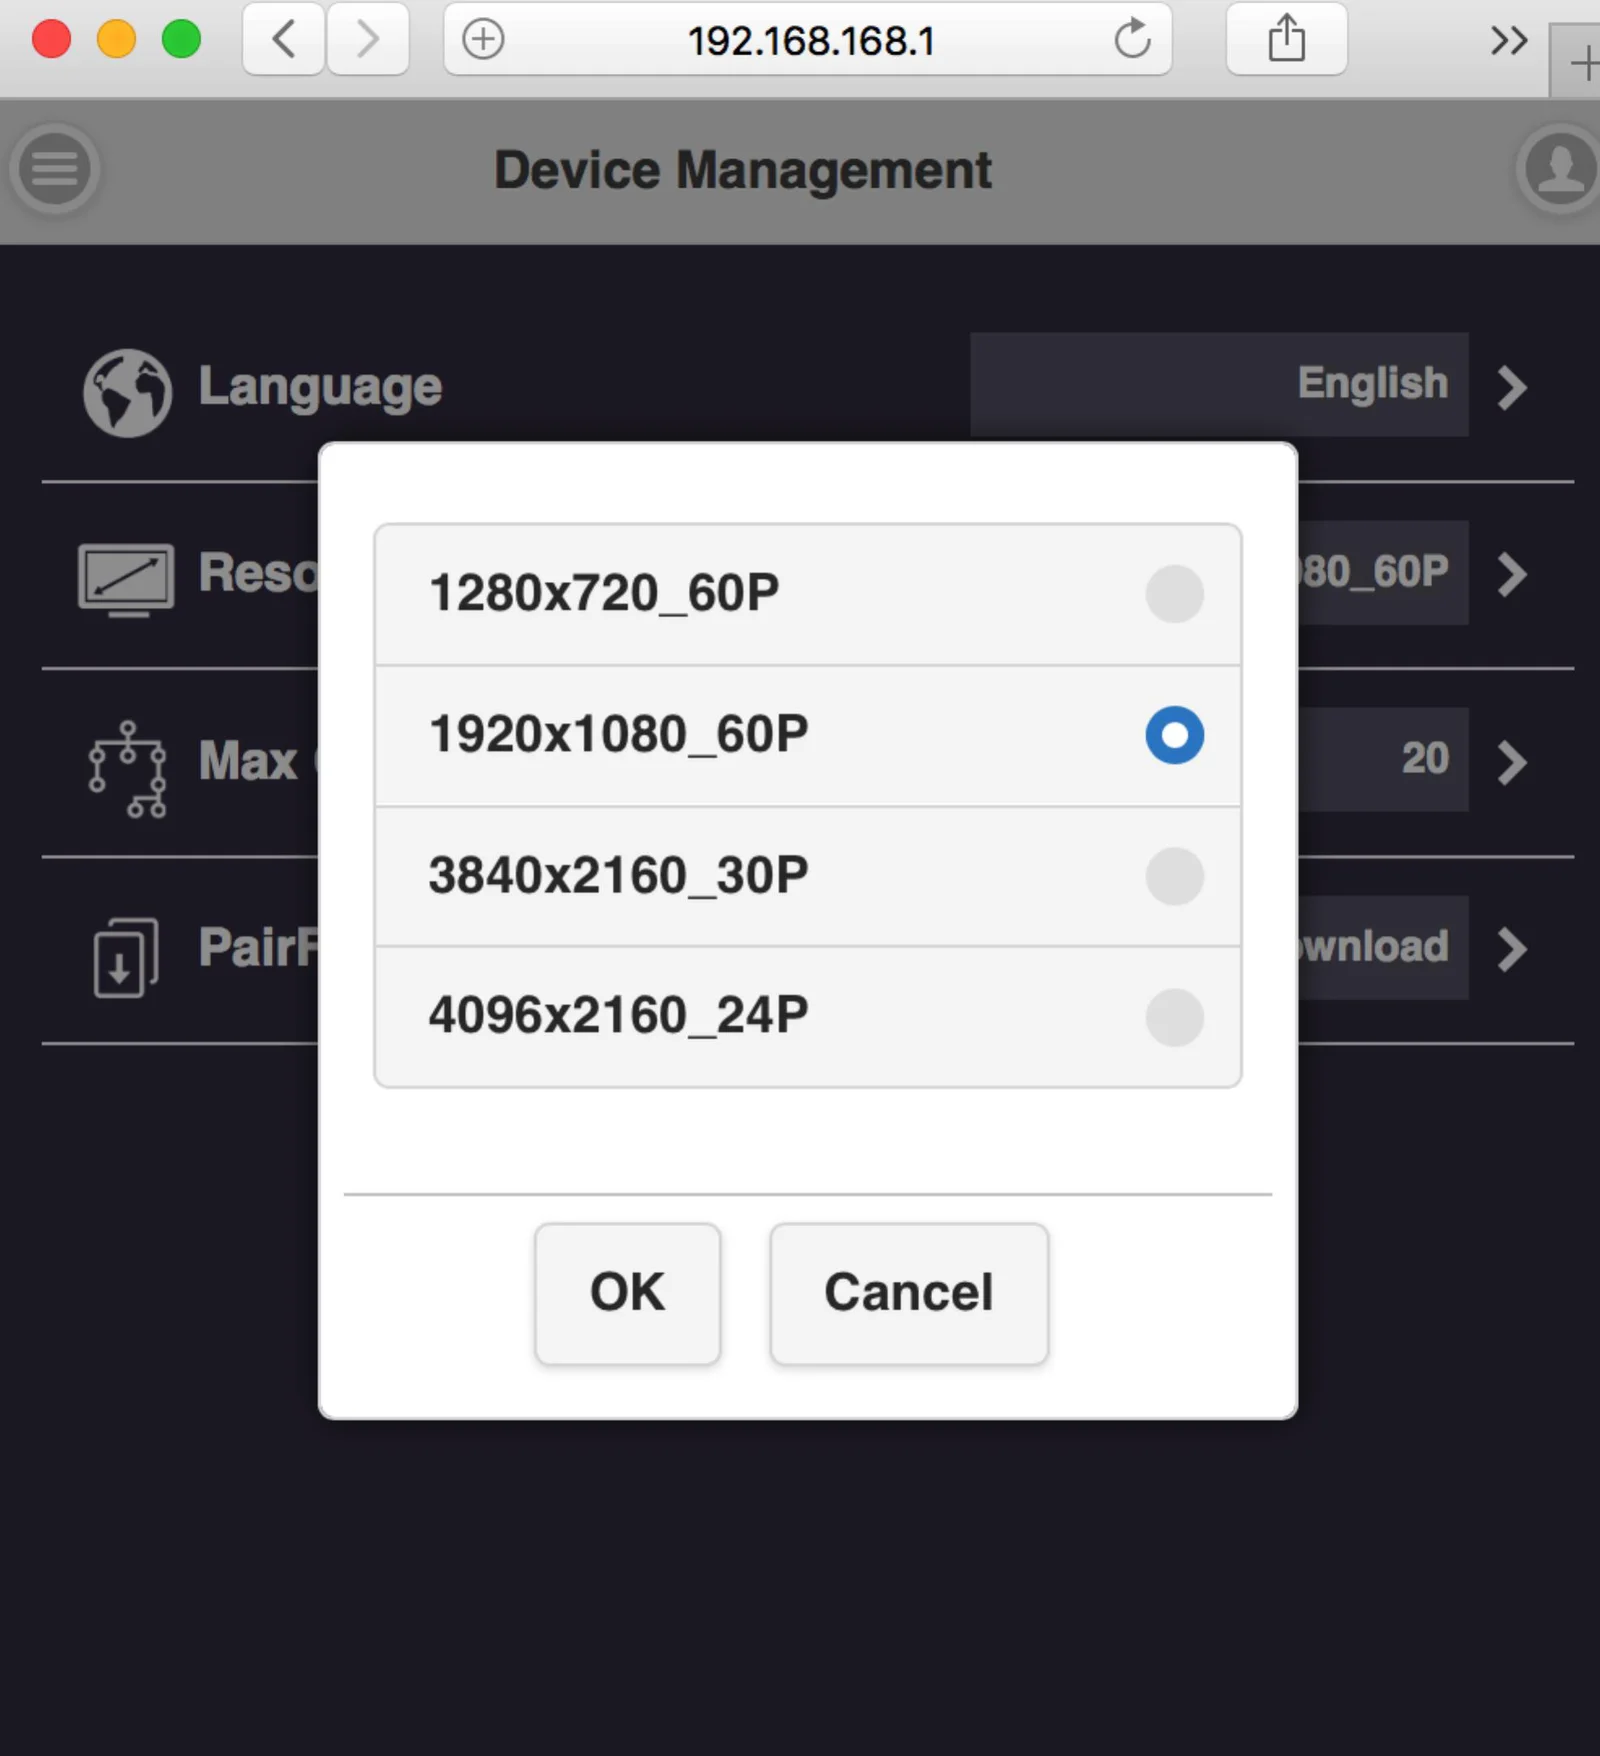
Resolution-
4.2 Resolution-
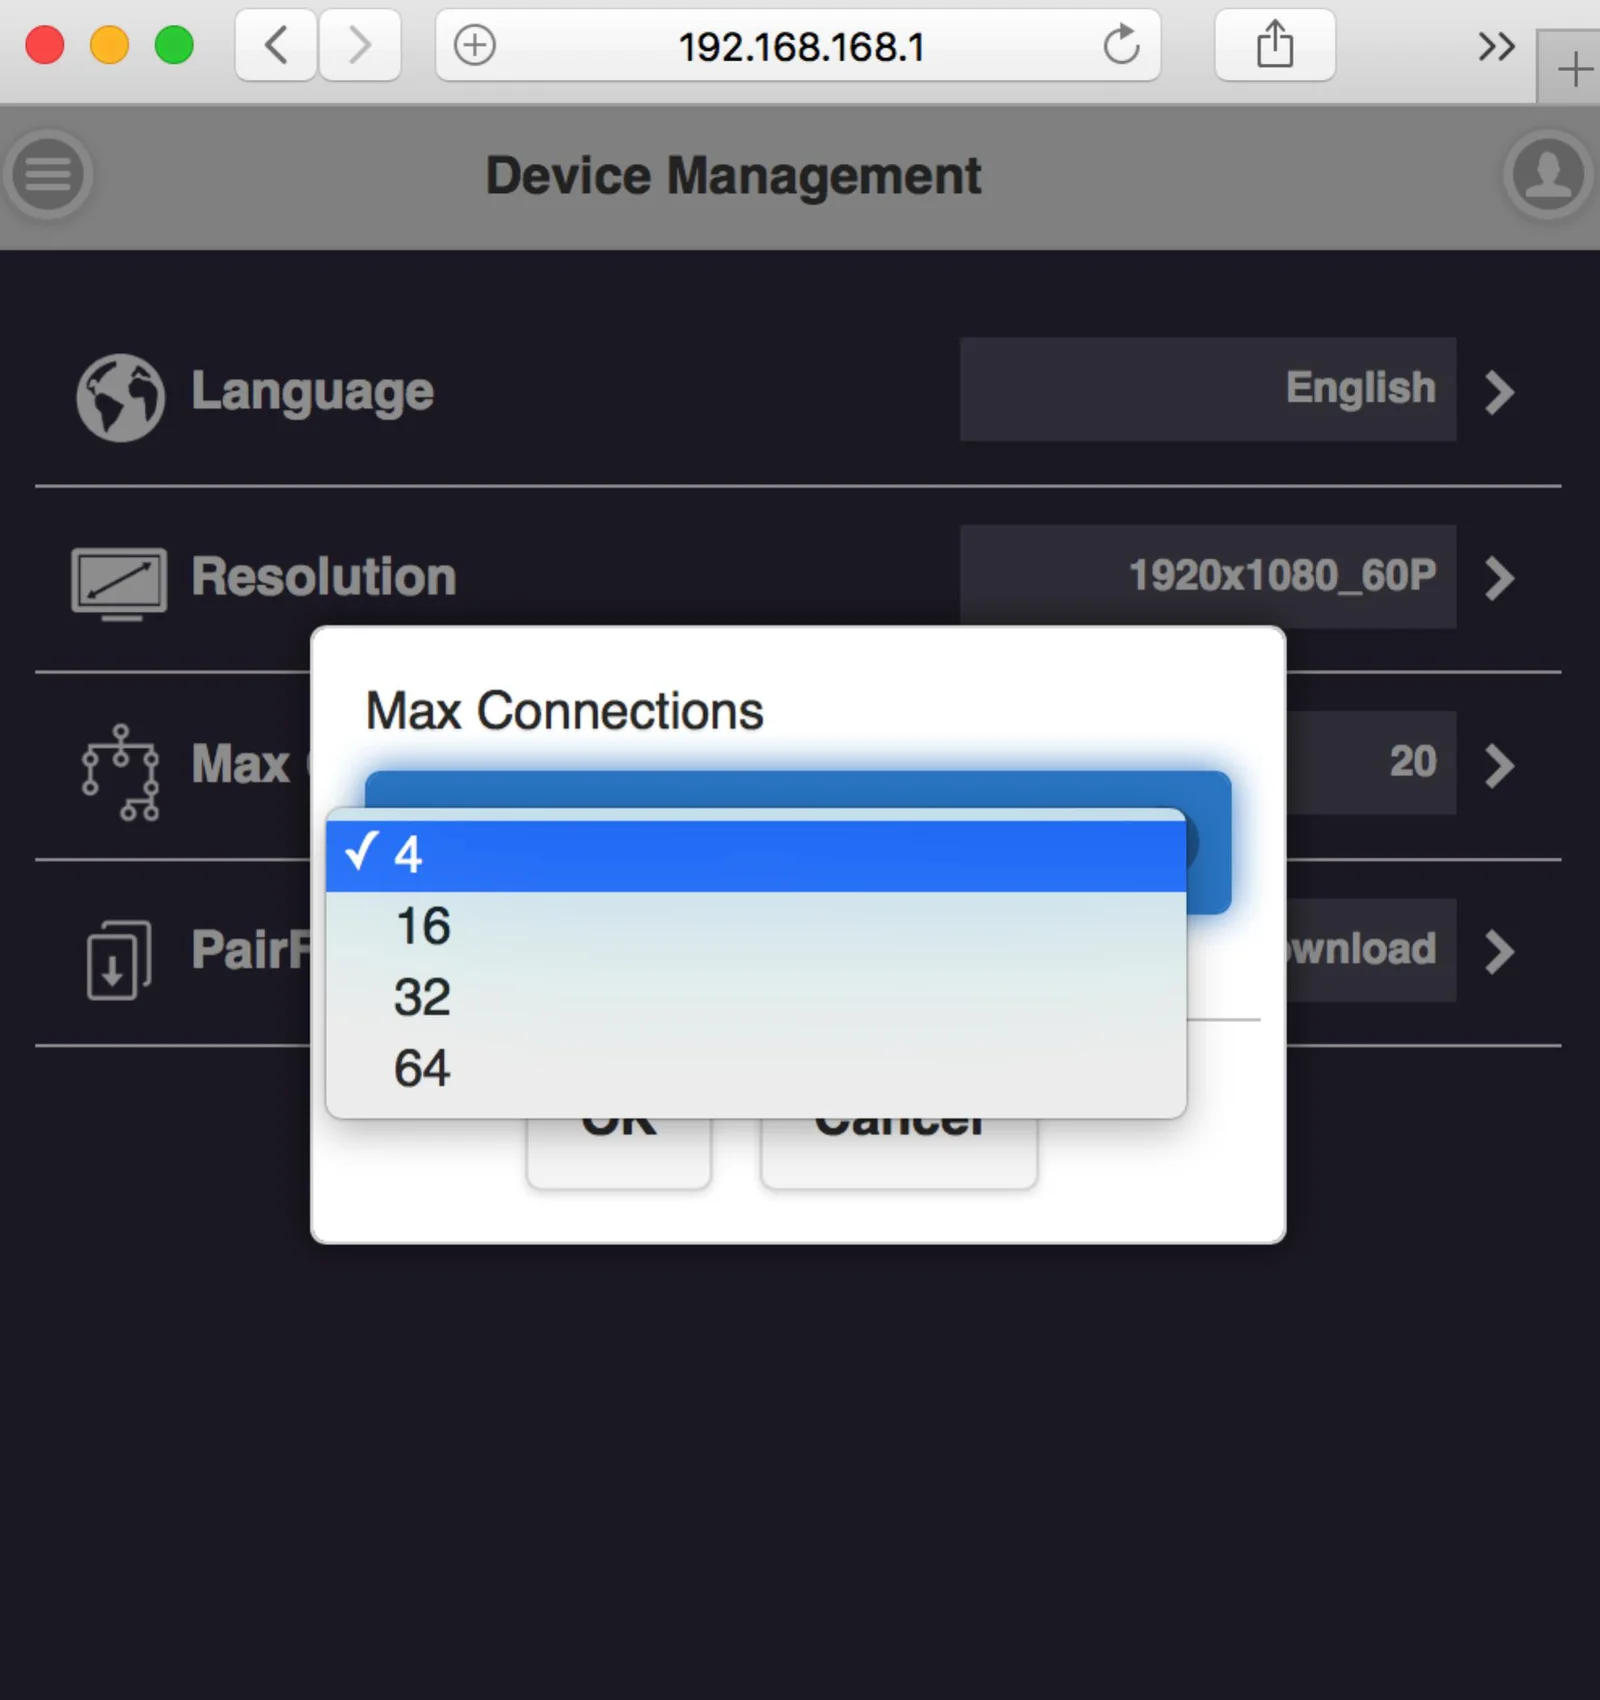
4.3 Max Connection- to set the maximum users of the Receiver. Default is 20 users.
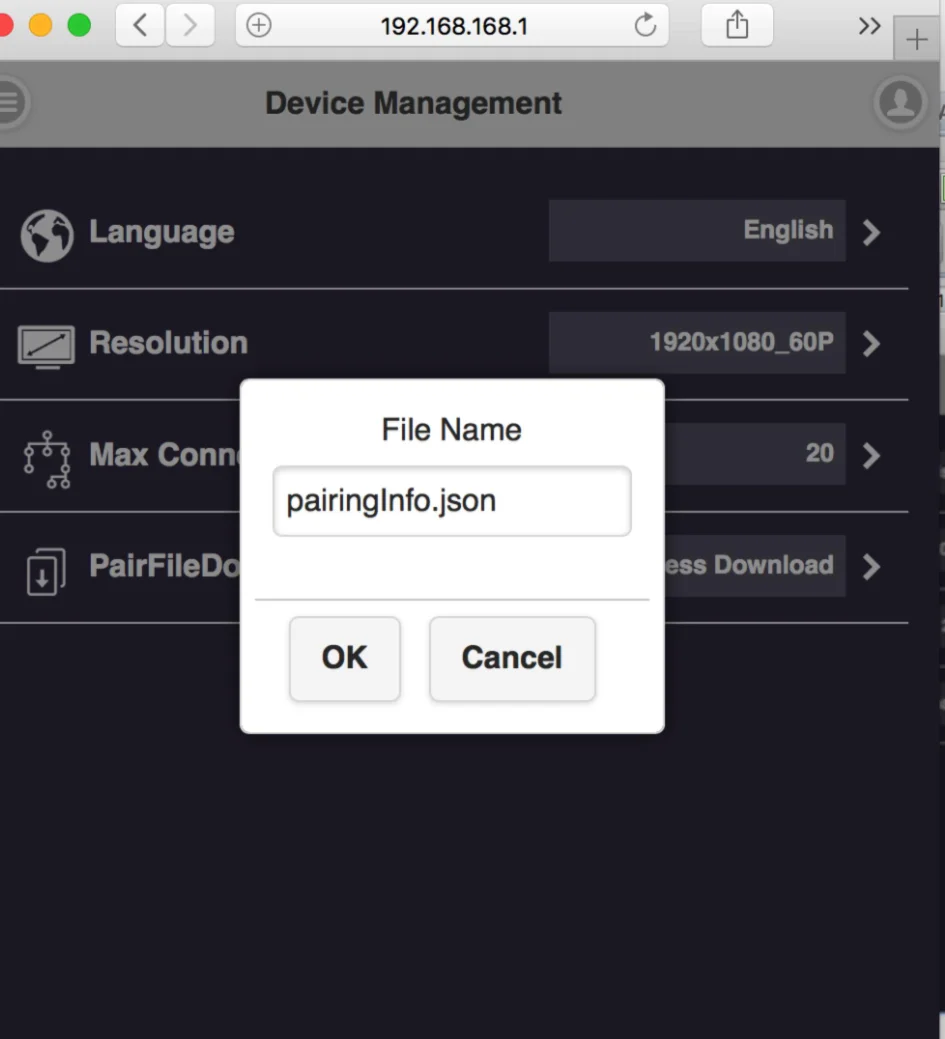
Pair File Download-
down load the pairing file from here and copy to USB drive. Plug in Transmitter for pairing* when the Receiver has been installed on the ceiling or wherever difficult to plug directly.
The switch of USB on Transmitter shall be adjusted to “mobile”.
Device Management screen with File Name dialog for pairingInfo.json
Network Management-
mainly provide outbound Wi-Fi setting.
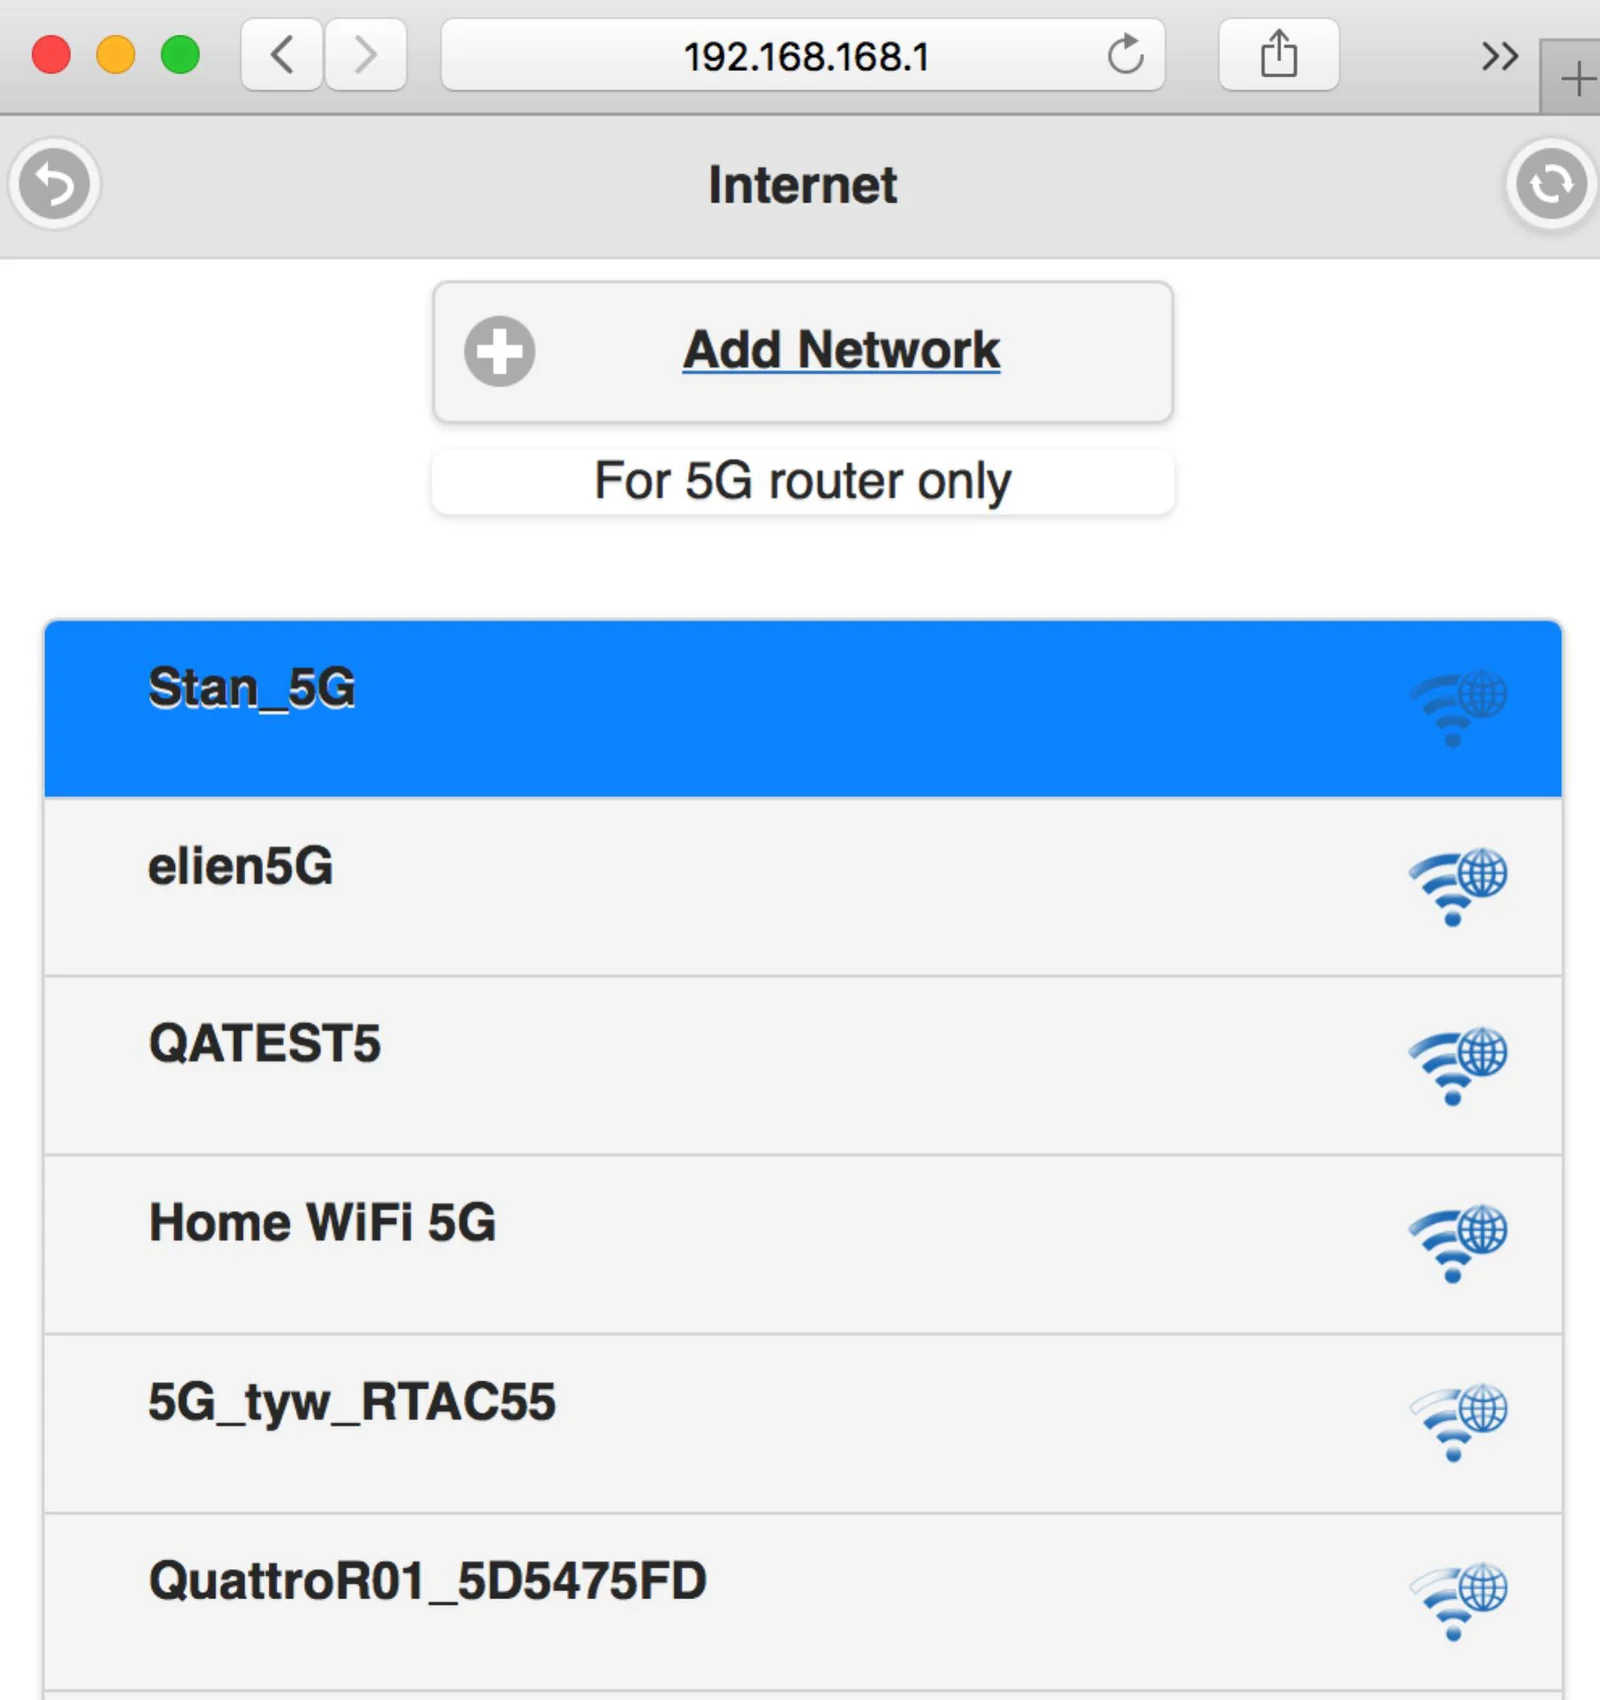
Scan 5G SSID and Connect-
this function can help you to scan available Wi-Fi AP and join.
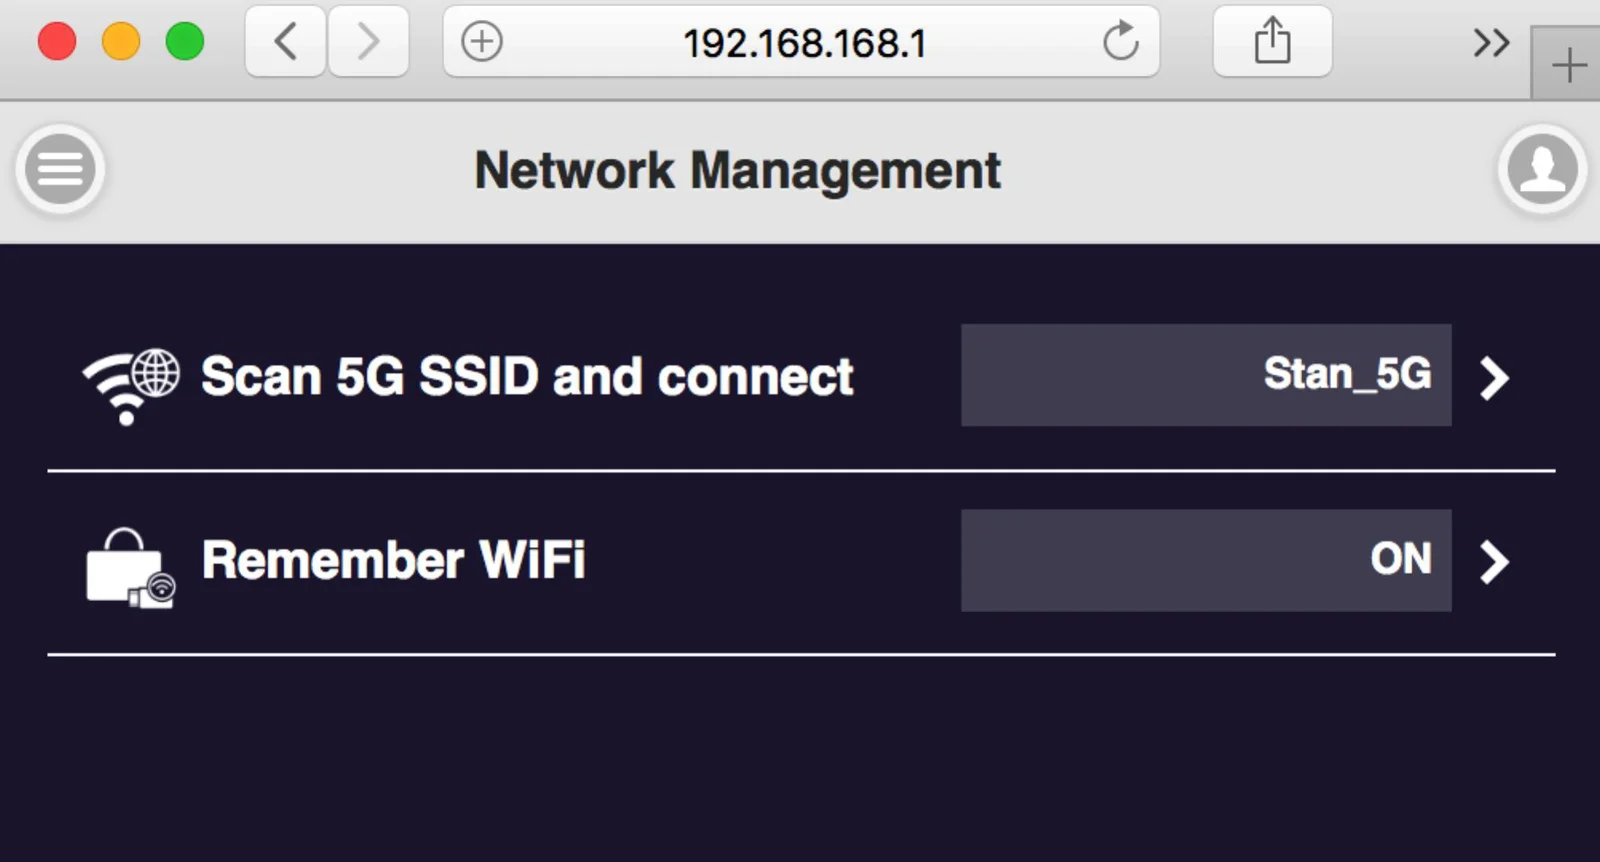
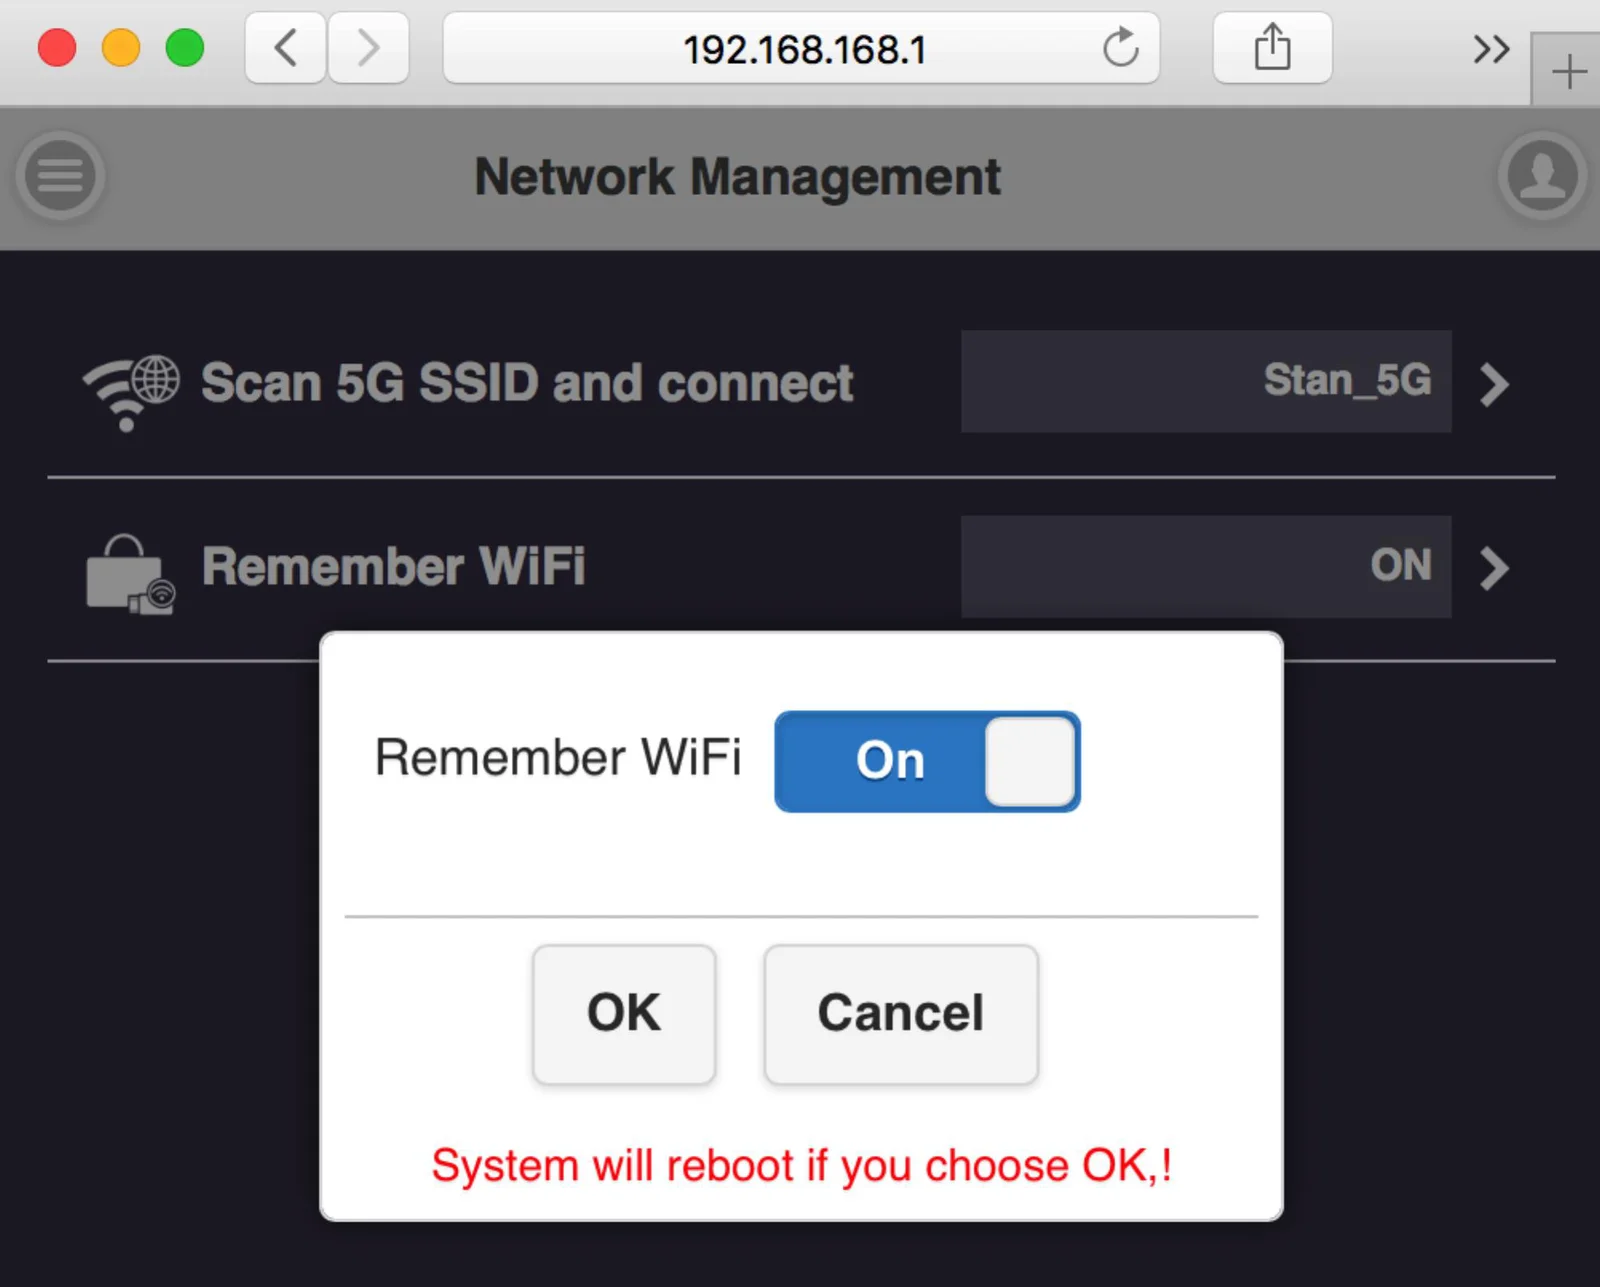
Remember Wi-Fi-
it to provide options to remember the AP setting parameter or not.
Admin Setting-
Wi-Fi Channel-
to select the channel between QuattroPod Receiver & Transmitter to adjust the performance.
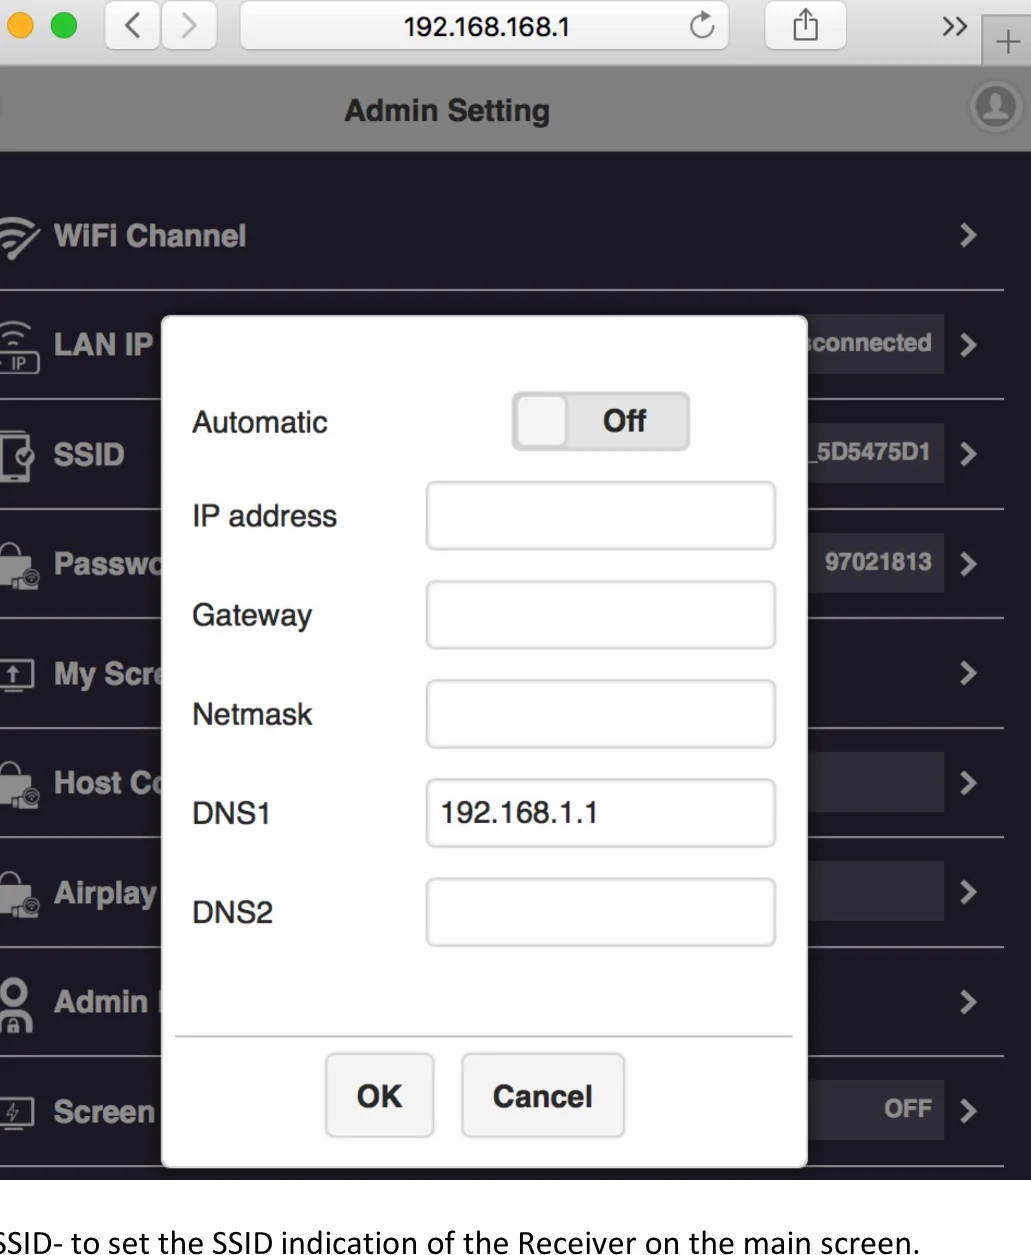
LAN IP Setting-
to configure the wire line connection through LAN cable. *we can support only one connection, either LAN or Wi-Fi at one time.
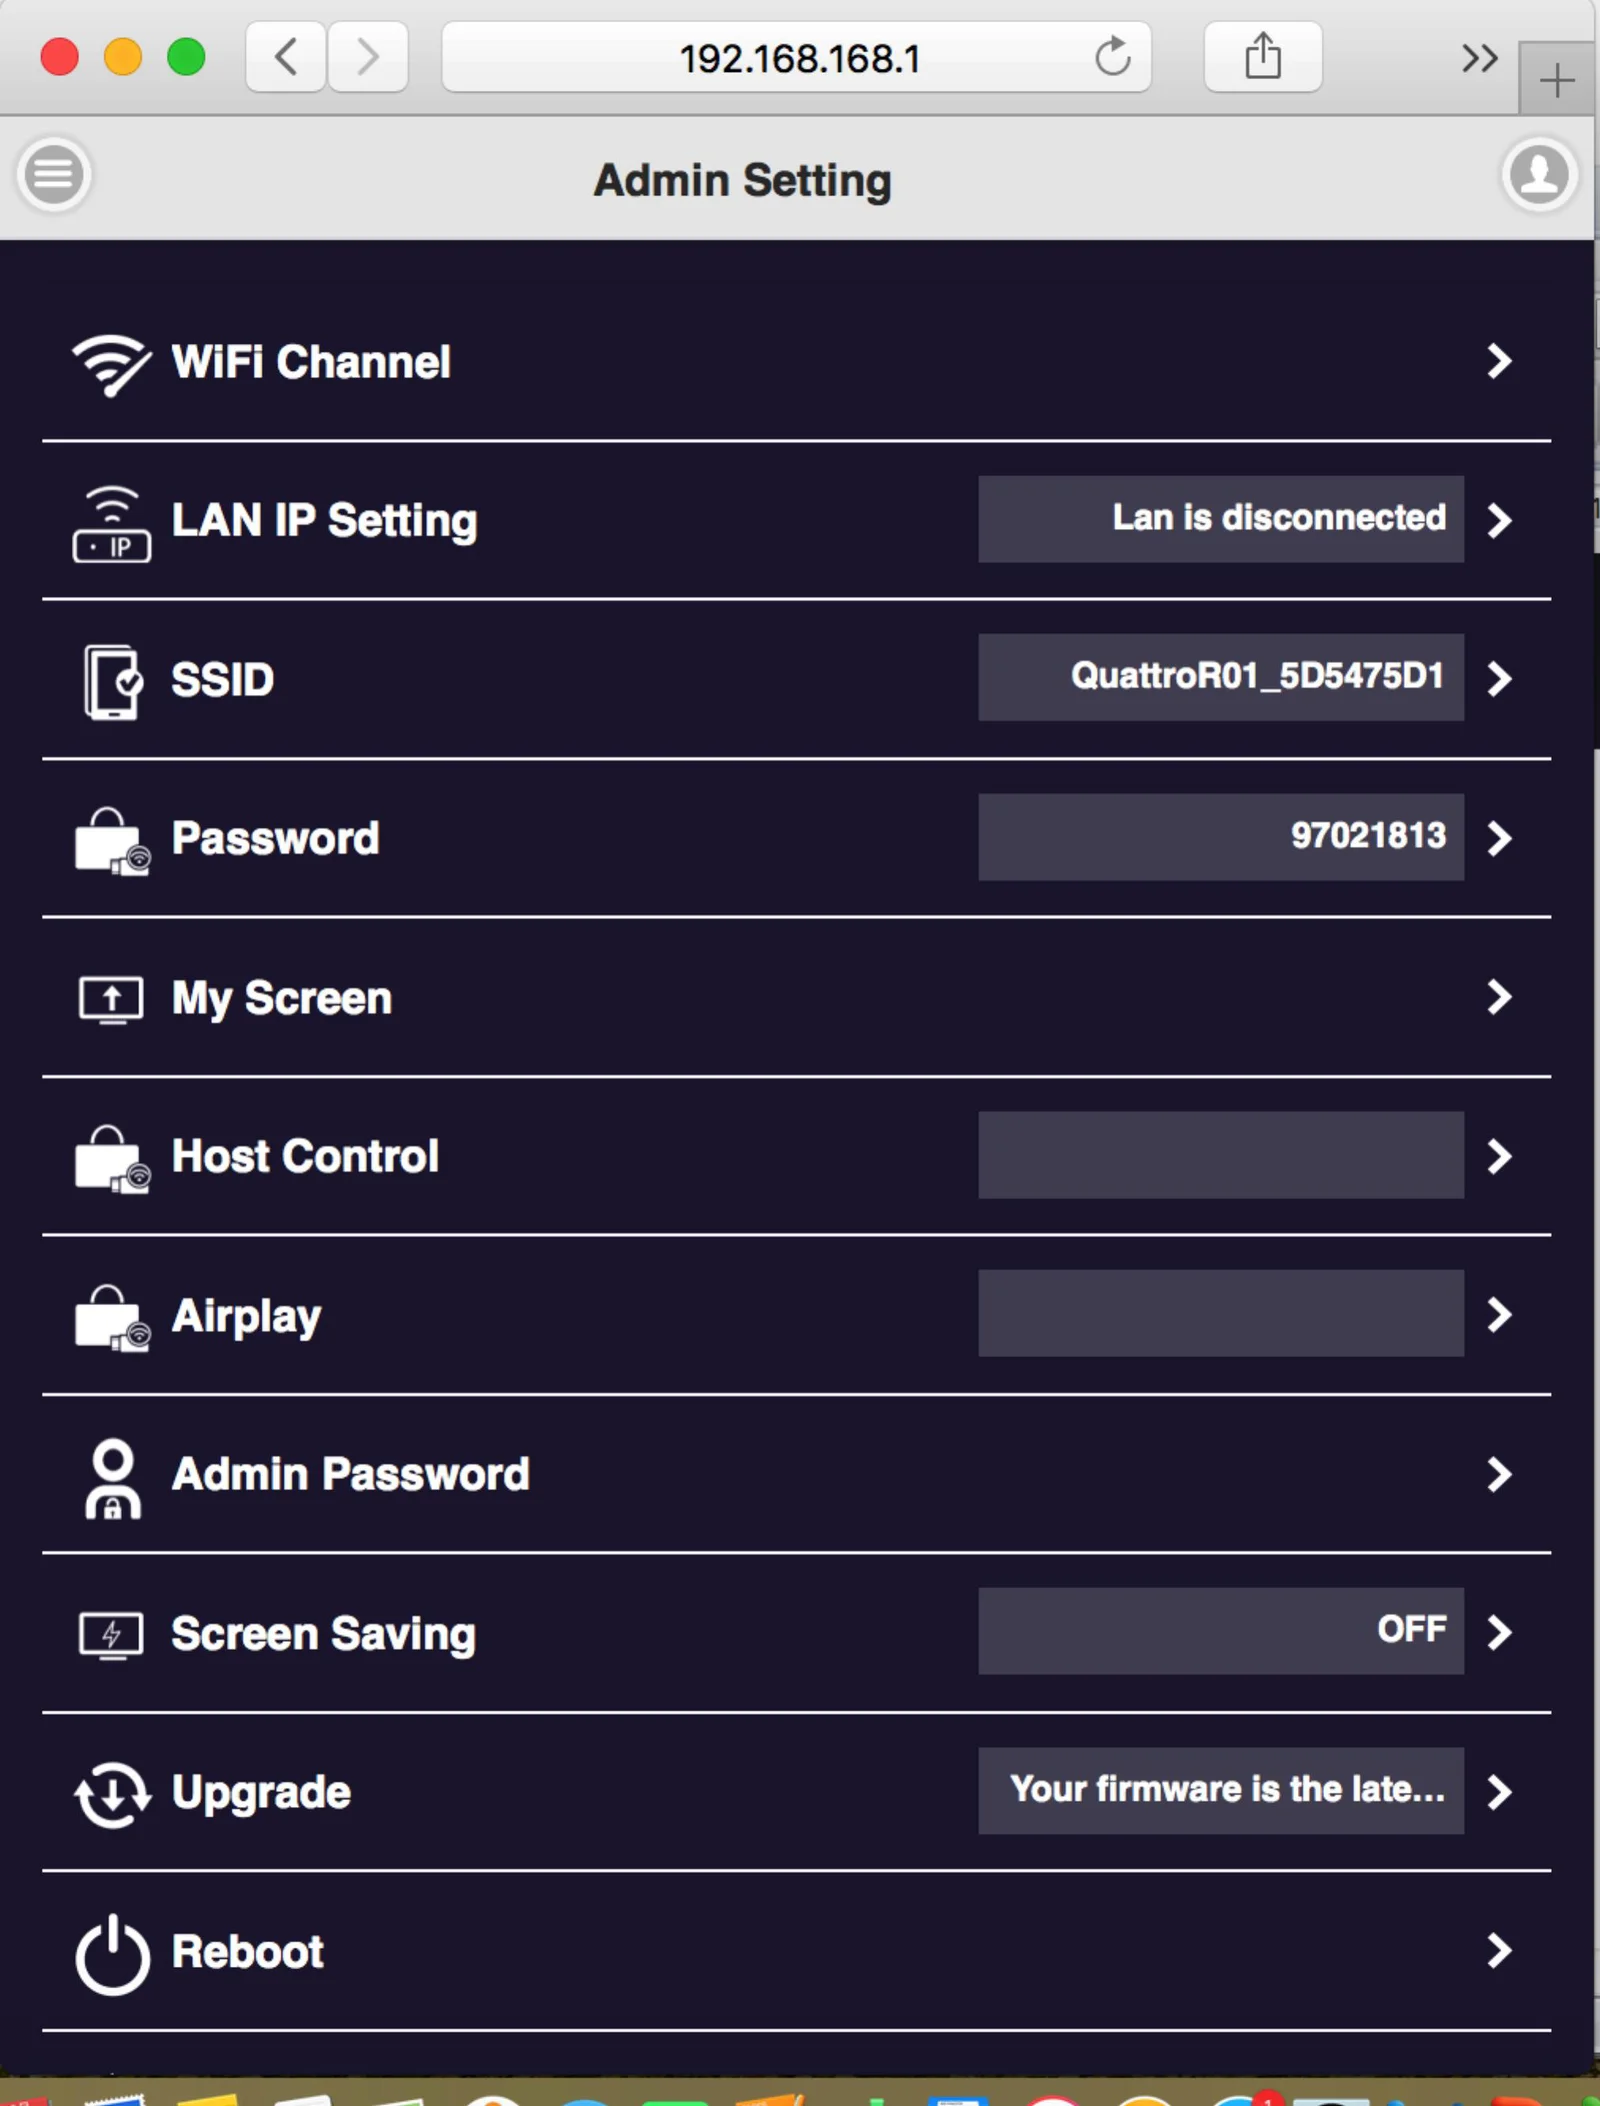
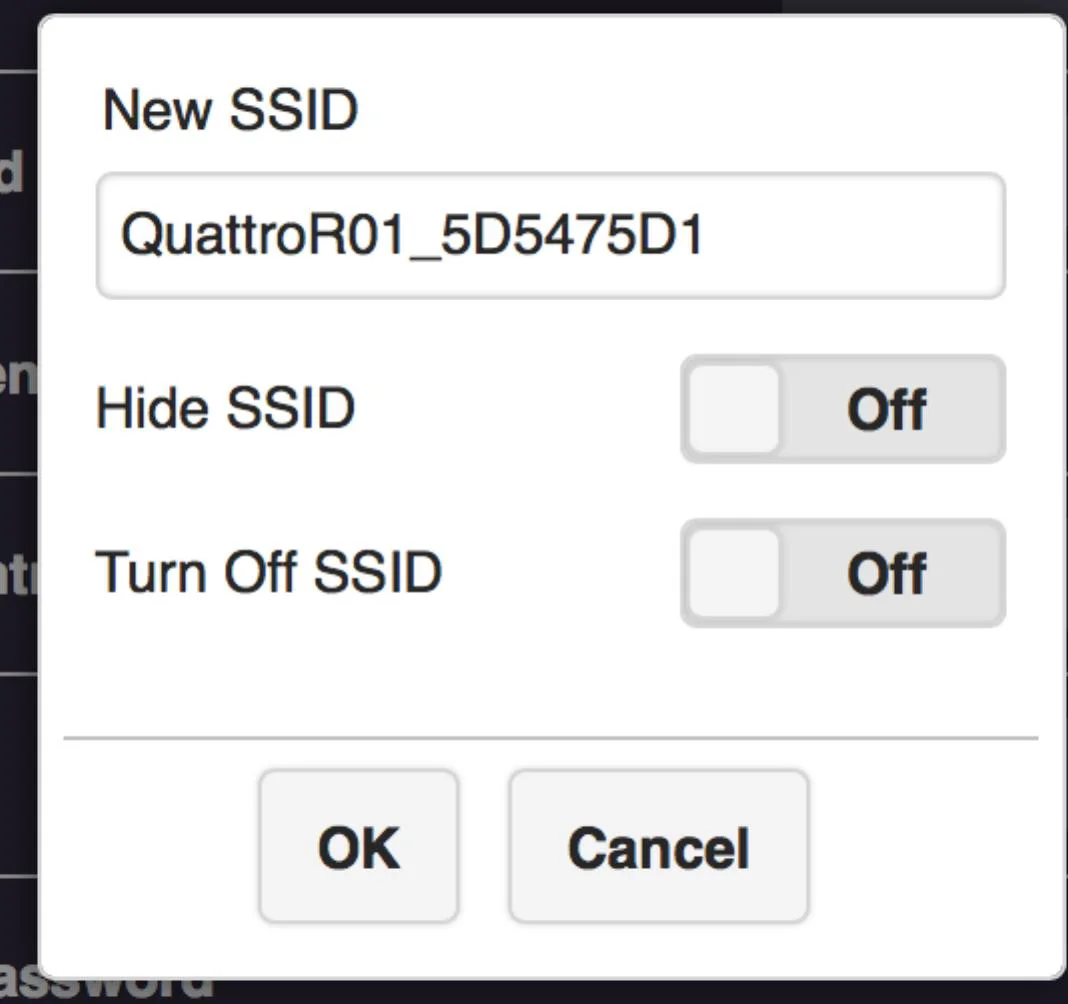
SSID-
to set the SSID indication of the Receiver on the main screen.
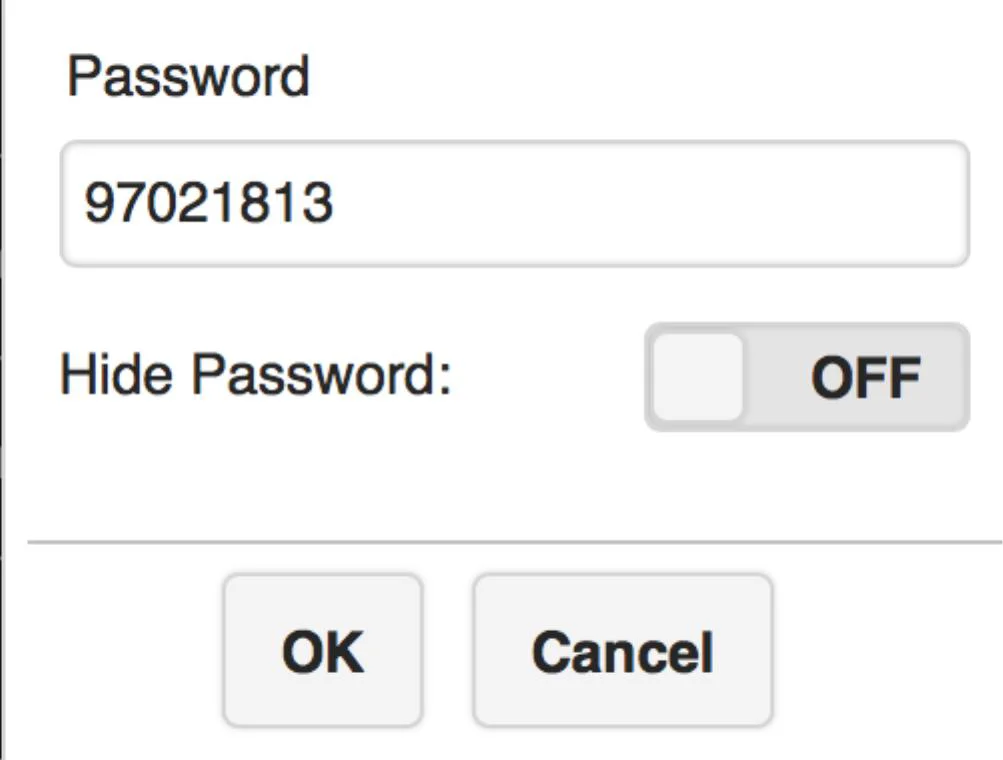
Password-
users can change password of the Receiver, or hide the password to avoid connections without authorization.
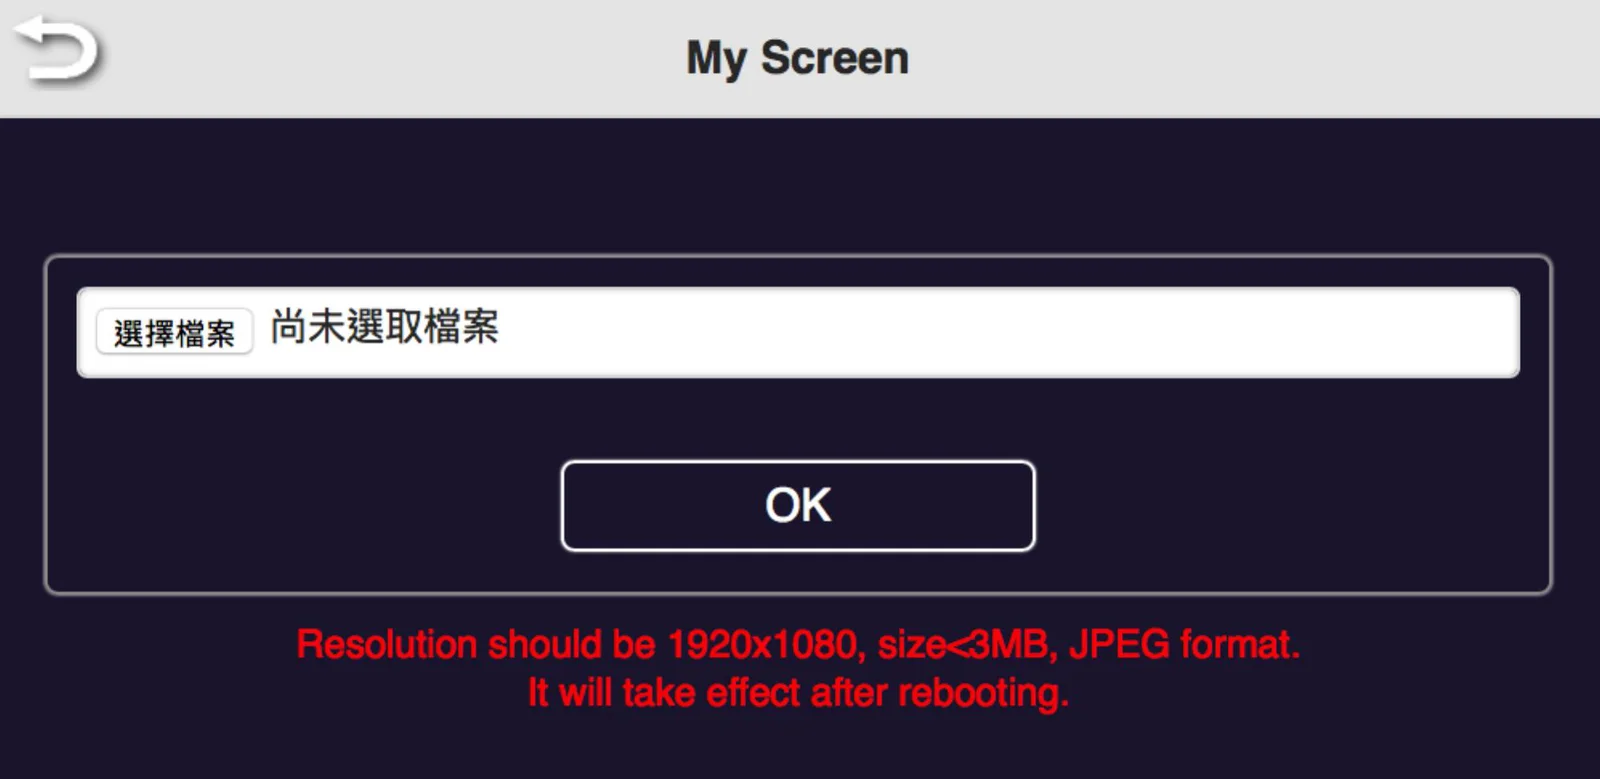
My Screen-
Users can replace the theme of the main page of Receiver by uploading graphic or photos.
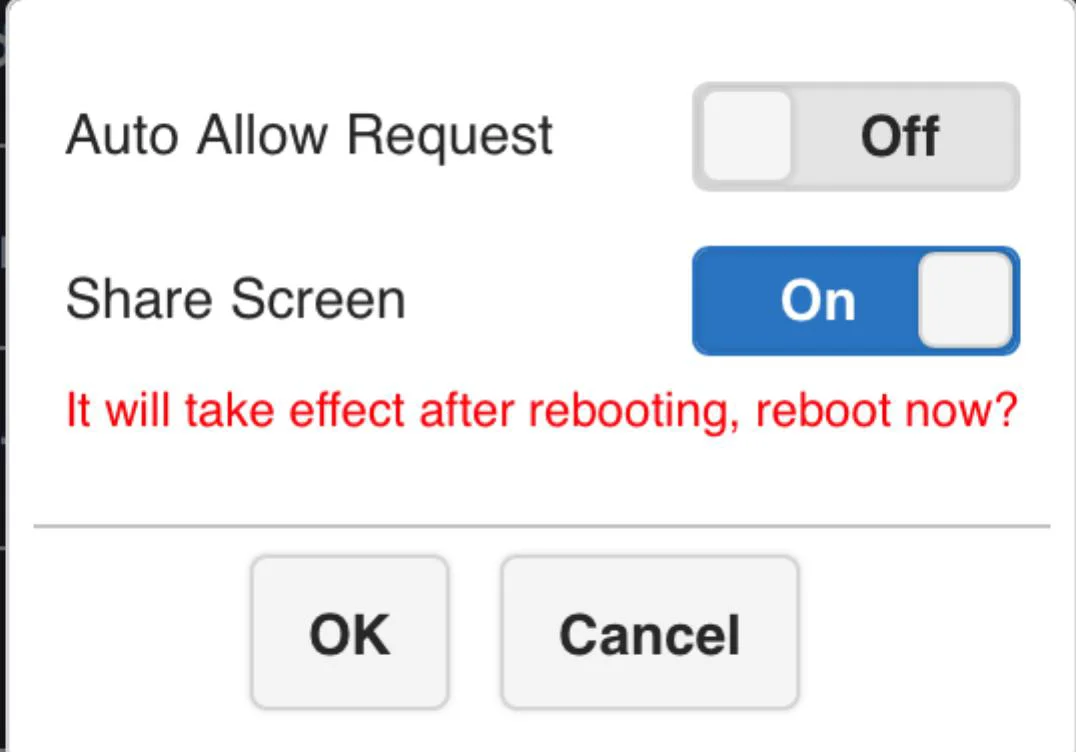
Host Control-
it can be selected the mode of cast request. Auto Allow means the new request will be cast on screen directly. Share screen will present in screen split when it was on. If set it off, the new casting will be full screen mode.
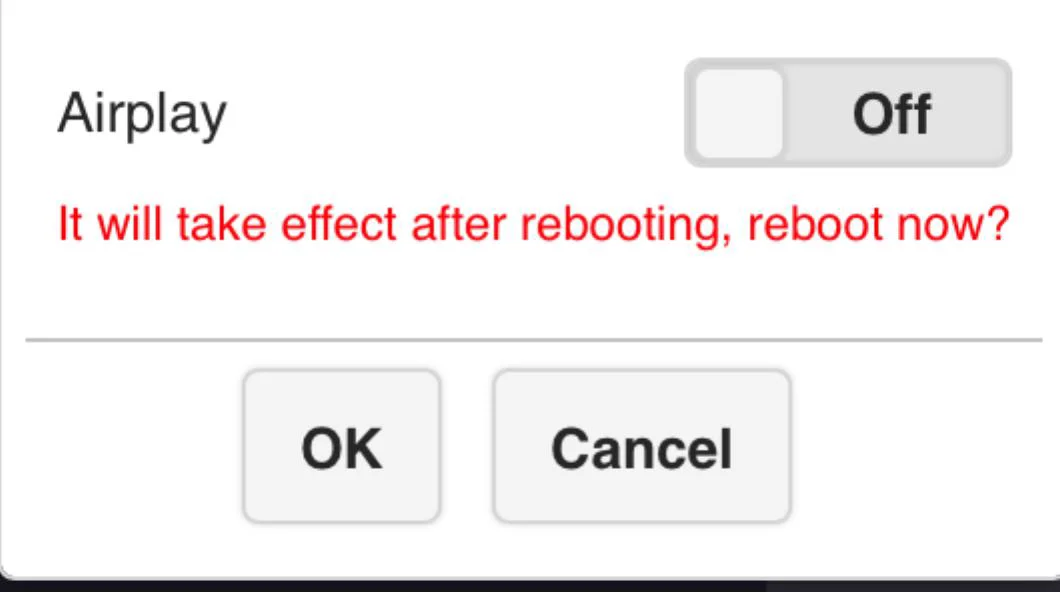
Airplay-
to turn on/off the iOS /Mac devices can cast without QuattroPod Transmitters.
Change Admin Password-
to change the web setting’s log in password.
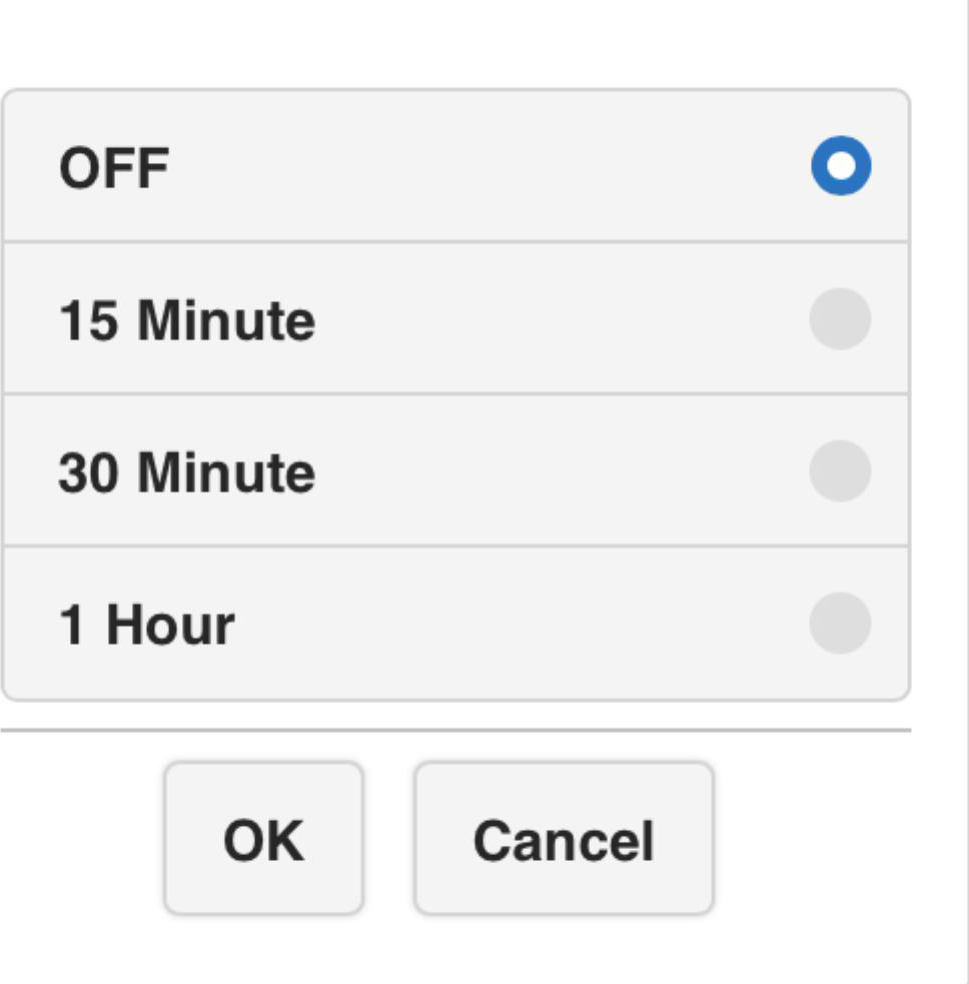
Screen Saving-
to configure the screen off when the input is idle for certain time.
Upgrade Firmware-
to remind users if there is new firmware released and execute the upgrade (* but the Receiver must connect to internet)
Reboot-
to reboot the equipment.
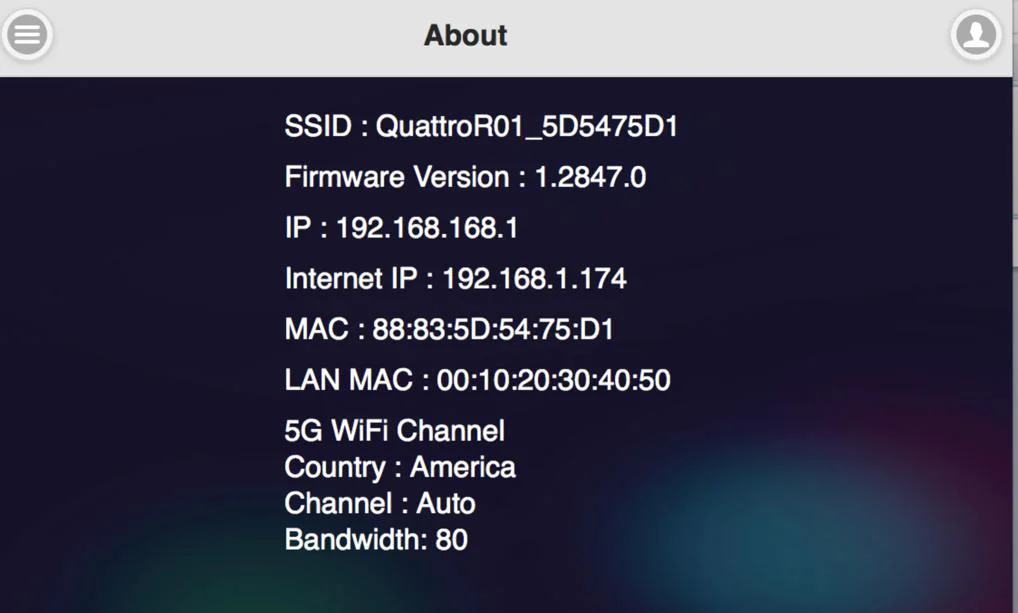
About-
showing the information of the Receiver.

Frequent Applications & Operation
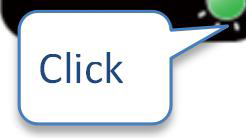
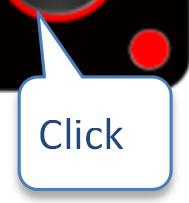
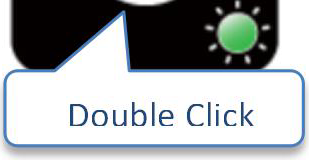
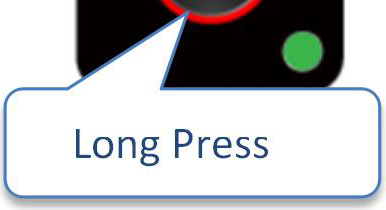
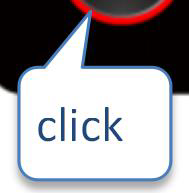
- Host has projected on screen, and quest required sharing the screen. Host allows.
| Indicator 1 | Indicator 2 | Indicator 3 | Result of screen |
|---|---|---|---|
| Host | Host | Guest |
Guest

- Host has projected on screen, Host rejects Guest’s screen share request.
| Indicator 1 | Indicator 2 | Indicator 3 | Result of screen |
|---|---|---|---|
| Host | Host | Guest |
- From share screen mode, Host allows Guest full screen request.
| Indicator 1 | Indicator 2 | Indicator 3 | Result of screen |
|---|---|---|---|
| Host | GUEST |

This product can only be used indoors, antenna type only allows use of PCB antenna and PIFA Antenna. The transmitter can be used as a receiver and the receiver can be used as a transmitter.
- Guest full screen mode, Host retrieves share screen request.
| Indicator 1 | Indicator 2 | Indicator 3 | Result of screen |
|---|---|---|---|
| Host | Host | Guest | Guest |
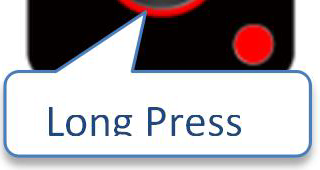
- Guest full/share screen mode, Host retrieves full screen request.
| Indicator 1 | Indicator 2 | Indicator 3 | Result of screen |
|---|---|---|---|
| Host | Host | Guest |
Legal & Compliance
Product identification
Model: EZ-QPM01 – manual version 1.0
Warranty and liability
The manufacturer grants the full statutory warranty on all new devices. As the manufacturer has no influence on installation, the warranty only applies to the product itself. If you detect a fault or damage, please contact your dealer and provide your sales slip or invoice as proof of purchase.
The manufacturer is not liable for damage to persons or property caused by improper installation, operation or maintenance not described in this manual. Do not alter or modify the product or its accessories. Any use other than described in this manual is not permitted and voids warranty and guarantee.
Trademarks and disclaimer
Product model and logo are trademarks. All other company and product names mentioned are trademarks of their respective owners. All rights reserved. No part of this publication may be copied or reproduced without prior written permission. We reserve the right to make changes to the device, packaging or manual and accept no liability for misprints.
FCC
STATEMENT This device complies with Part 15 of the FCC Rules. Operation is subject to the following two conditions: (1) This device may not cause harmful interference. (2) This device must accept any interference received, including interference that may cause undesired operation. This equipment has been tested and found to comply with the limits for a Class B digital device, pursuant to Part 15 of the FCC Rules.
Disposal of electrical and electronic equipment
WEEE reg. no.: DE 93847290
The crossed-out wheelie bin symbol on the product, packaging or in this manual means that electrical and electronic equipment must not be disposed of with household waste at the end of its life. Hand in old devices free of charge at a public collection point or return them to a distributor obliged to take them back. Remove batteries and lamps that can be removed without destroying the device before handing it in, and delete any personal data stored on the device. Details are regulated by national law. By returning old devices you help protect the environment.
Packaging
Dispose of packaging separately by material (paper/cardboard, plastics) via the local collection systems. Keep packaging material away from children – risk of suffocation. Packaging register LUCID: DE5958616449295.